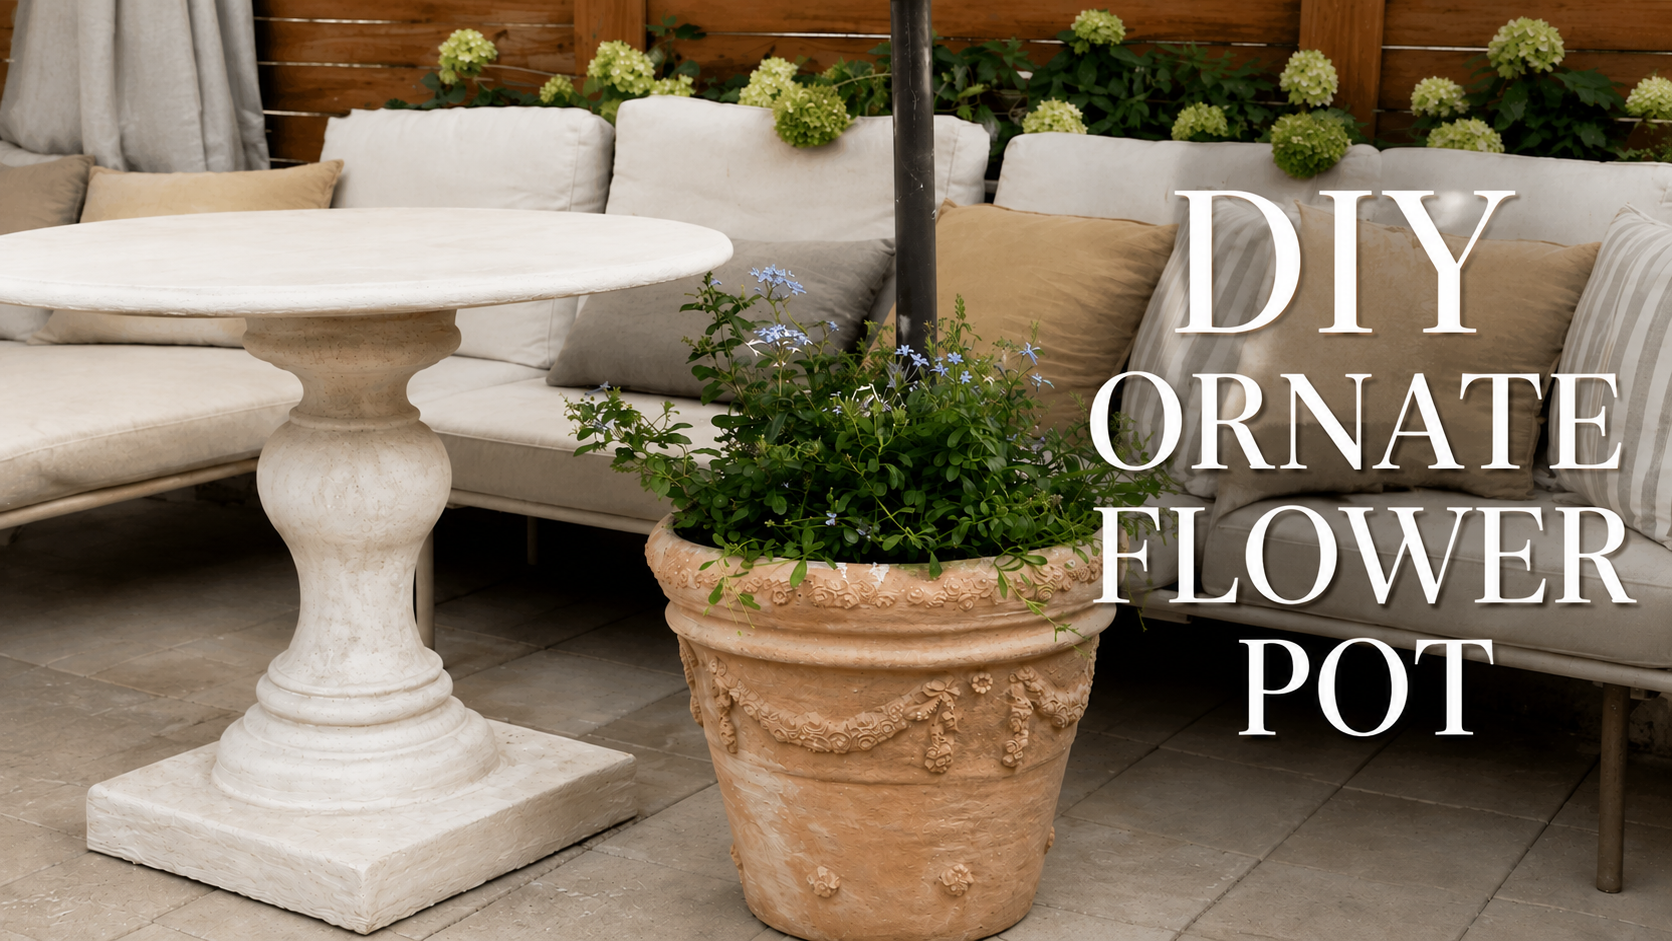
I Made My Own Limestone Garden Table

Room: Outdoor · Cost: $$$ · Time: One Week · Difficulty: Intermediate
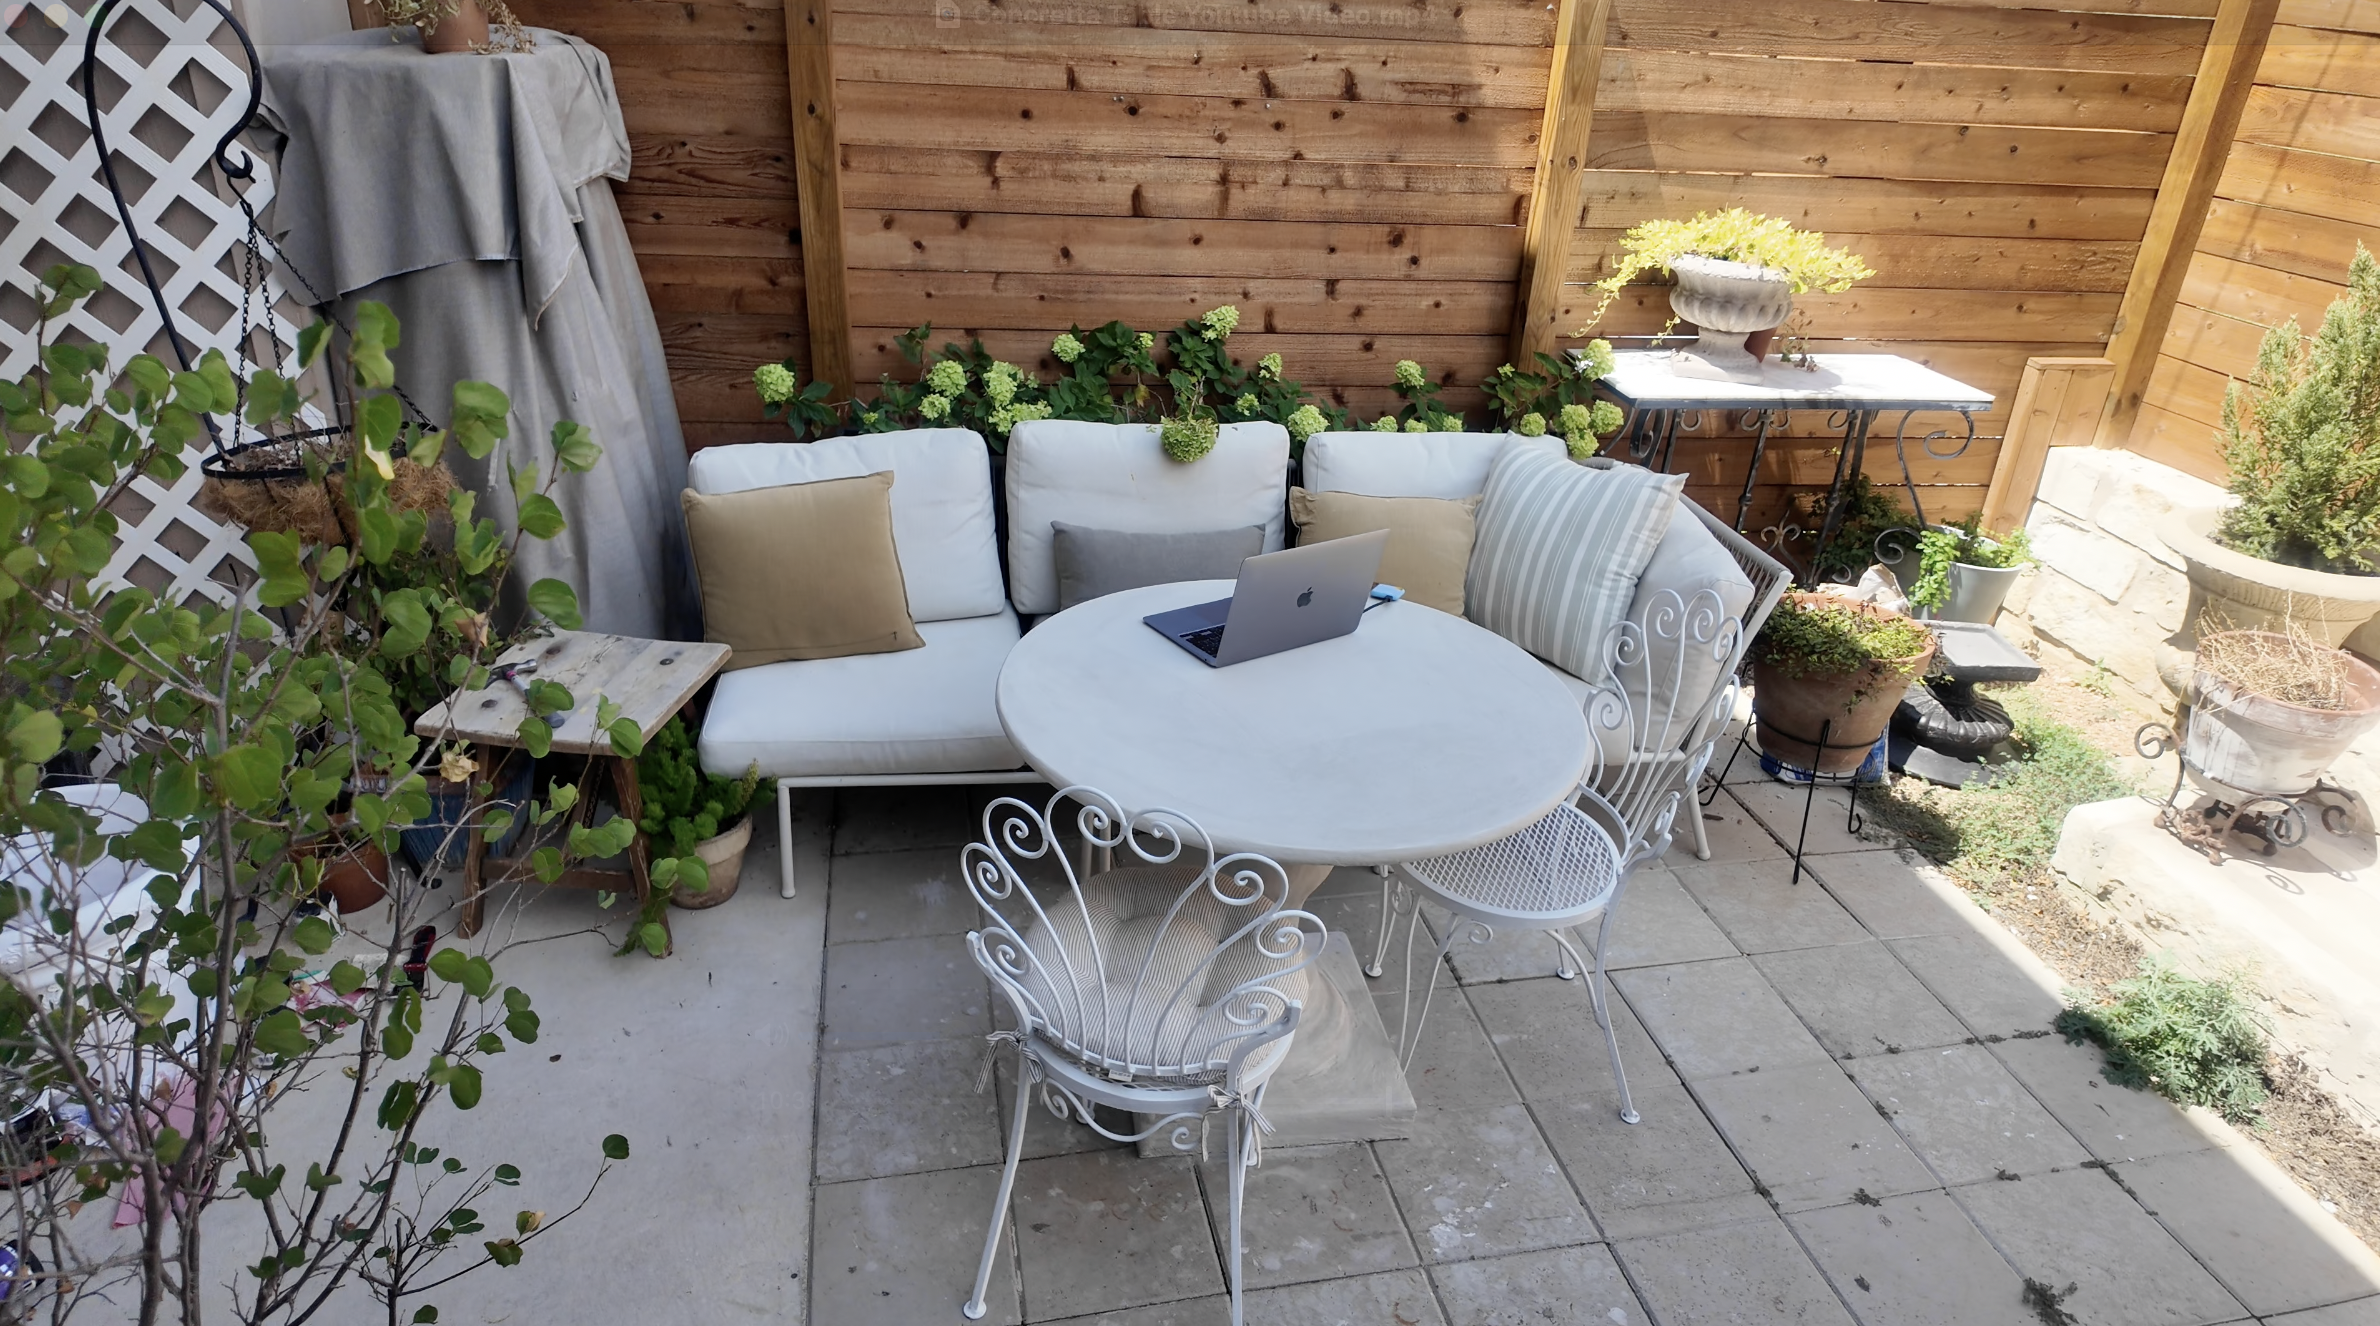
I wanted a garden table with real presence — something that looked similar to solid, weathered limestone. I built this one from a pedestal base and a round tabletop, engineered it to actually be safe, then used Concretta and a hand-applied paint wash to give it that aged, porous limestone look. Here's exactly how it came together.
Phase one: Prepping & Priming The Wood
I lightly sanded both the pedestal and the tabletop — just enough for a light scuff, not a full strip.
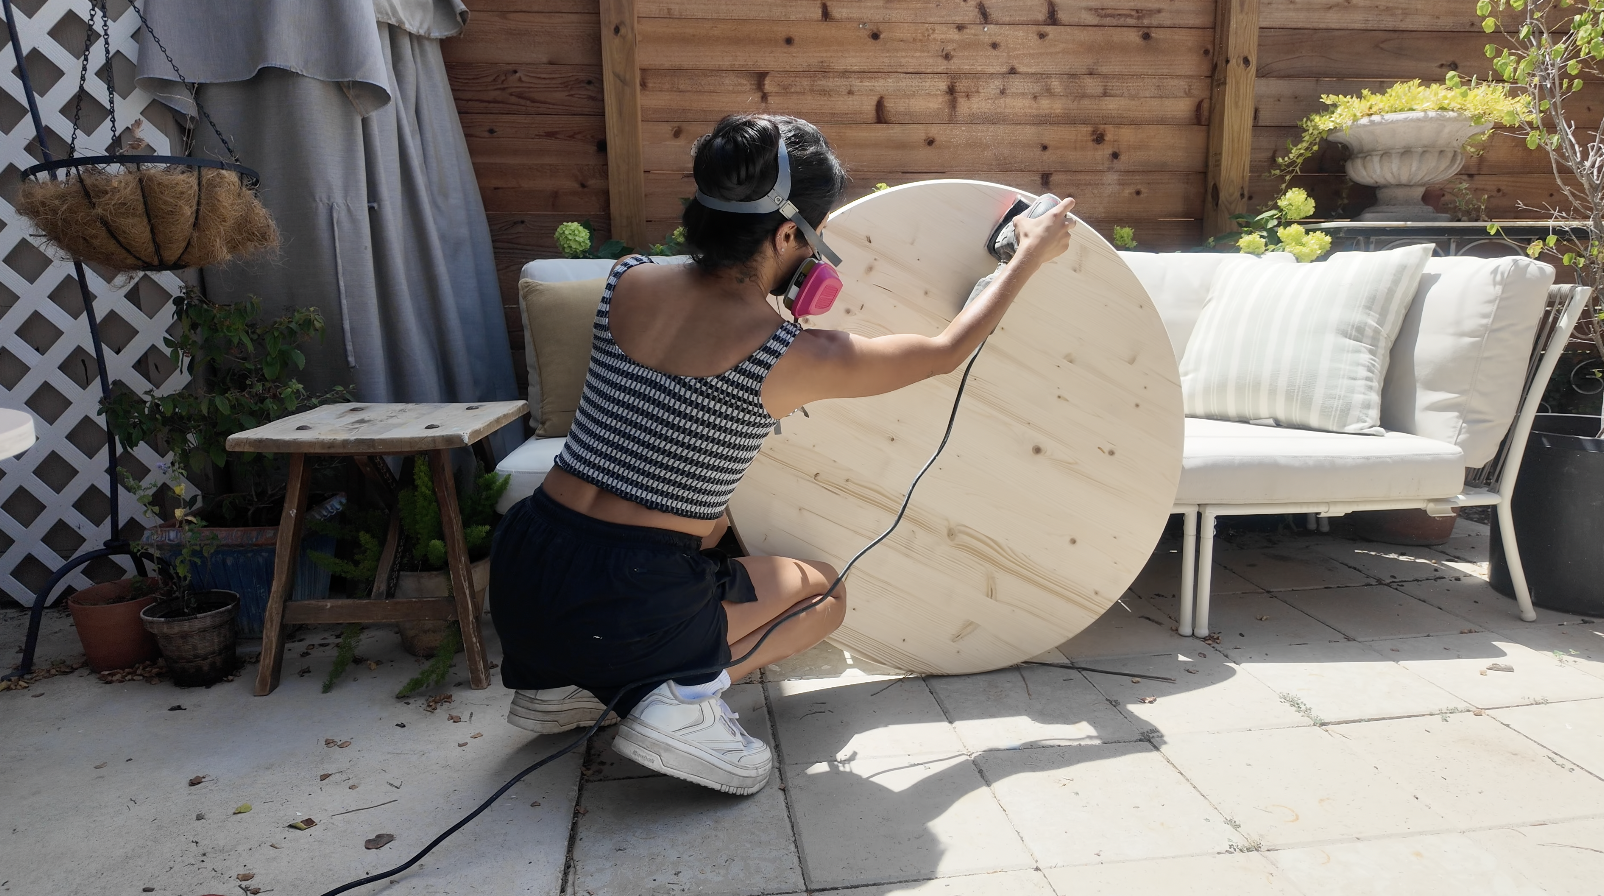
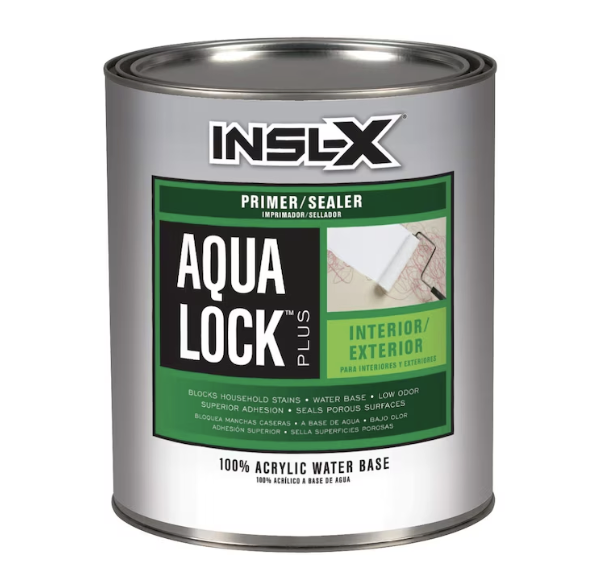
I applied two coats of Aqualock primer and let it dry overnight. This step seals the wood so moisture can't get in and warp it over time.
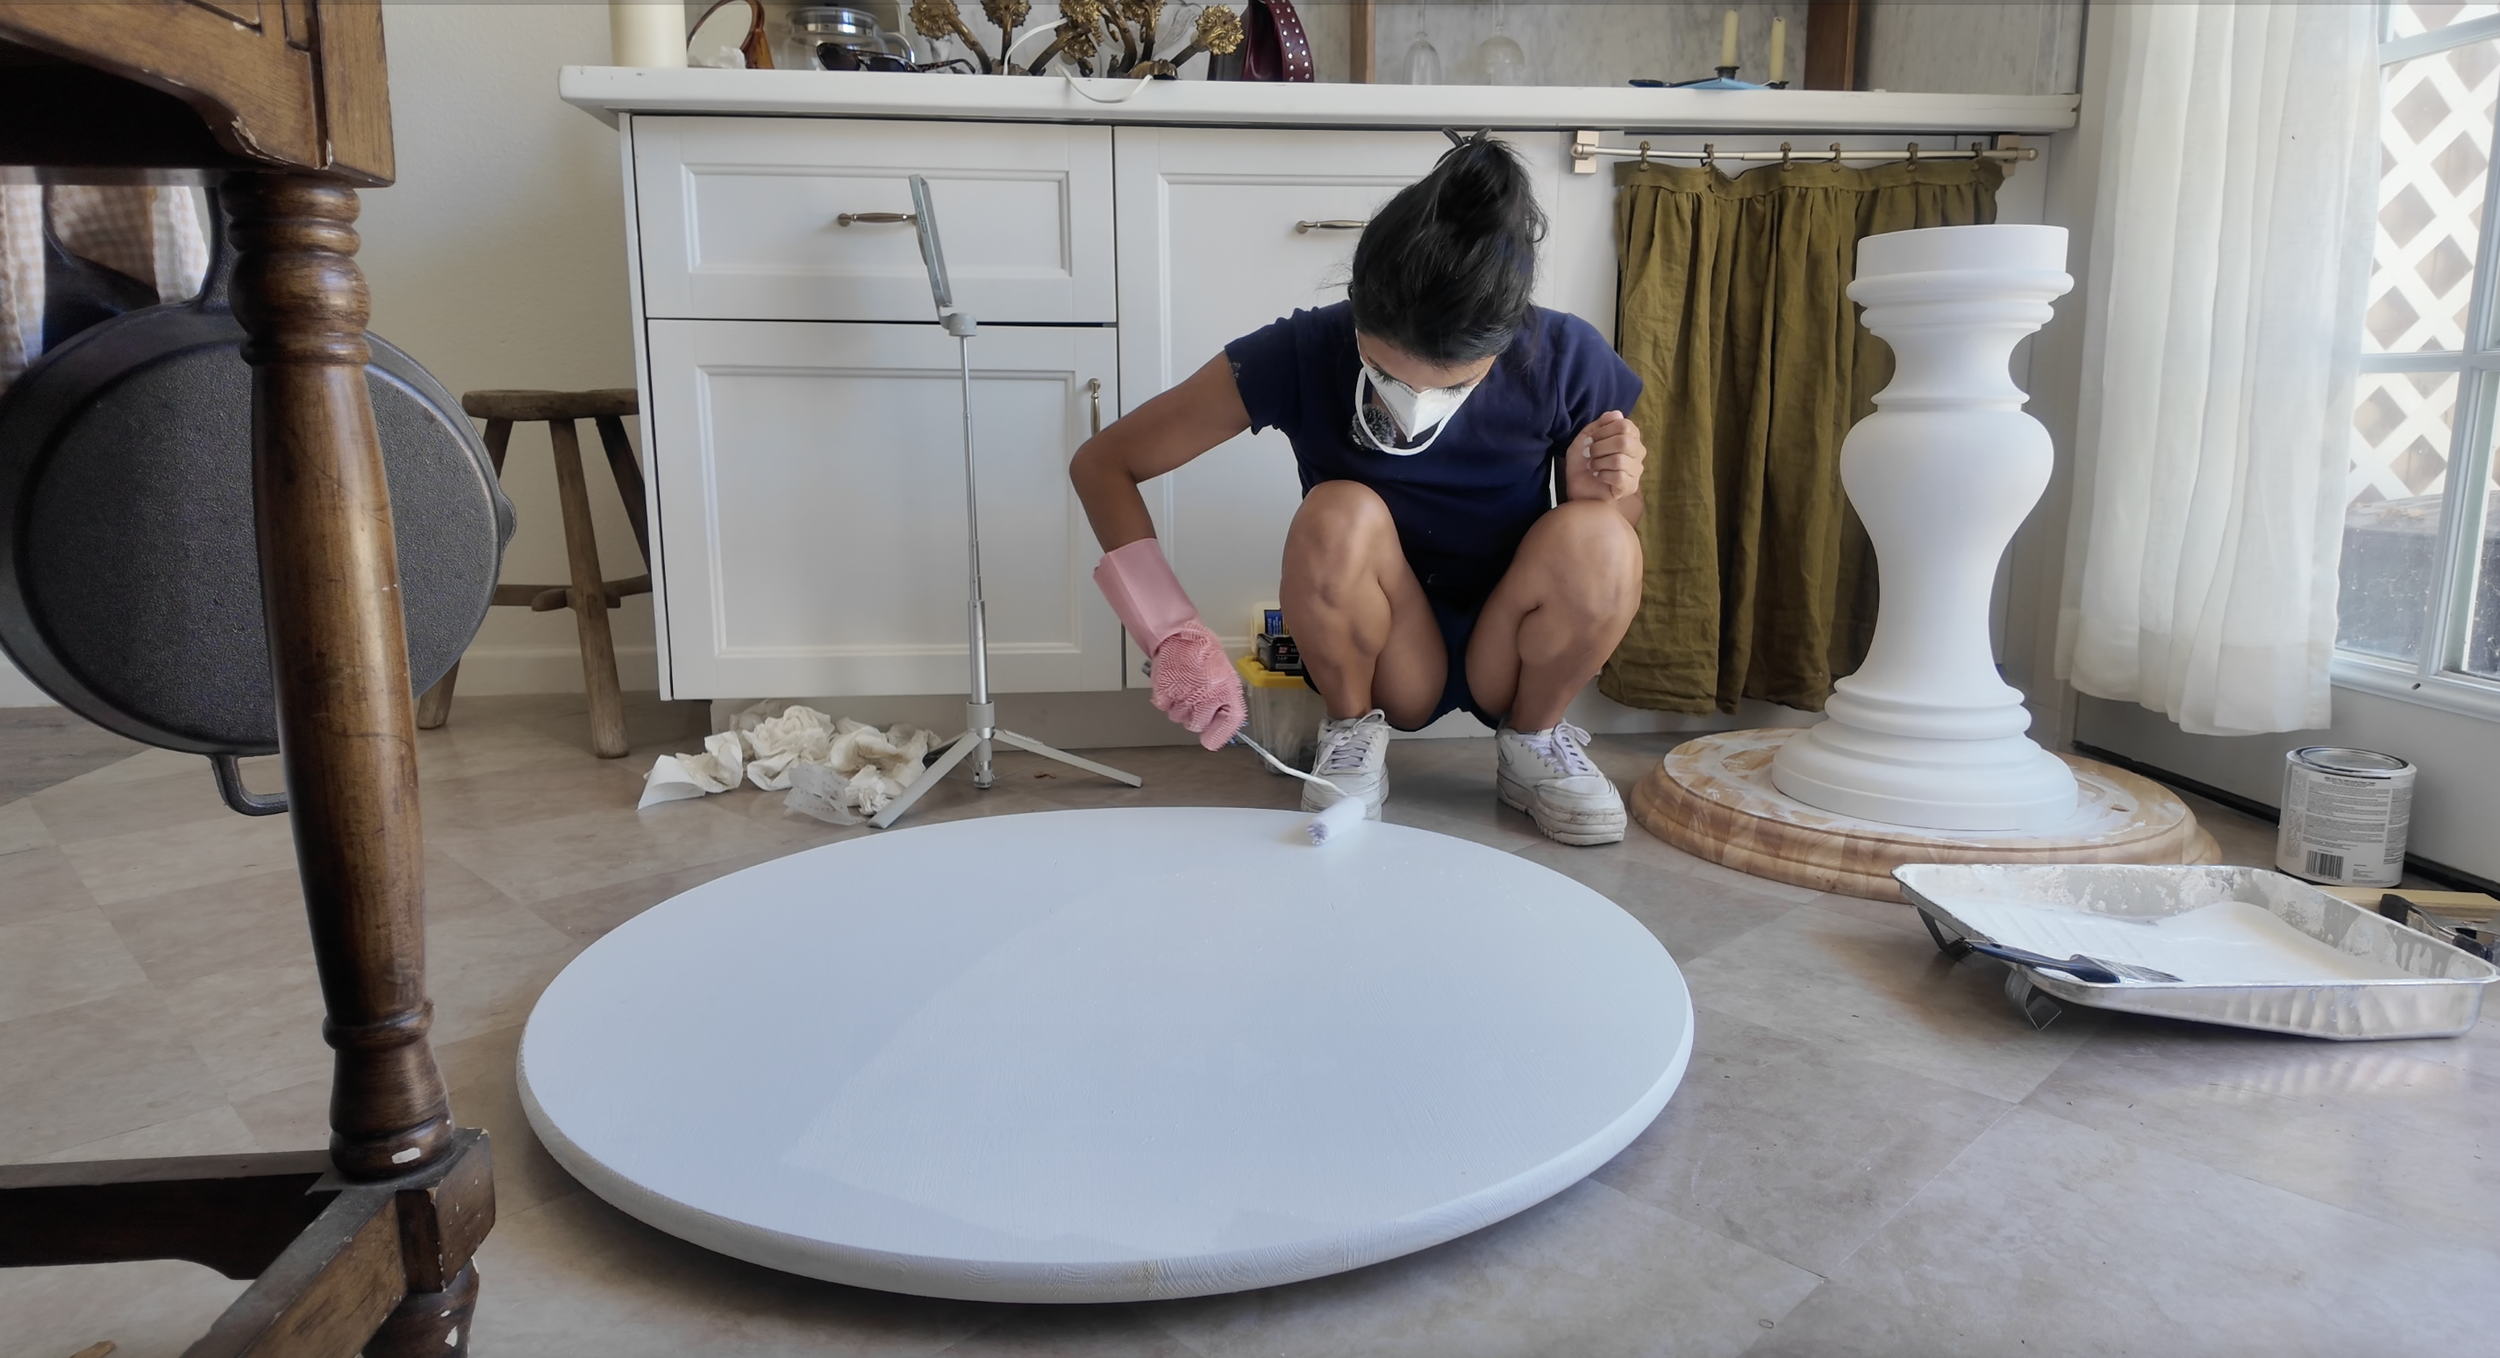
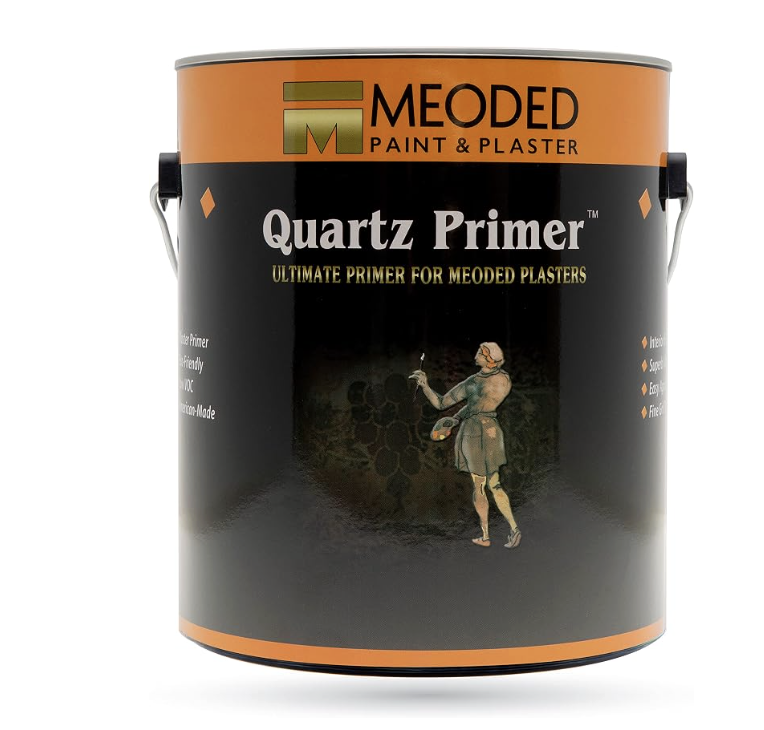
I then applied Meoded primer and let that dry overnight as well. This layer is what actually lets the Concretta bond to the surface — Aqualock alone won't give it anything to grip onto.
Phase two: Building the Weighted Plinth Base
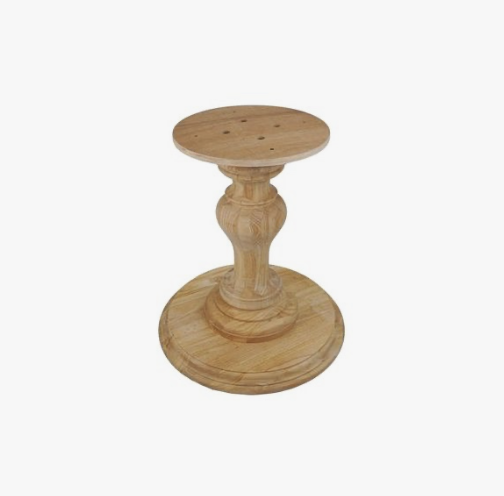
Outdoor tables need real weight at the bottom to stay safe in wind, especially with a wide tabletop like mine. Rather than use the large circular base that came with the pedestal, I built a custom square plinth instead — partly for the weight, partly because I liked the silhouette better.
I built an open-top box, sized to fit the base of the pedestal & lined the inside of the box with a sheet of plastic.
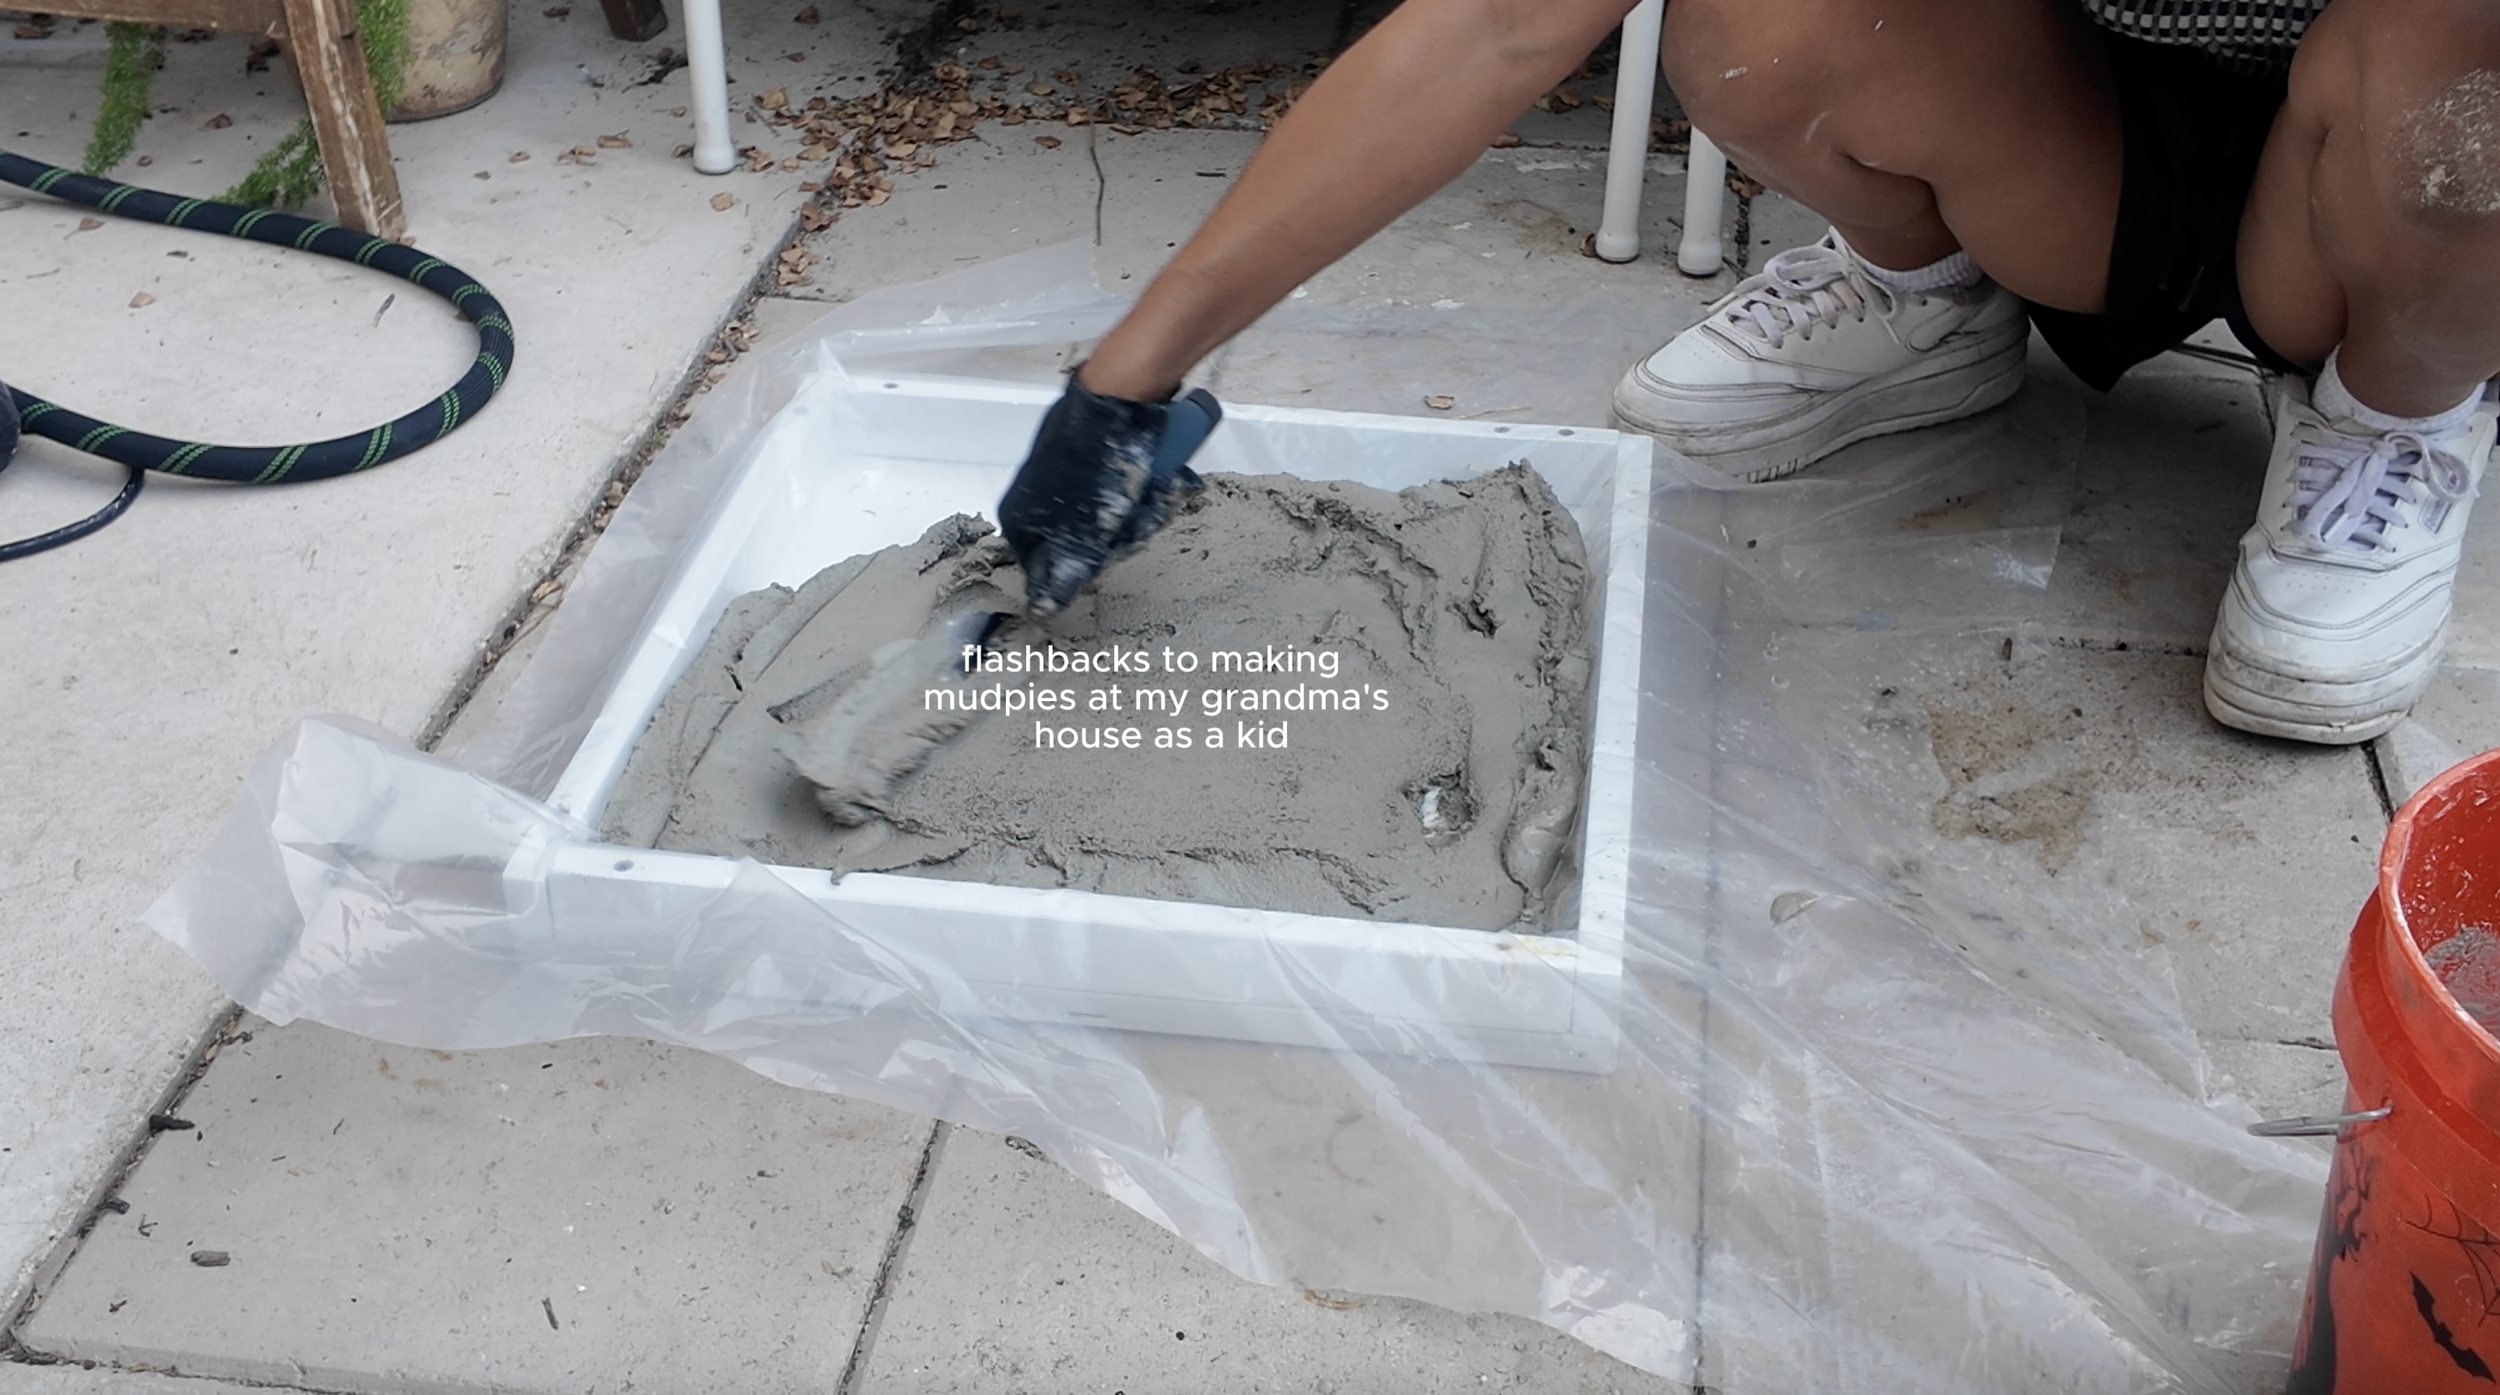
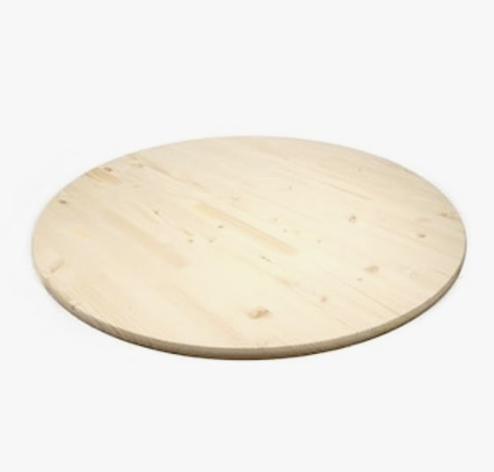
I poured concrete inside the box to weigh down the base. For reference, my tabletop was 36" in diameter and needed about 35 lbs of weight at the bottom to be safe — but this depends entirely on your own tabletop size, so it's worth researching the right amount for your specific dimensions rather than copying mine directly.
Let the concrete cure overnight. It’ll be firm enough the next day to remove but it takes 72 hours ish to cure completely.
Phase three: Putting the Table Together
Once everything was dry, I attached the pedestal to the round tabletop, then attached the plinth box to the bottom of the pedestal — I didn't need to buy any extra hardware for this. Everything the pedestal came with worked perfectly for attaching the plinth too.
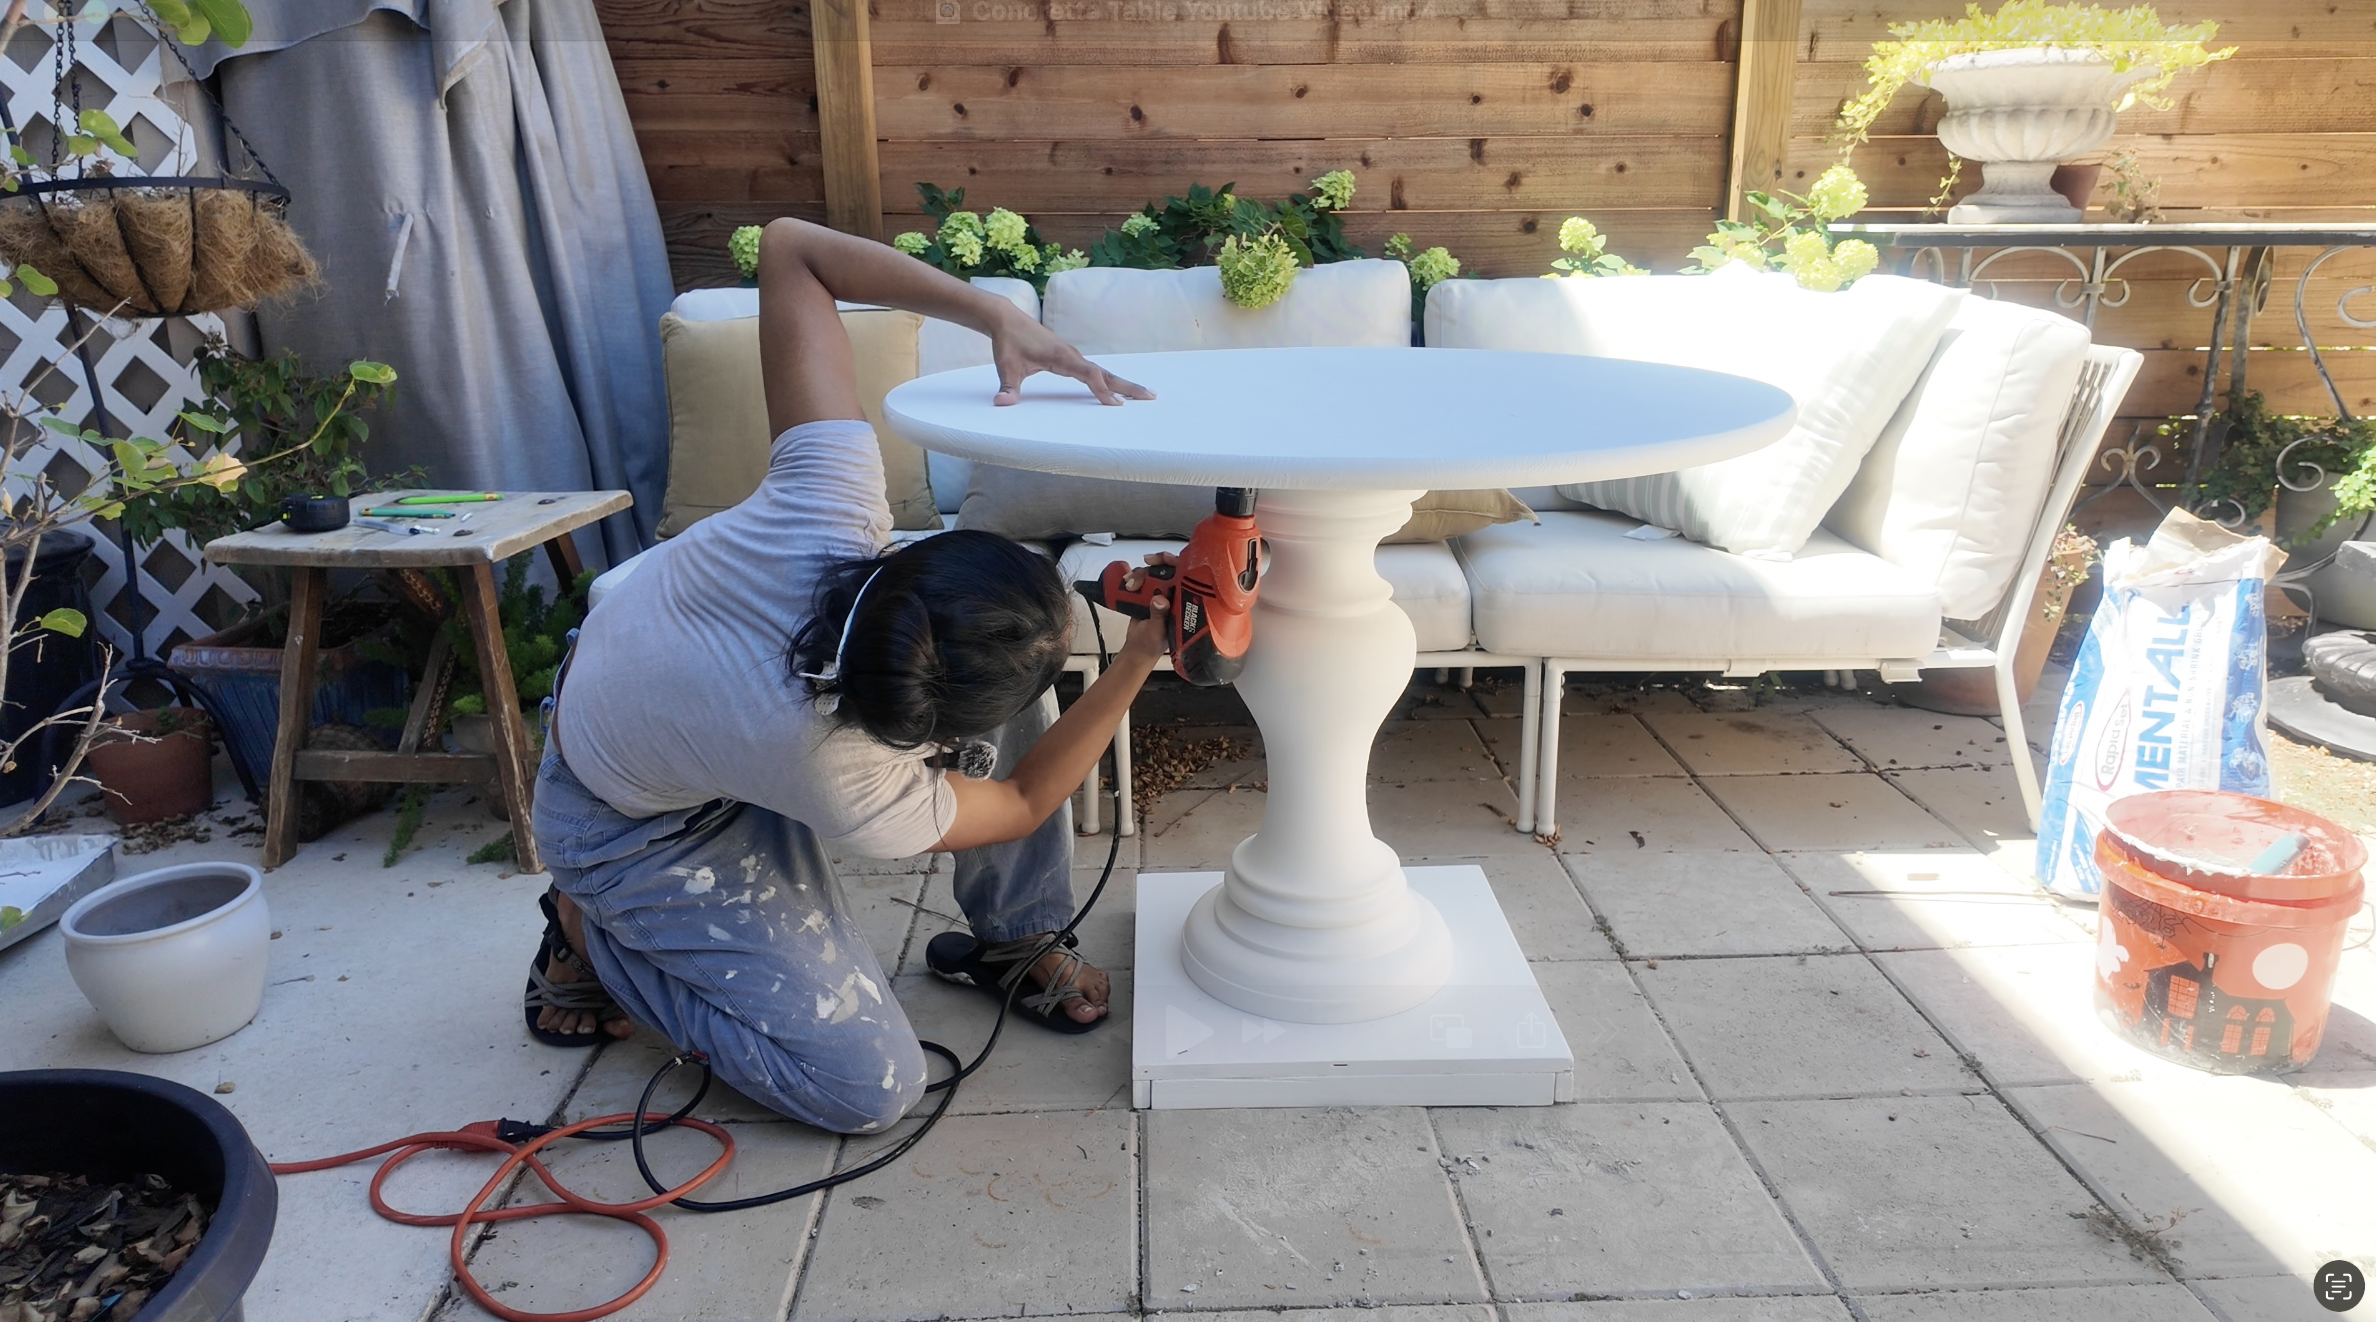
Phase four: Applying the Concretta
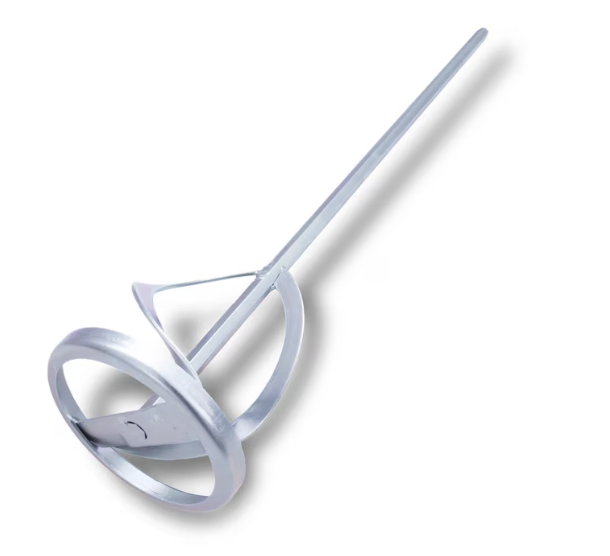
I mixed the Concretta — Westwood Beige — with about 4 cups of water per gallon of product, which gave me a consistency that wasn't too watery. You really don't want it soupy; it should be thick enough to hold its shape.
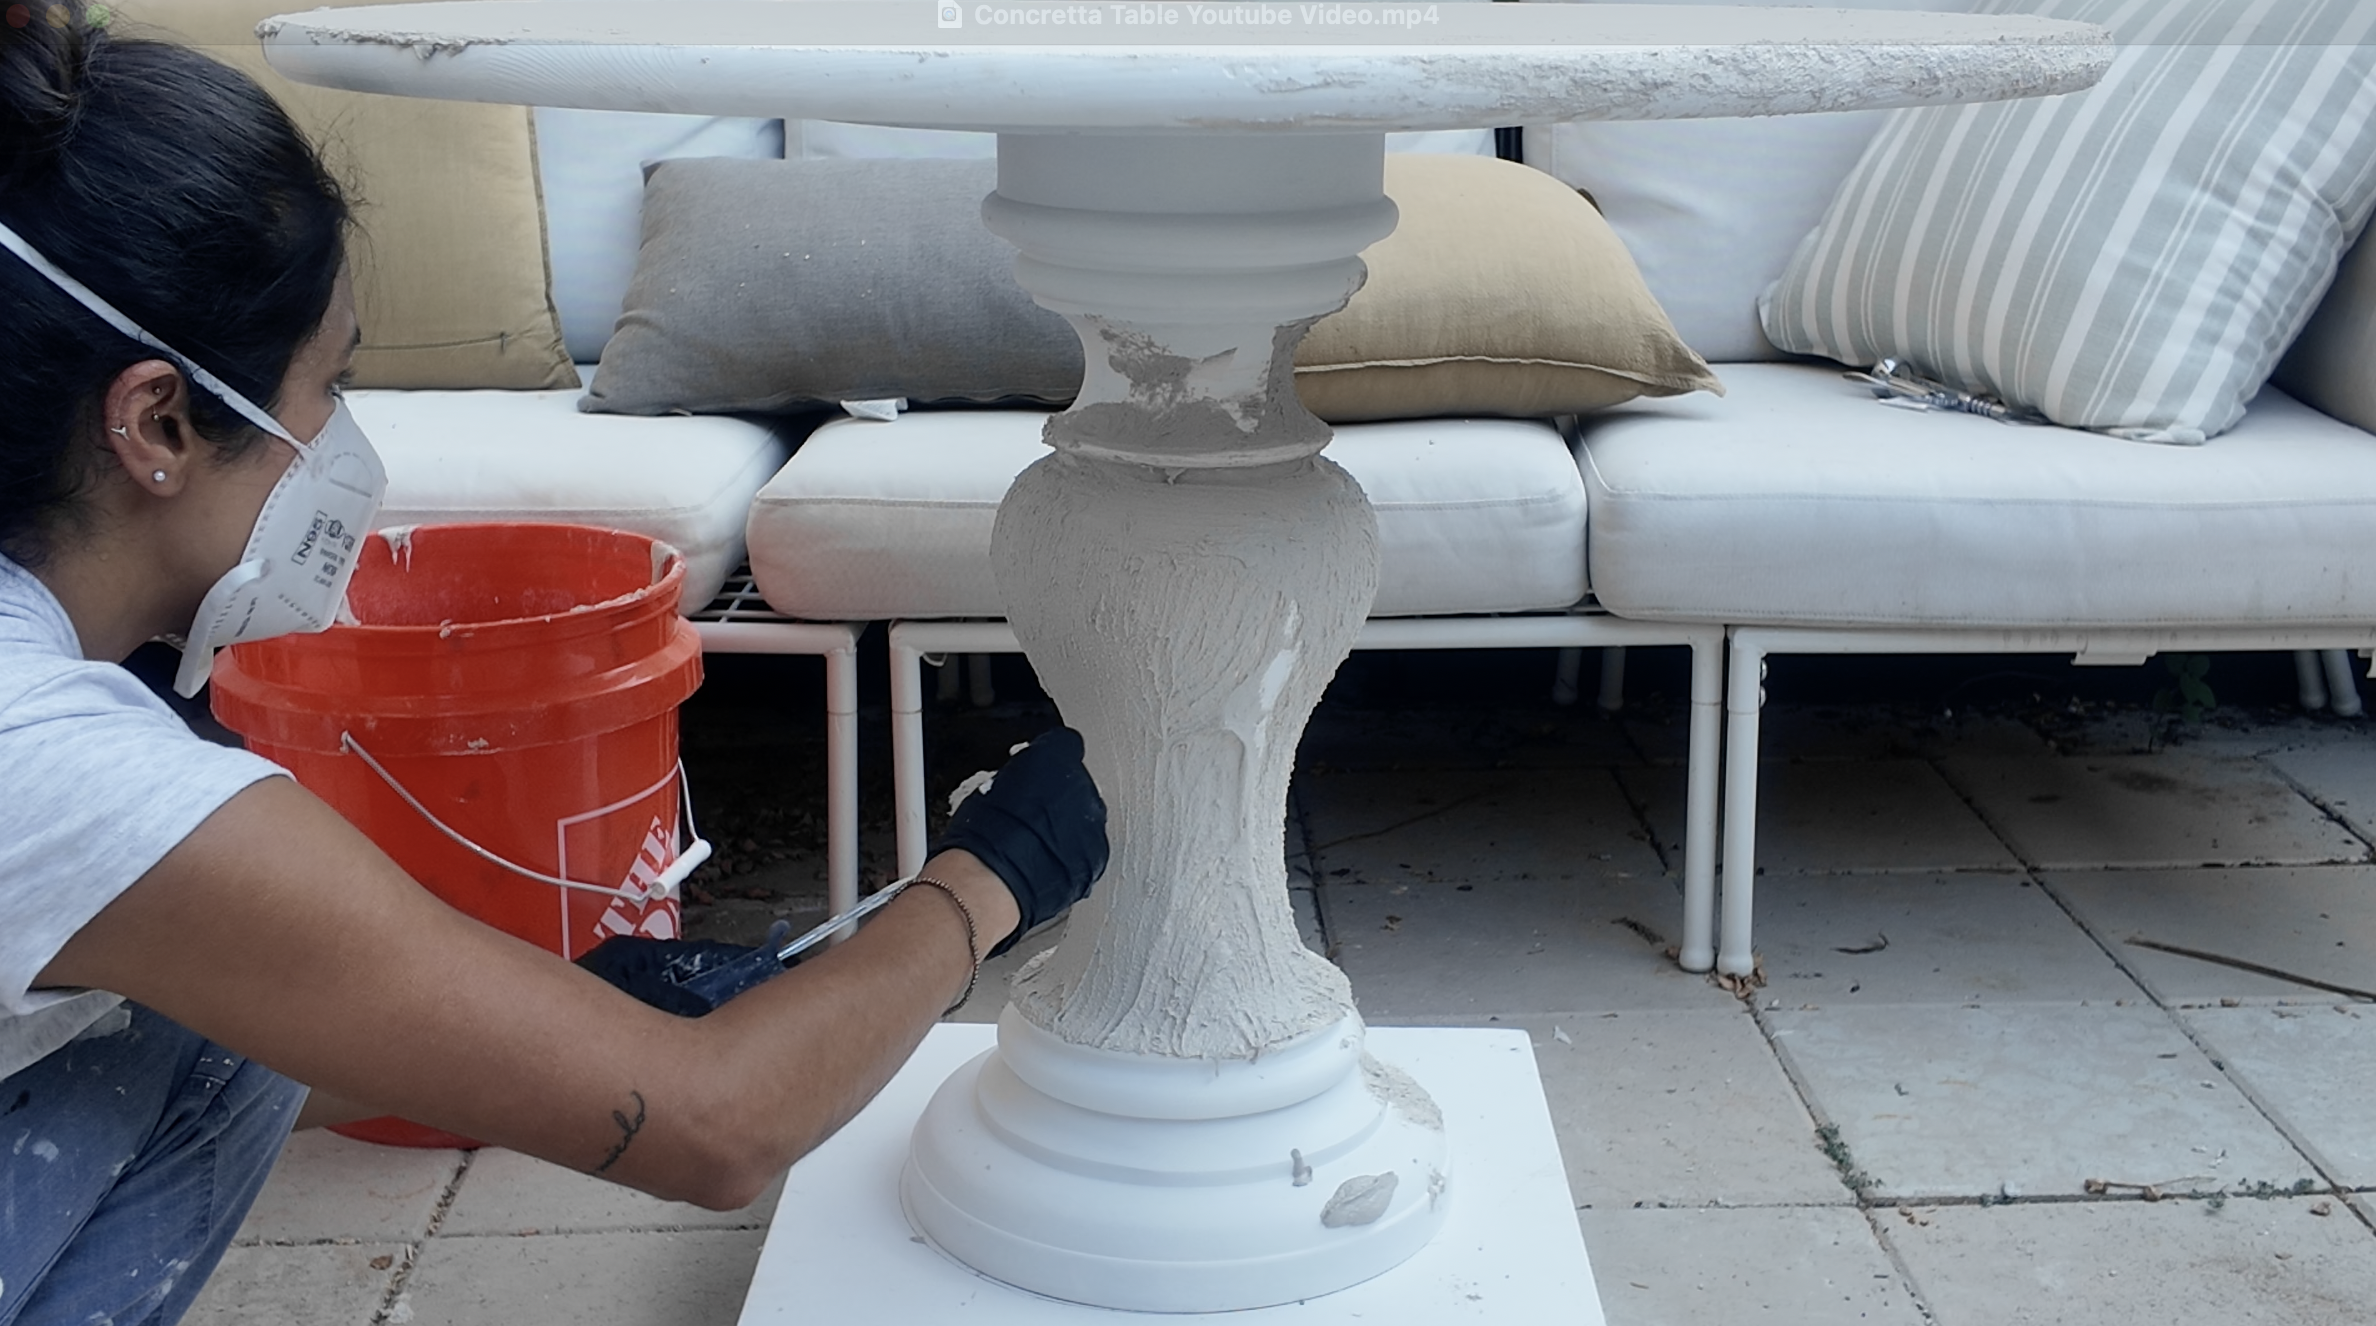
I applied it pretty messily at first, especially on the curved parts of the pedestal — don't stress about precision here, since you shape it more later on. On the flat tabletop, I used a trowel to smooth it out as I went.
I gave it about 20 minutes to firm up to this clay-like consistency — not wet anymore, but not dry either, just workable. Once it hit that sweet spot, I had to move fast, because Concreta fully dries in about 45 minutes total, and that window closes quicker than you'd think. I ran my hand along the entire pedestal to smooth the surface — literally just using my hand, nothing fancy.
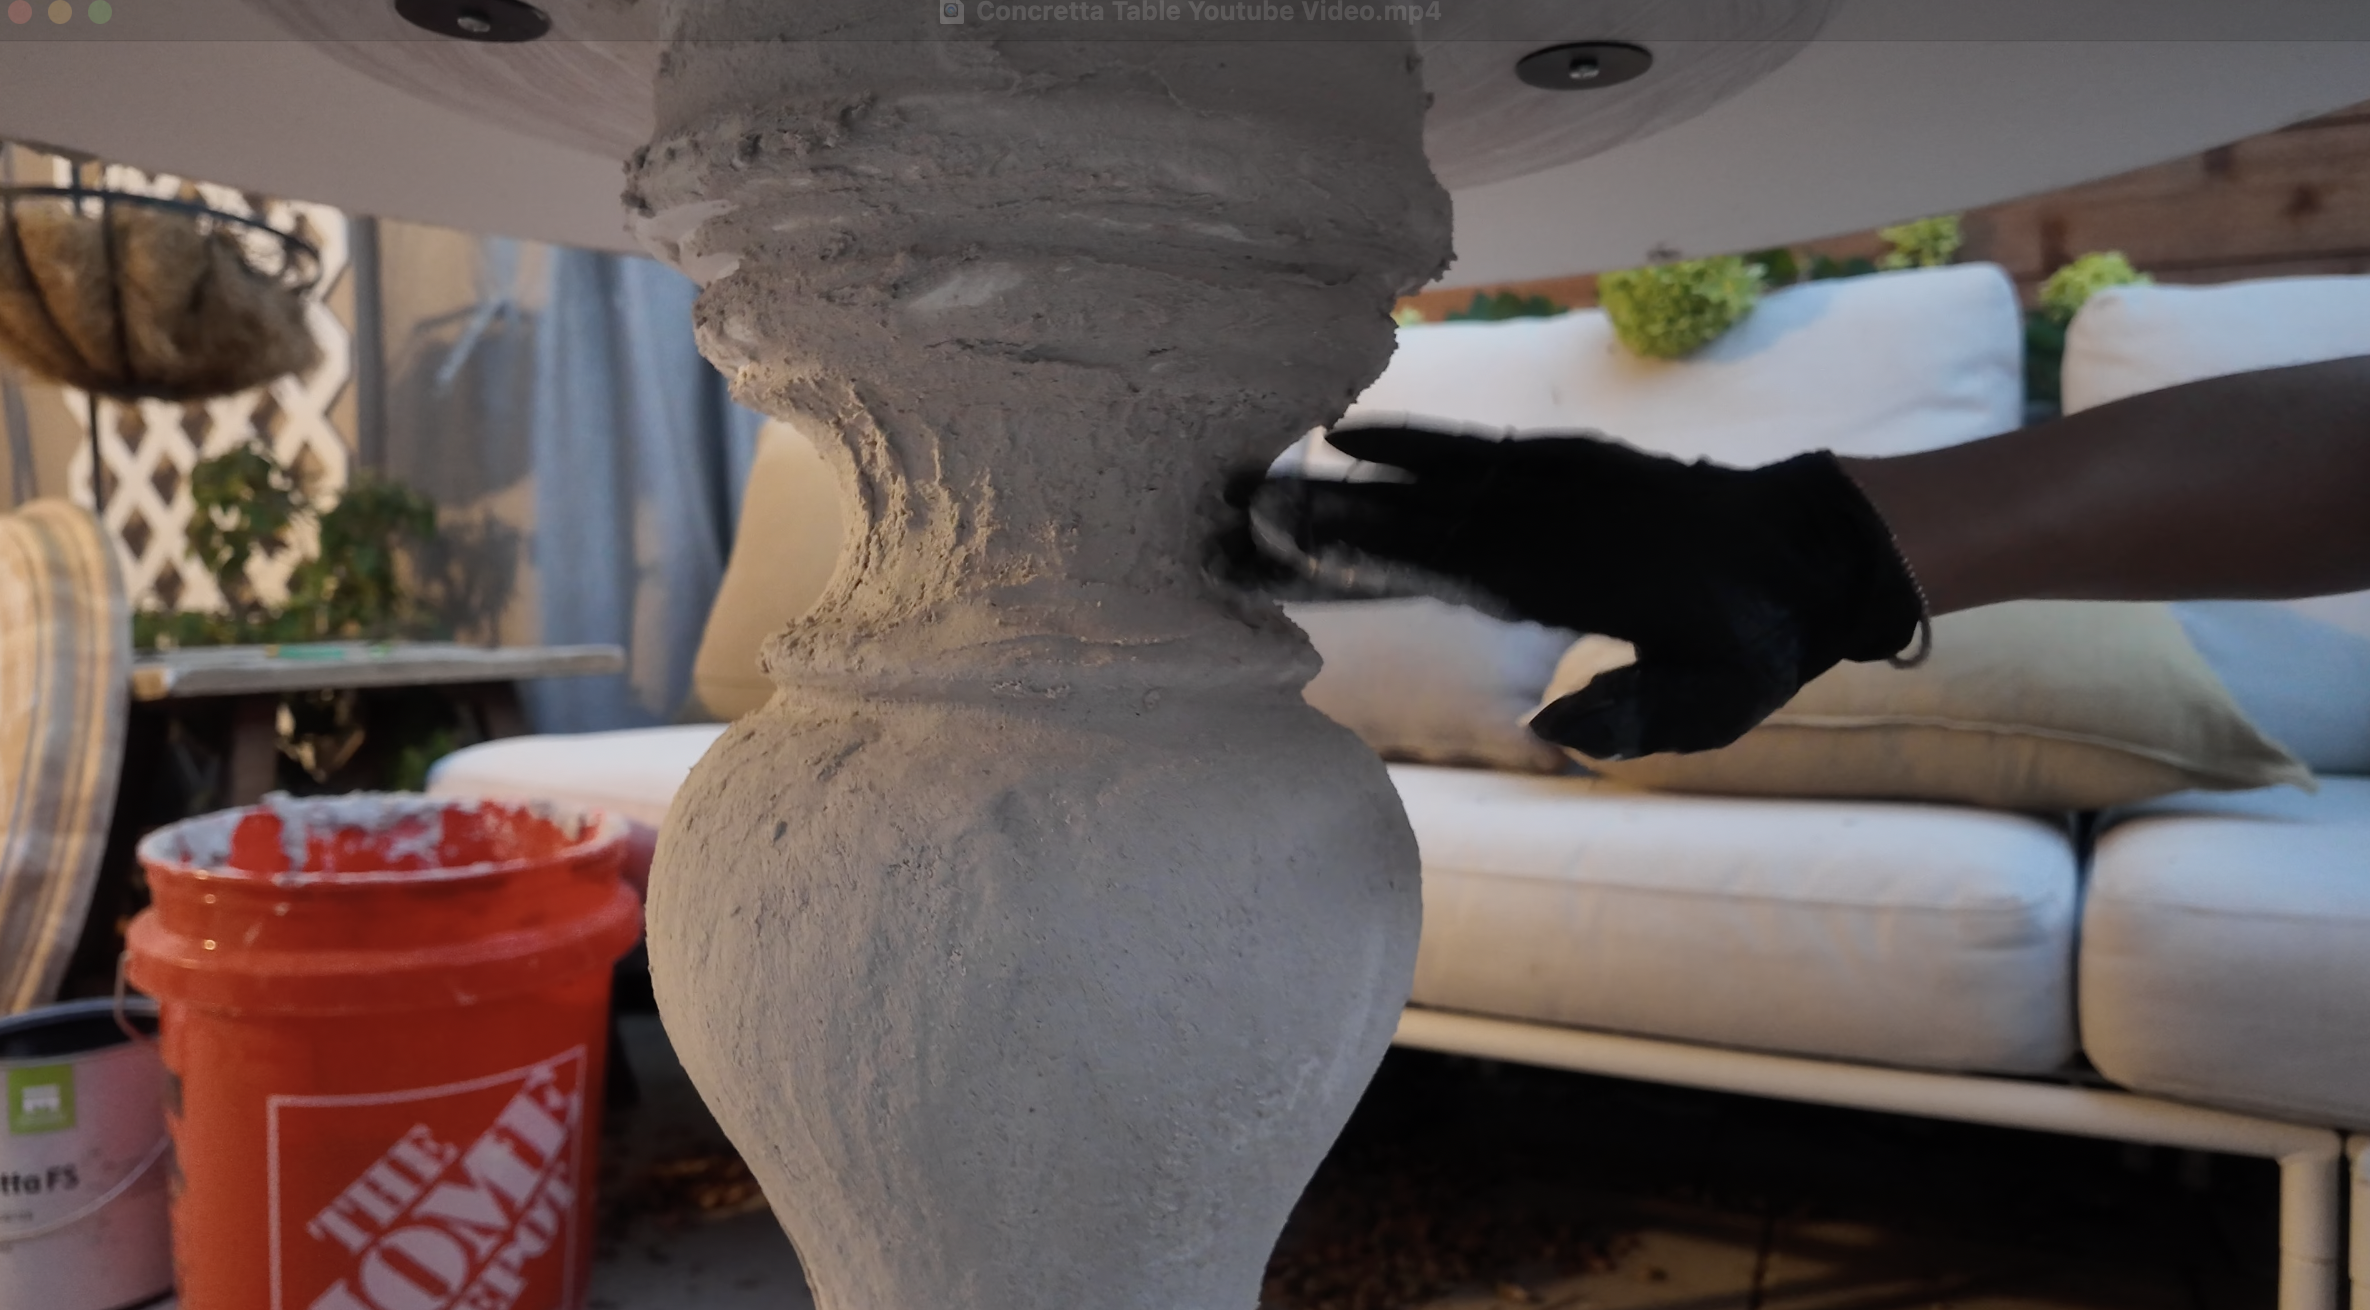
After that, I let it sit for an hour or two, then came back with sandpaper and hand-sanded the surface lightly. I wasn't going for perfectly smooth here — I wanted to knock down anything that looked too rough or rock-like, while keeping that porous, slightly irregular texture that's honestly what makes it read as real limestone instead of, well, a sanded-flat craft project.
Phase four: Paint Wash & Seal
Last step, and it's honestly my favorite part because this is where it really starts to look like stone.
I mixed Benjamin Moore Copley Gray with just a dab of water — not a full dilution, just enough to loosen it slightly. Then I grabbed two sponges: one for the paint, one for clean water, wrung out until it was damp but definitely not dripping. Working in small sections at a time, I'd dip the first sponge in the paint, wipe it onto the surface, and then immediately follow up with the damp water sponge to wipe the paint back off the raised, high points.
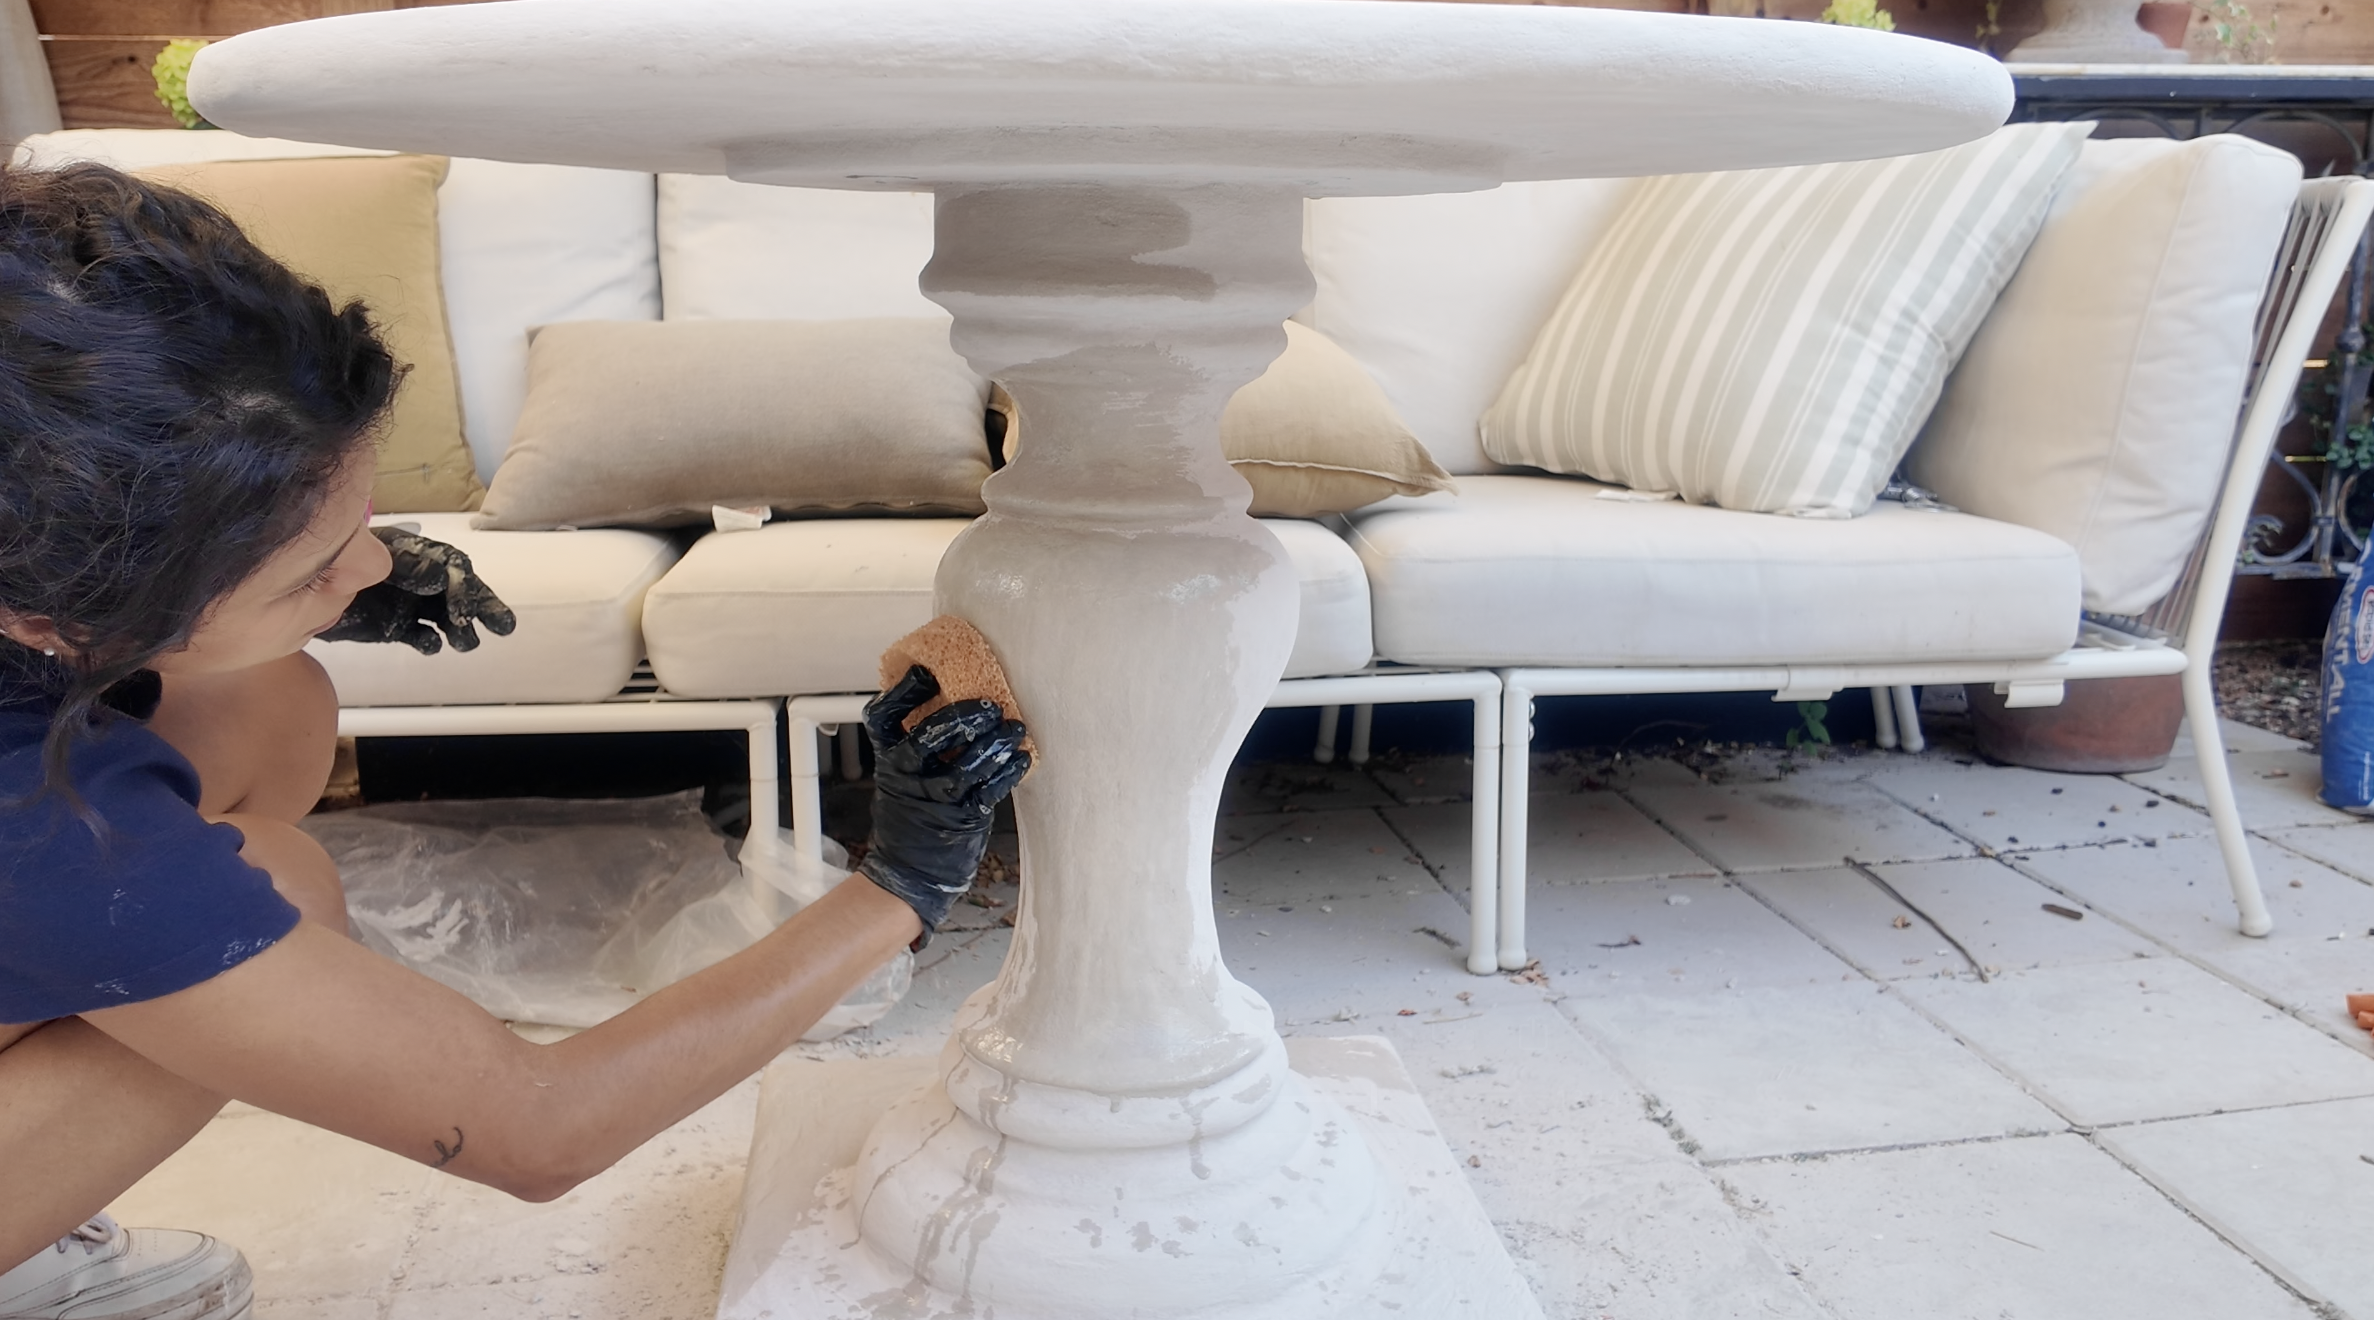
What this does is let the paint settle into all the little crevices and pores while getting lifted back off everywhere else — and that contrast is really what sells the aged look. You're not stuck with gray either; browns, beiges, even a moss green would all work here depending on the vibe you're going for. Do as much or as little of it as you want, it's genuinely one of those steps you can just play around with.
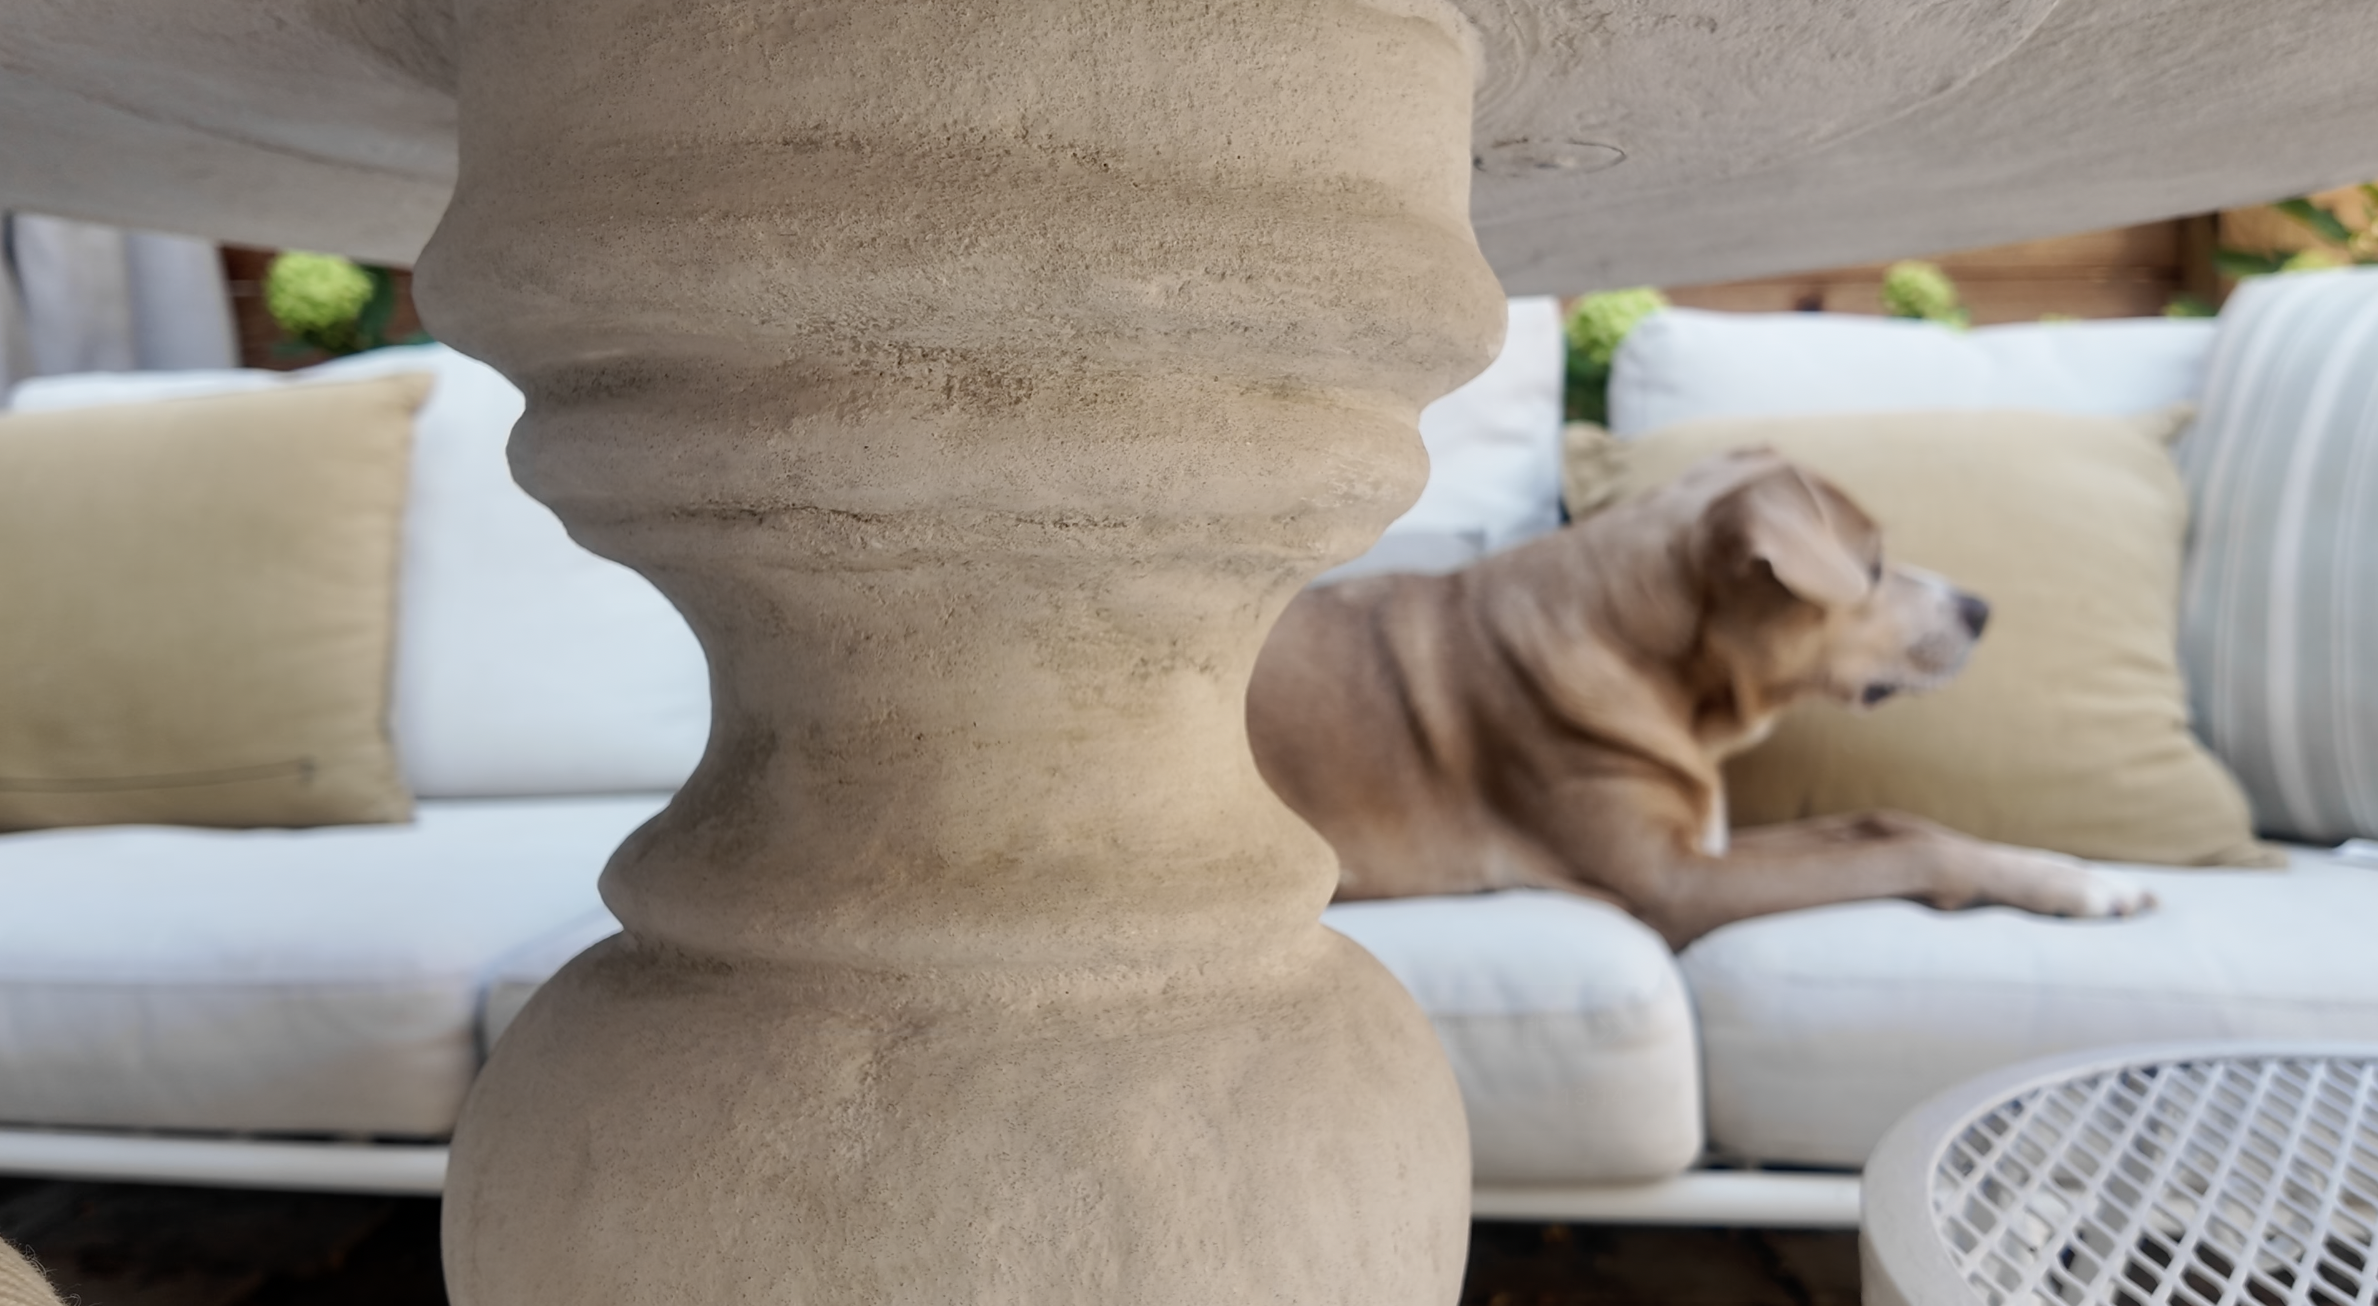
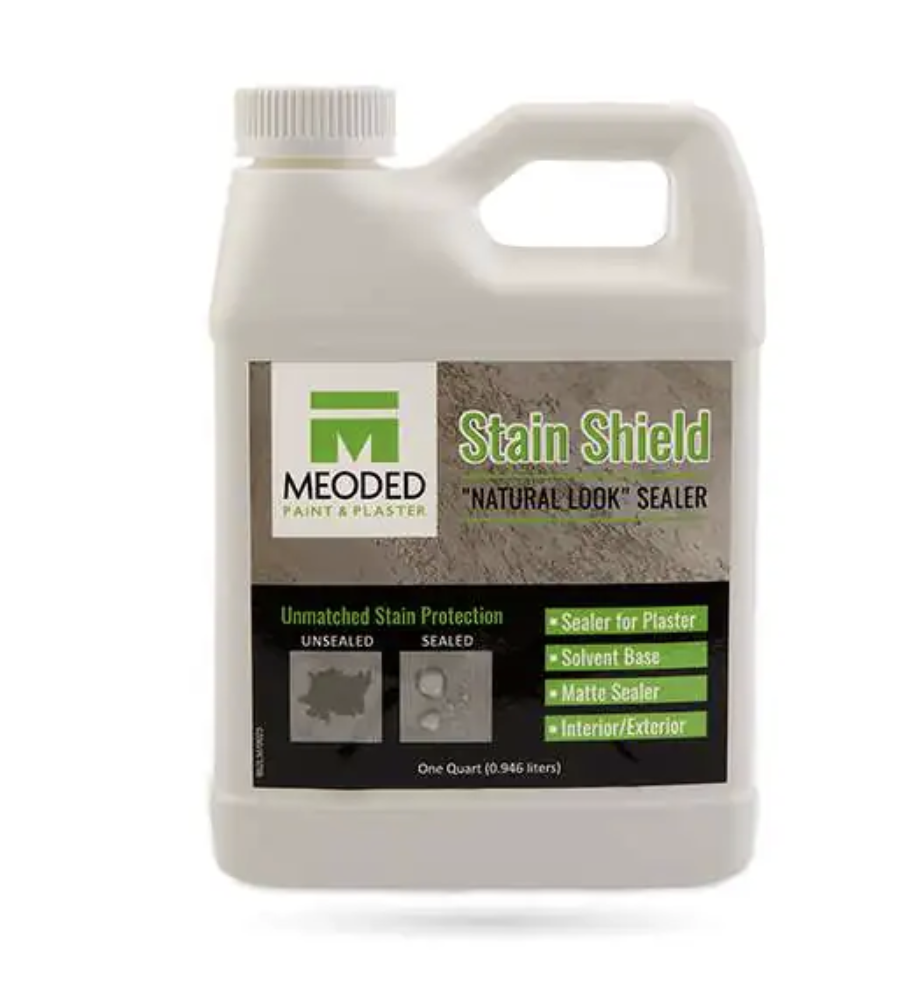
Once I was happy with how it looked, I sealed the whole thing with Meoded matte sealer. And I do mean matte — any bit of sheen at all will kind of ruin the illusion and make it read as painted instead of like actual stone, so don't skip that detail.
If I had to point to the two things that made this project work, it'd be nailing the timing on the Concretta — that 20-minute clay-like window is everything — and resisting the urge to sand it too smooth afterward. The imperfections are doing a lot of the work here. And if you're building something similar, please actually look into how much weight your base needs before you skip that step. It matters more than it seems, and it's not worth guessing on.
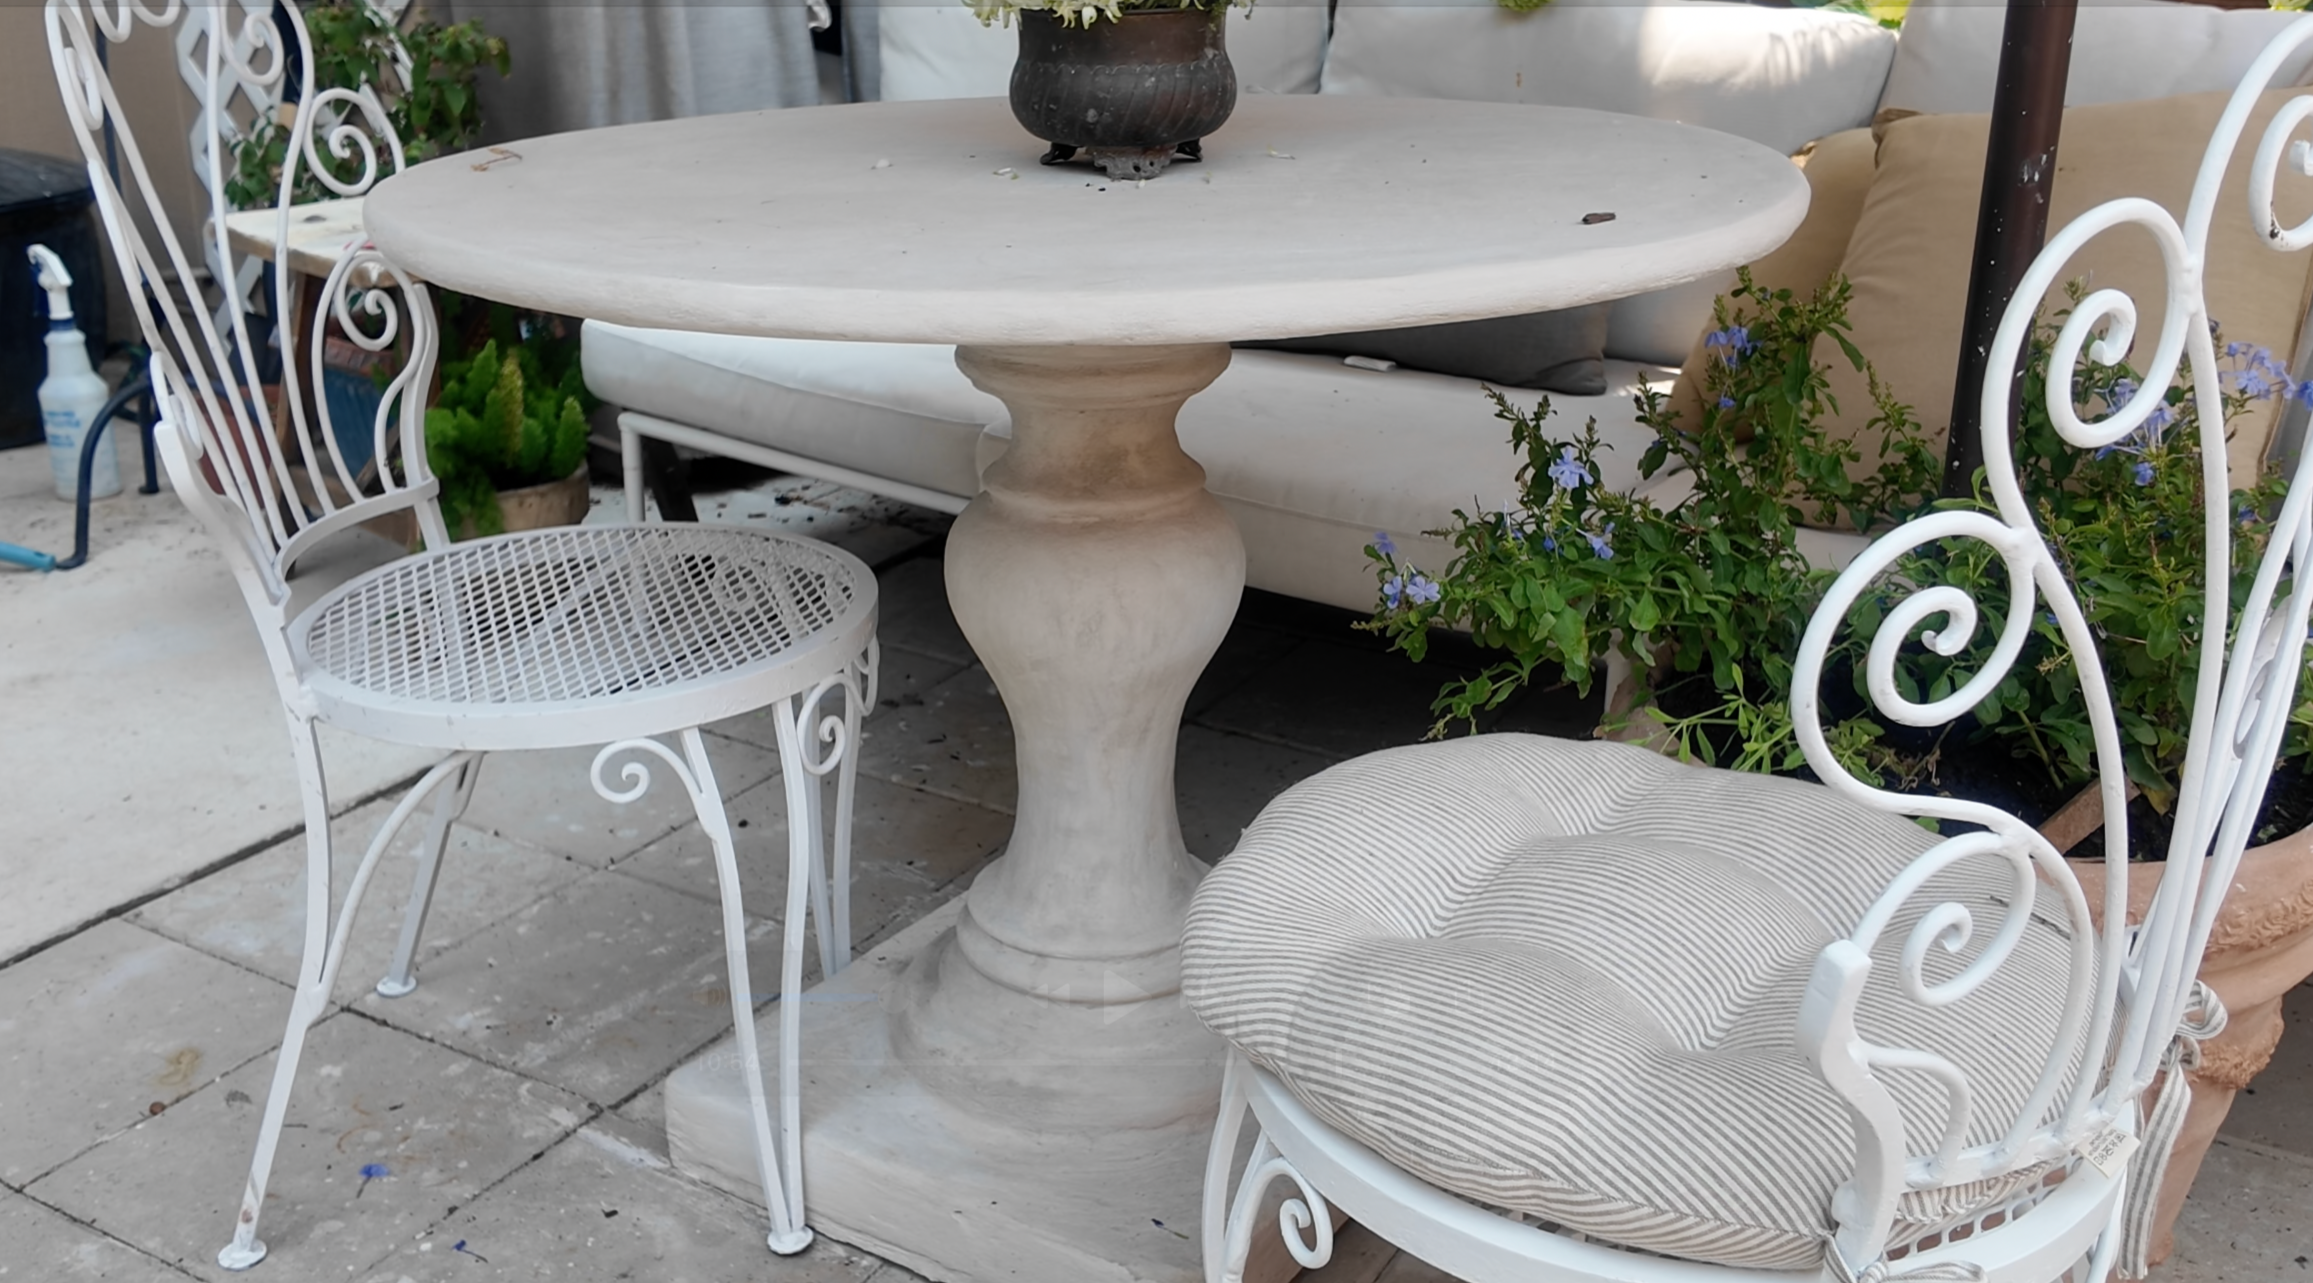
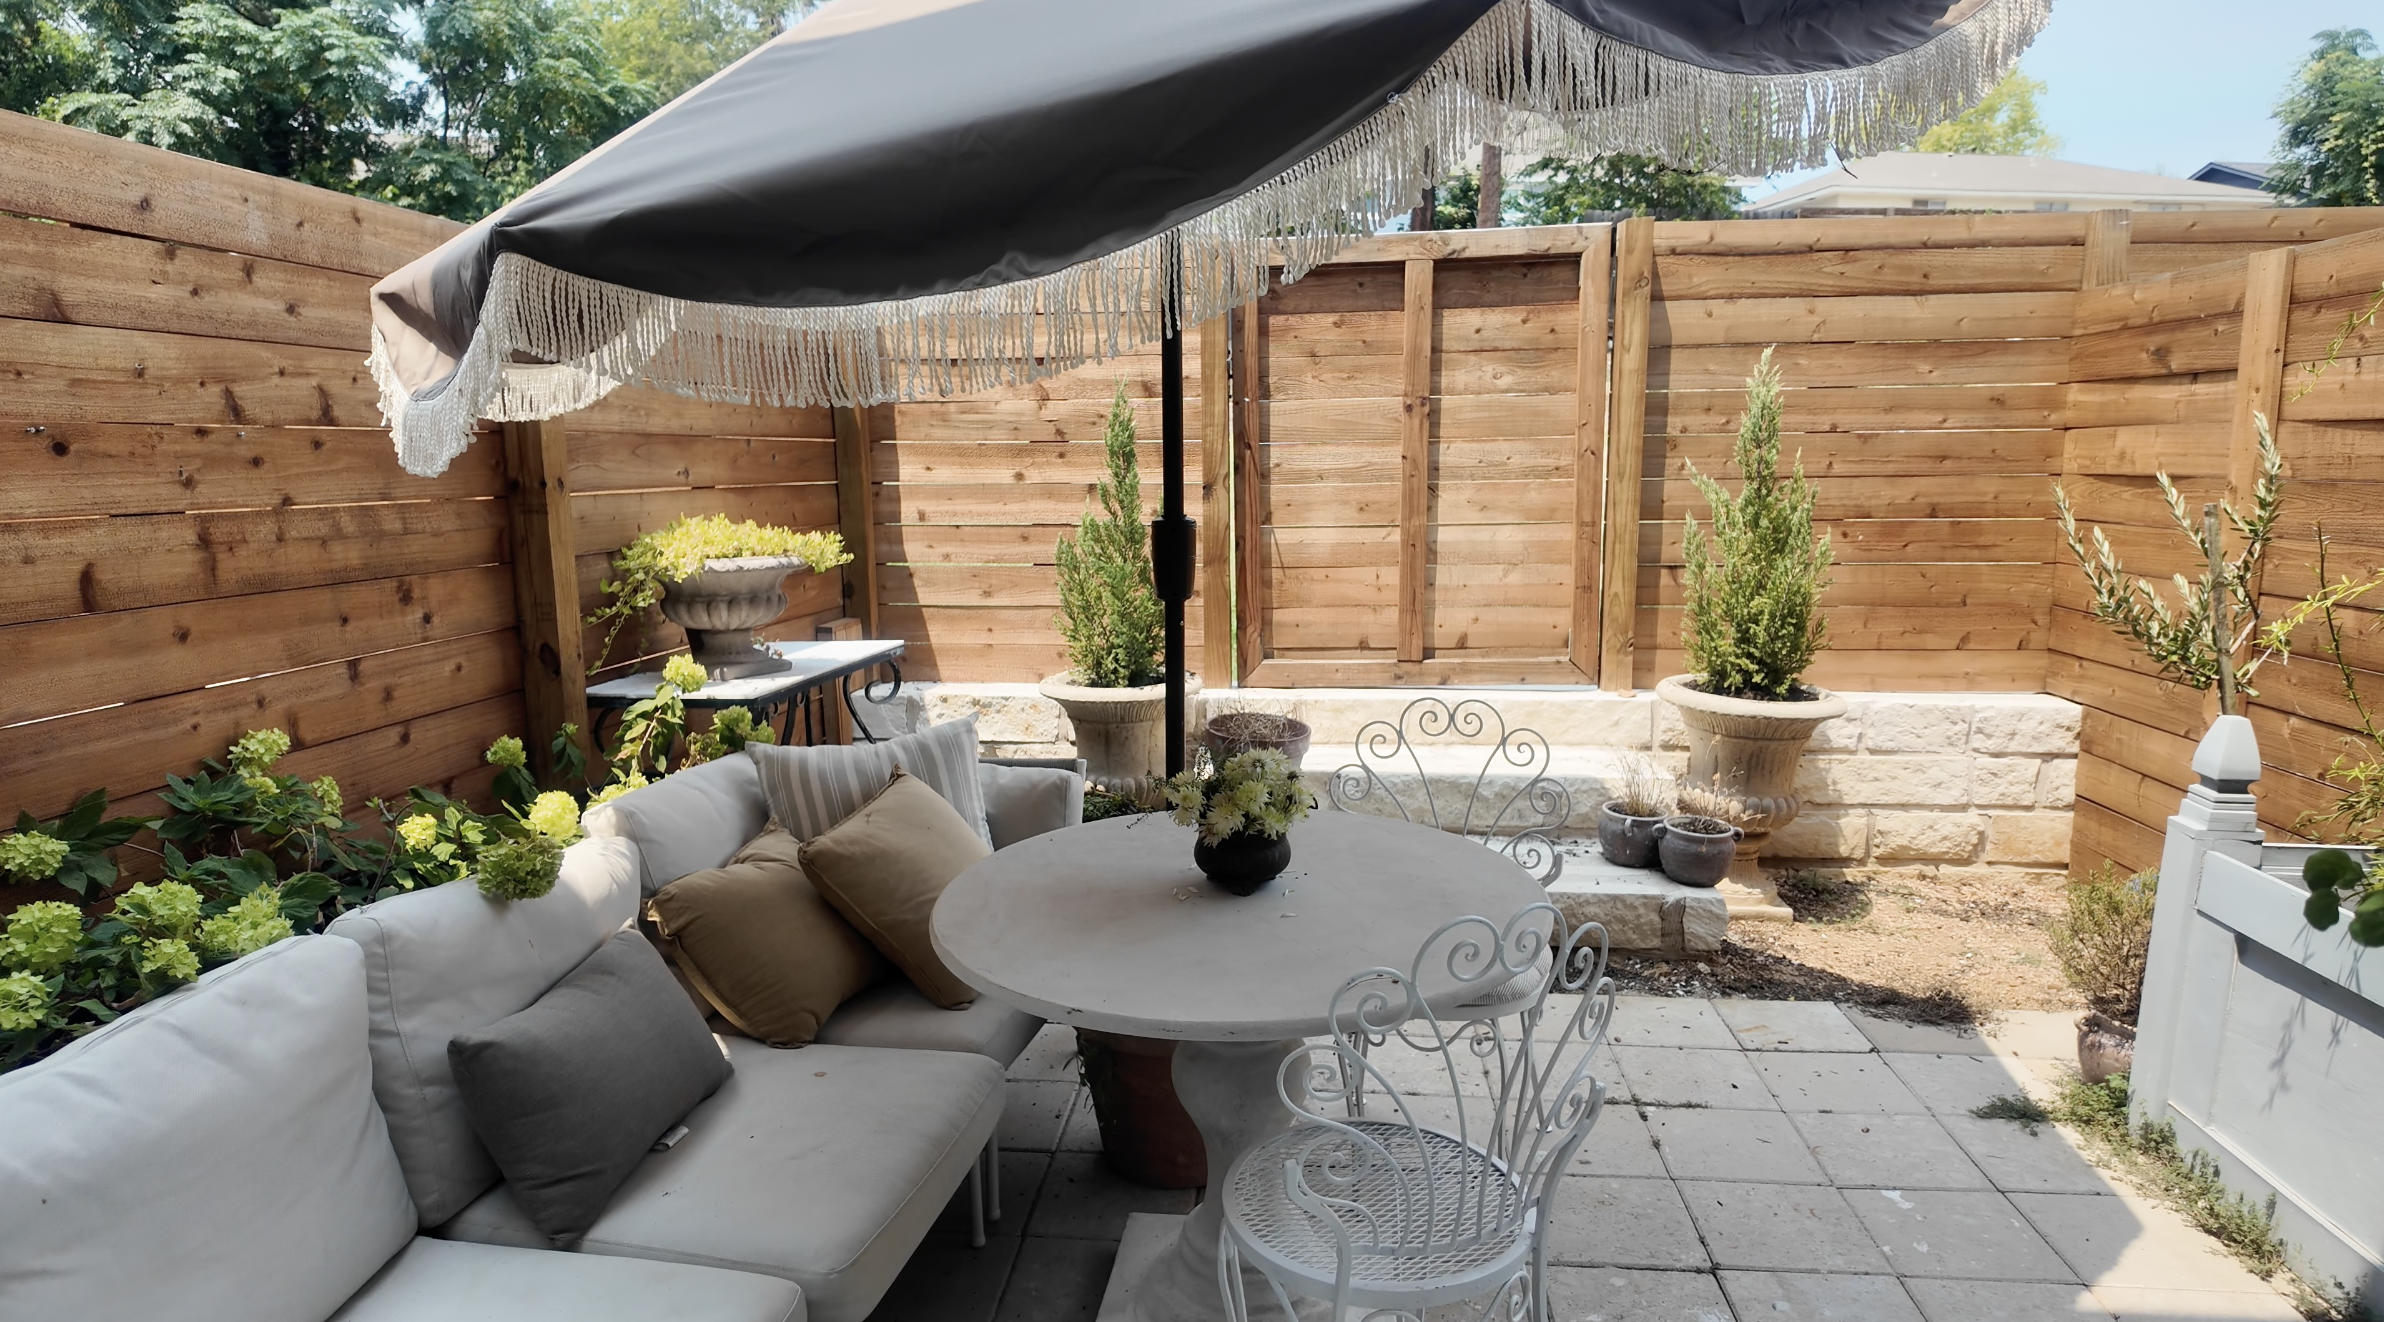
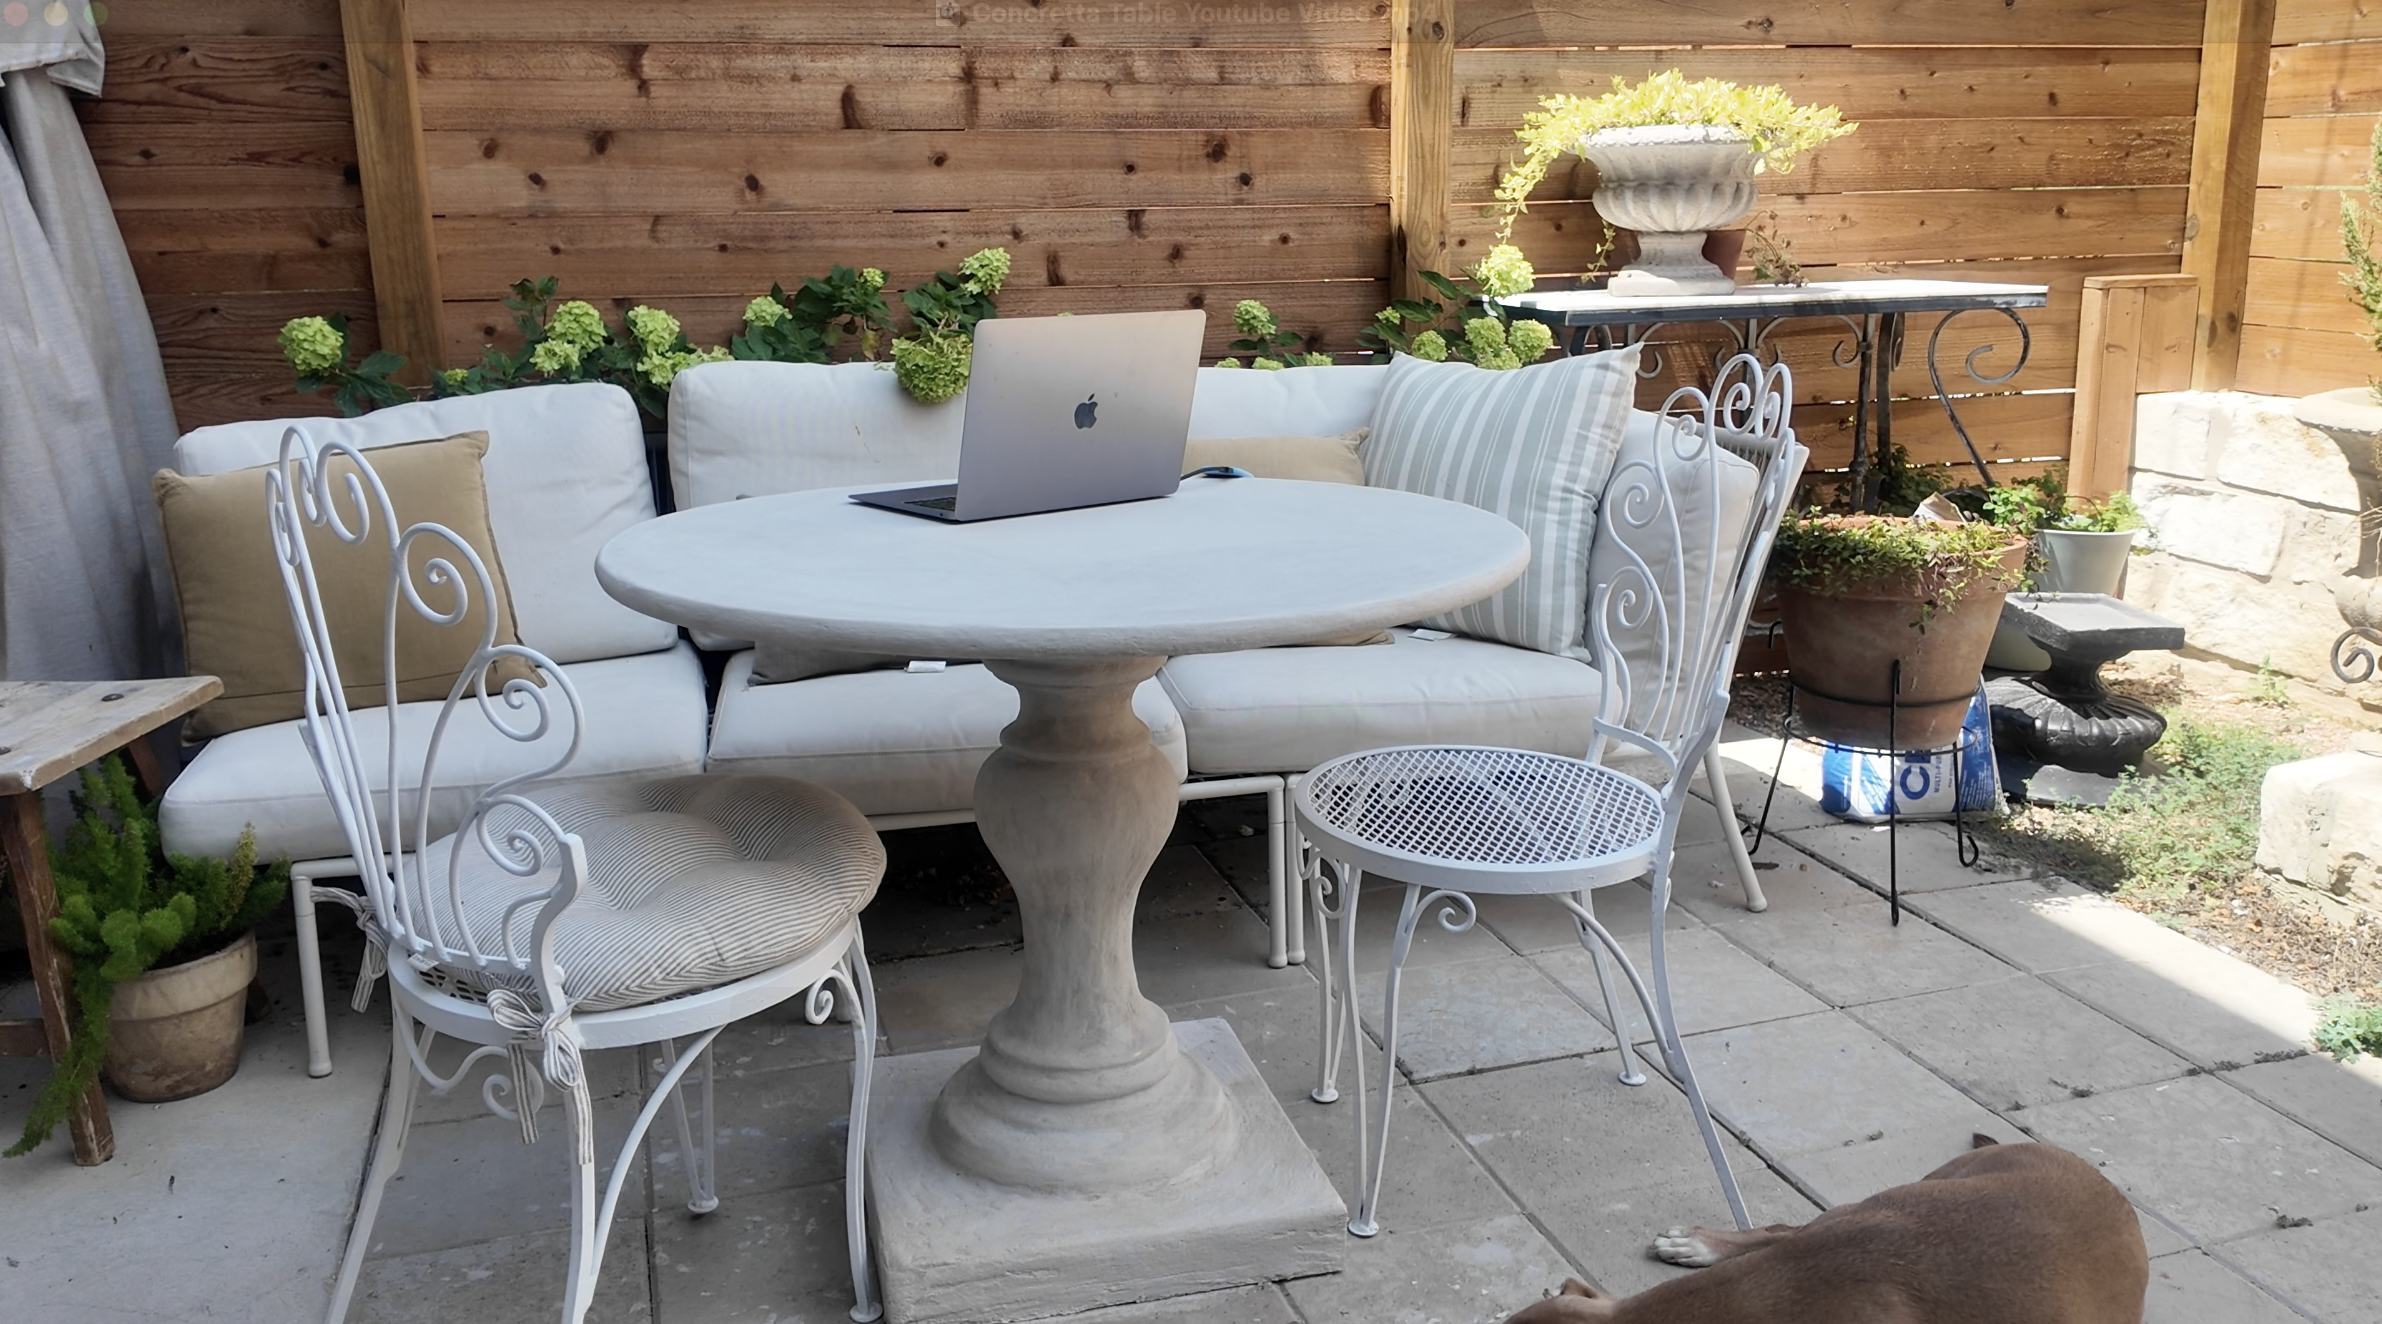
The Result
Watch the Full Project
Watch the full video on Youtube - and subscribe if you want to catch the next one! Watch on Youtube→
Shop the Supplies
About the Creator

I'm slowly turning my rental into a home, one project at a time — sharing the real process, mistakes included.