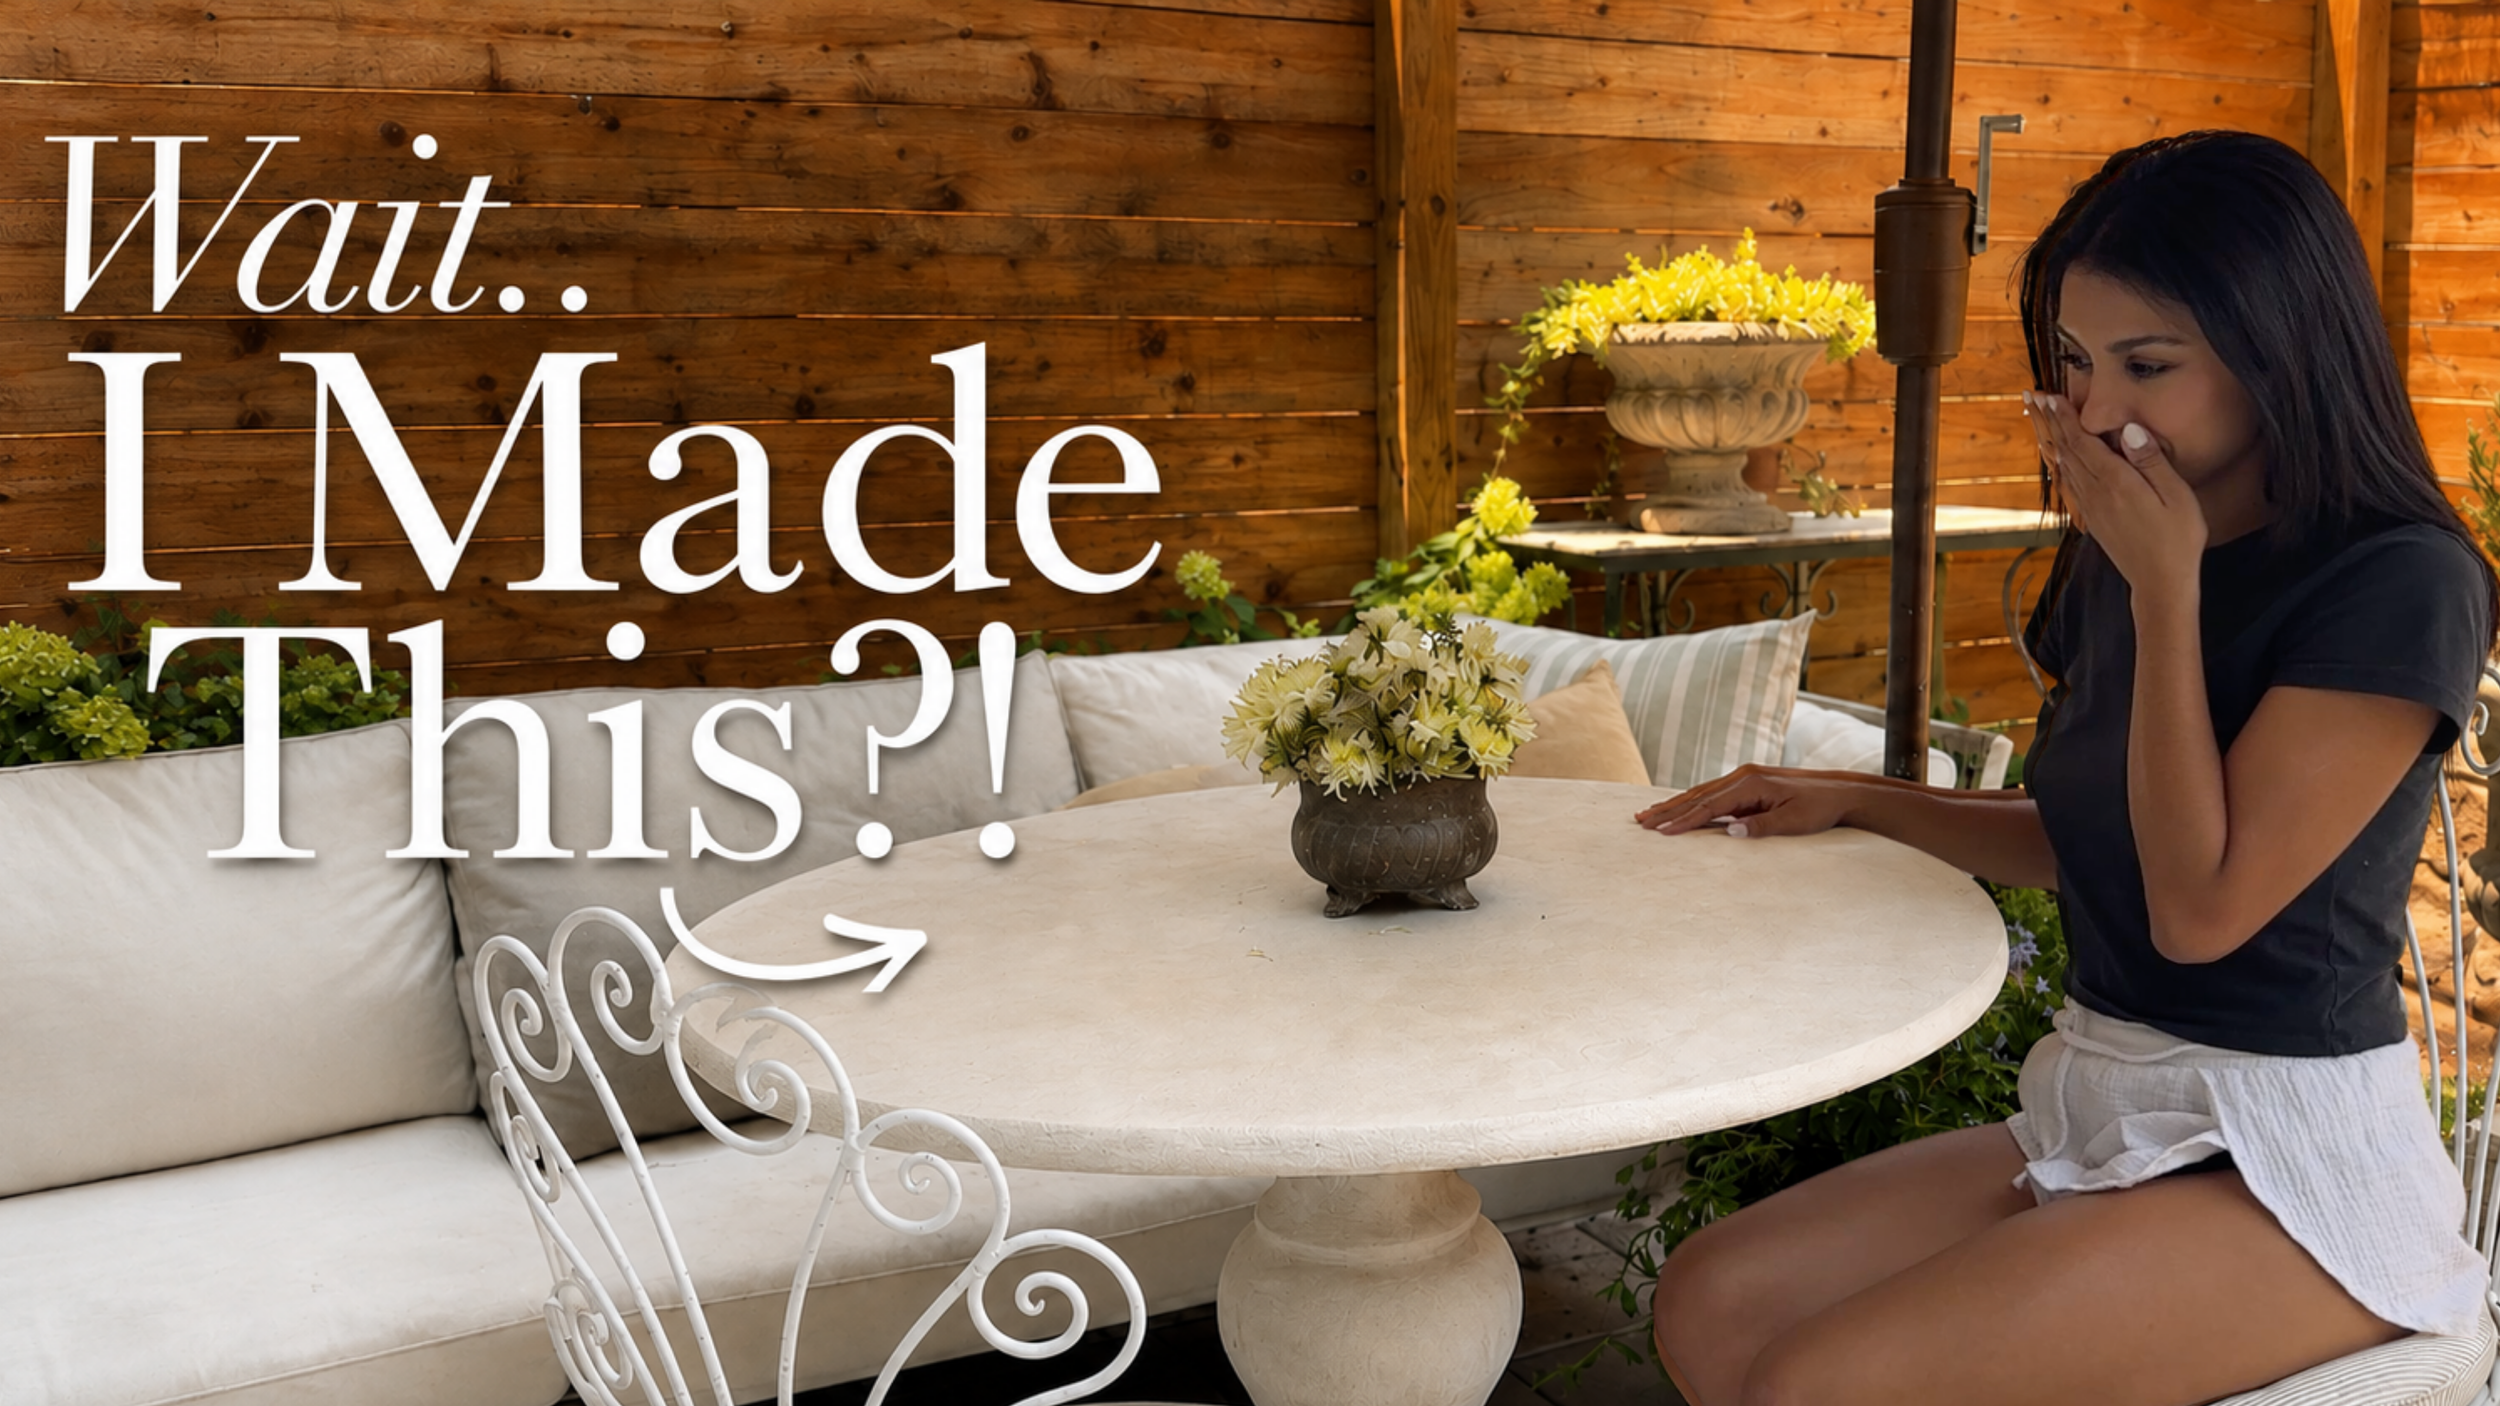
DIY Terracotta Planter with Resin Appliqués (Plus How I Turned It Into an Umbrella Stand)
Room: Outdoor · Cost: $$ · Time: One Week · Difficulty: Intermediate
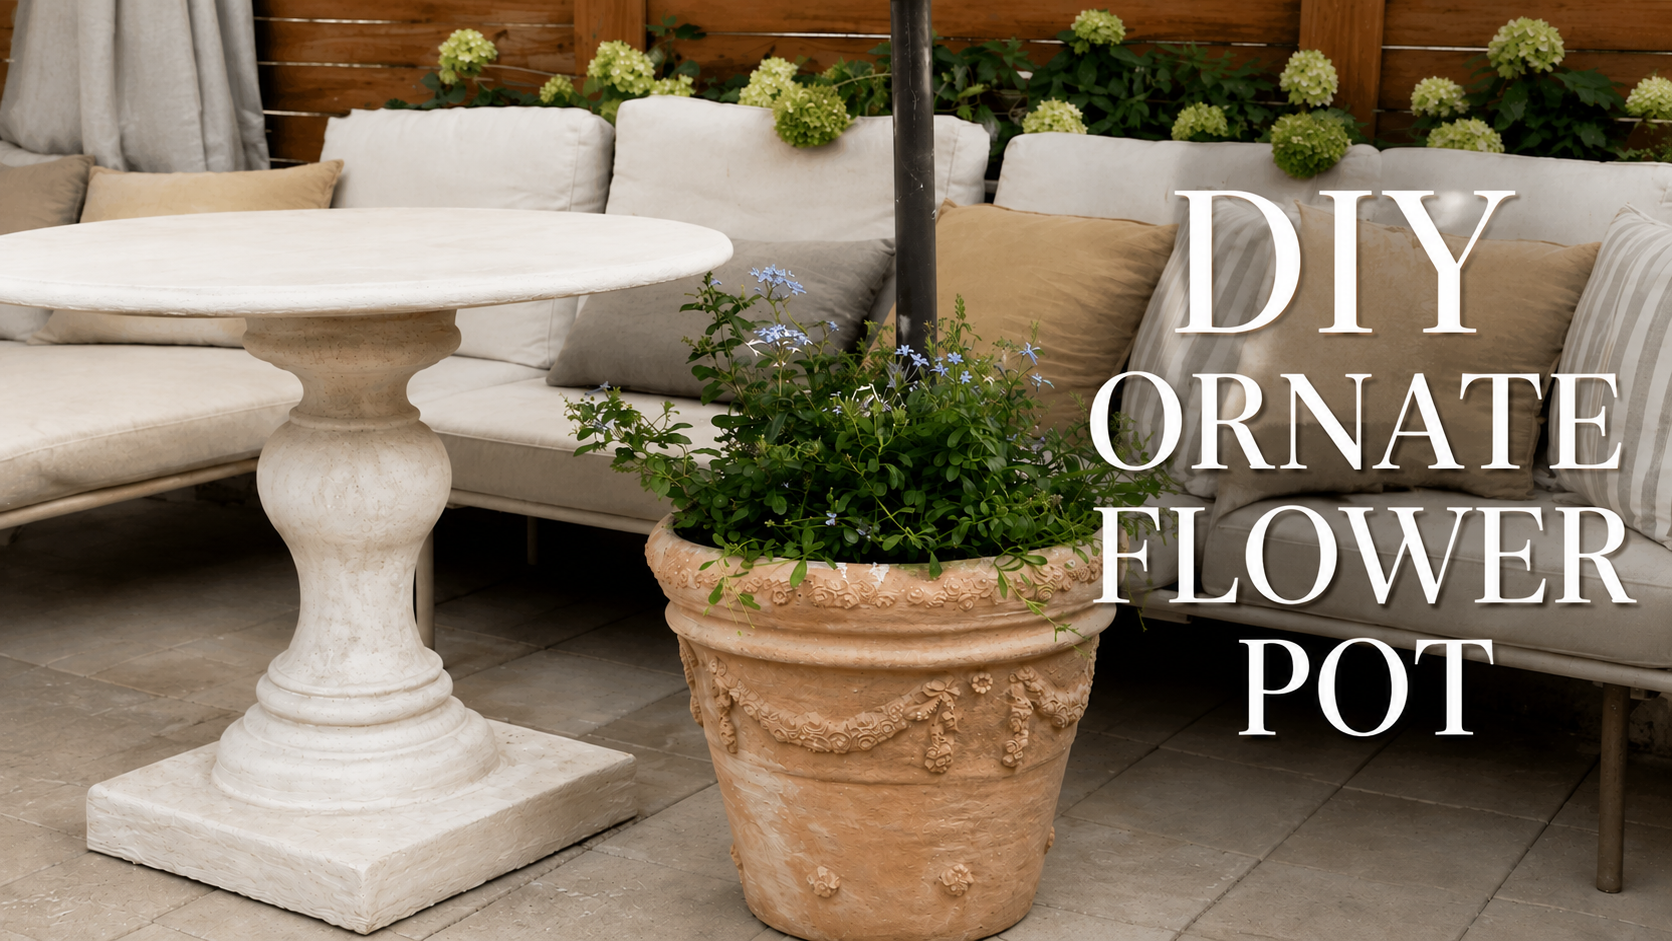
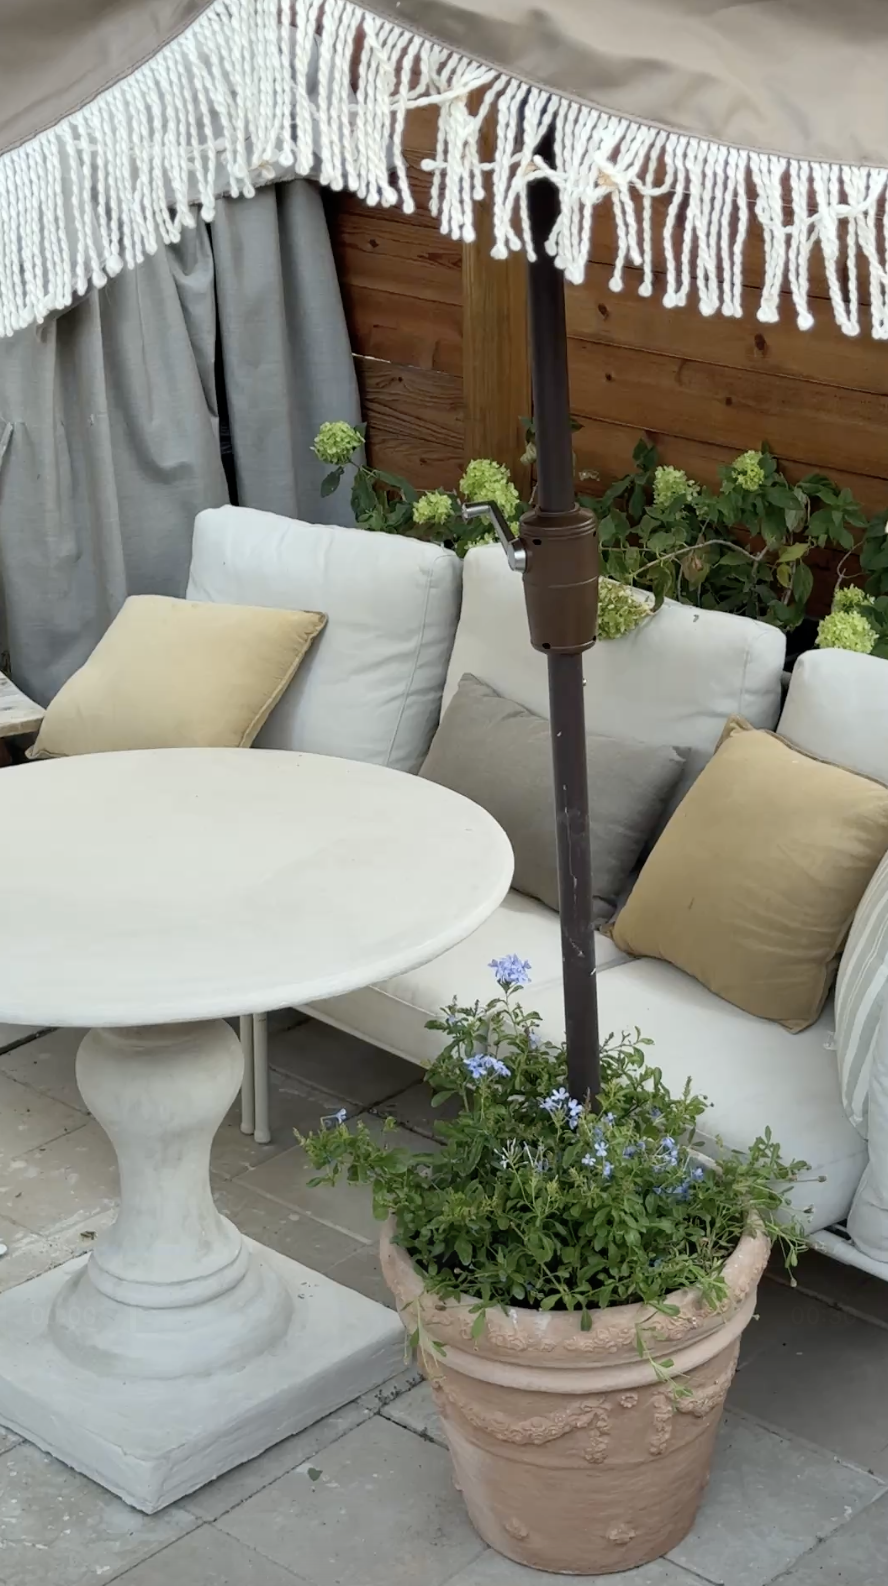
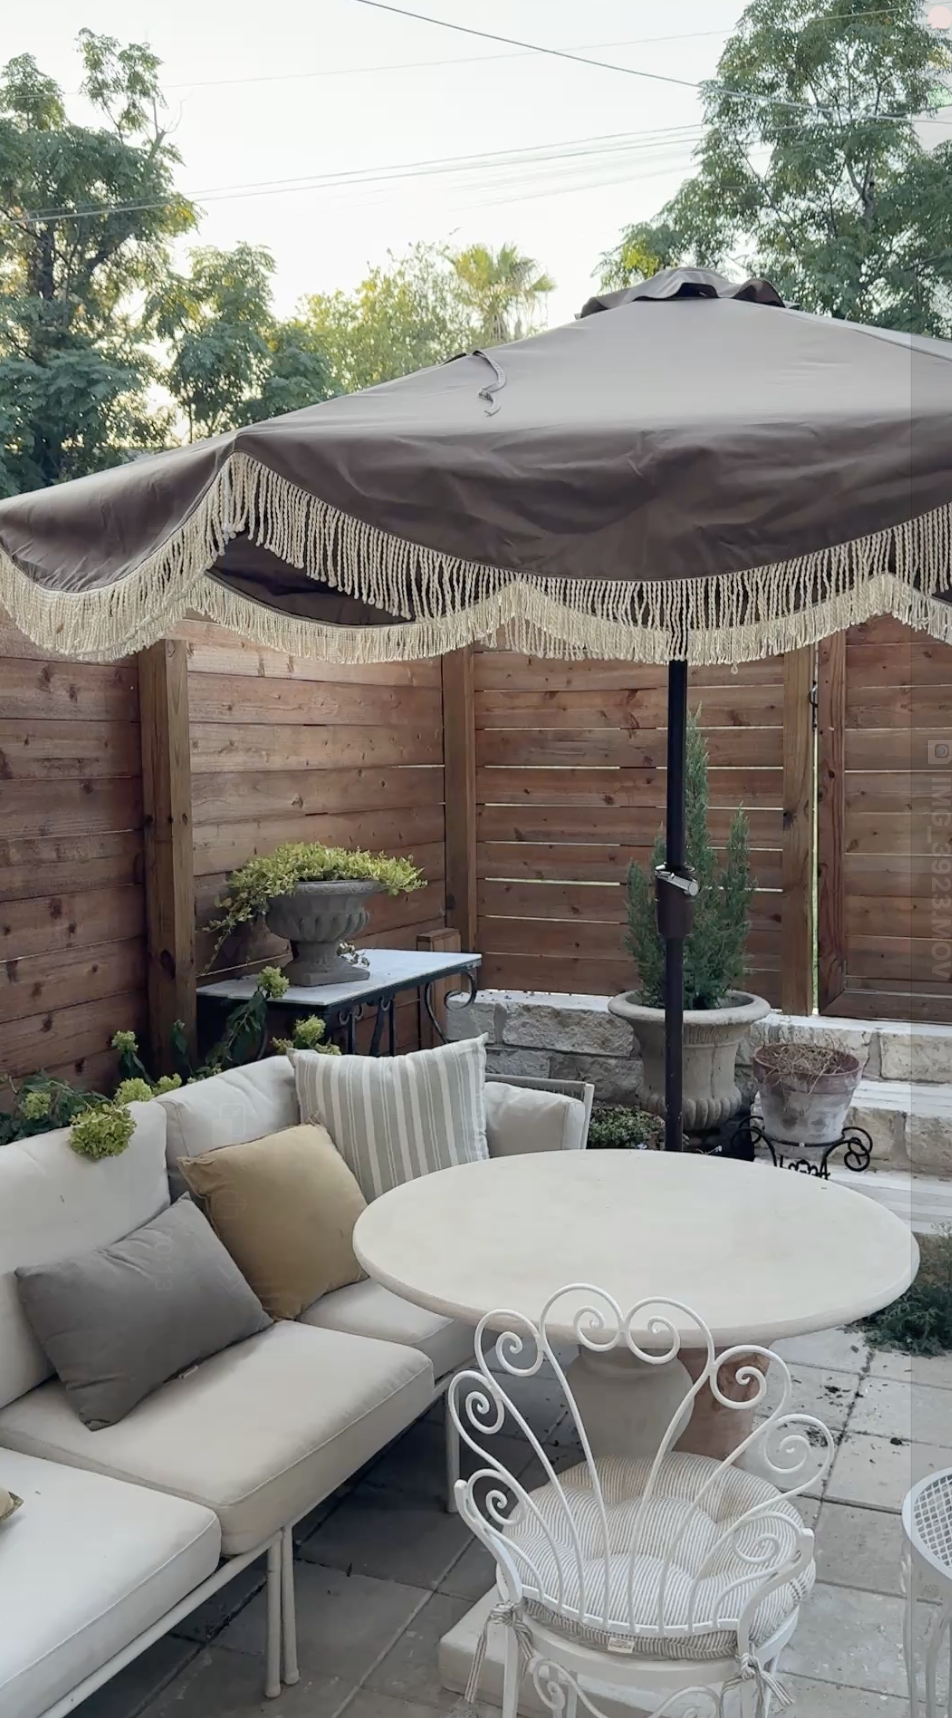
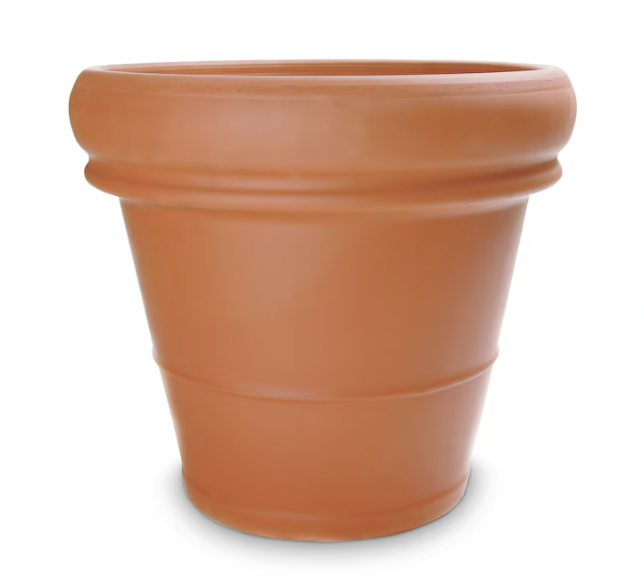
I wanted to take a plain terracotta pot and make it feel like something you'd actually notice — not just another planter sitting on the patio. So I dressed it up with some ornate resin appliqués, covered the whole thing in Concretta to unify it, and then took it a step further and turned it into a functioning umbrella stand for my patio table. You can absolutely stop after the pot itself looks good — the umbrella stand part is a whole separate bonus if you want it.
Phase one: Make and Attach the Resin Appliqués
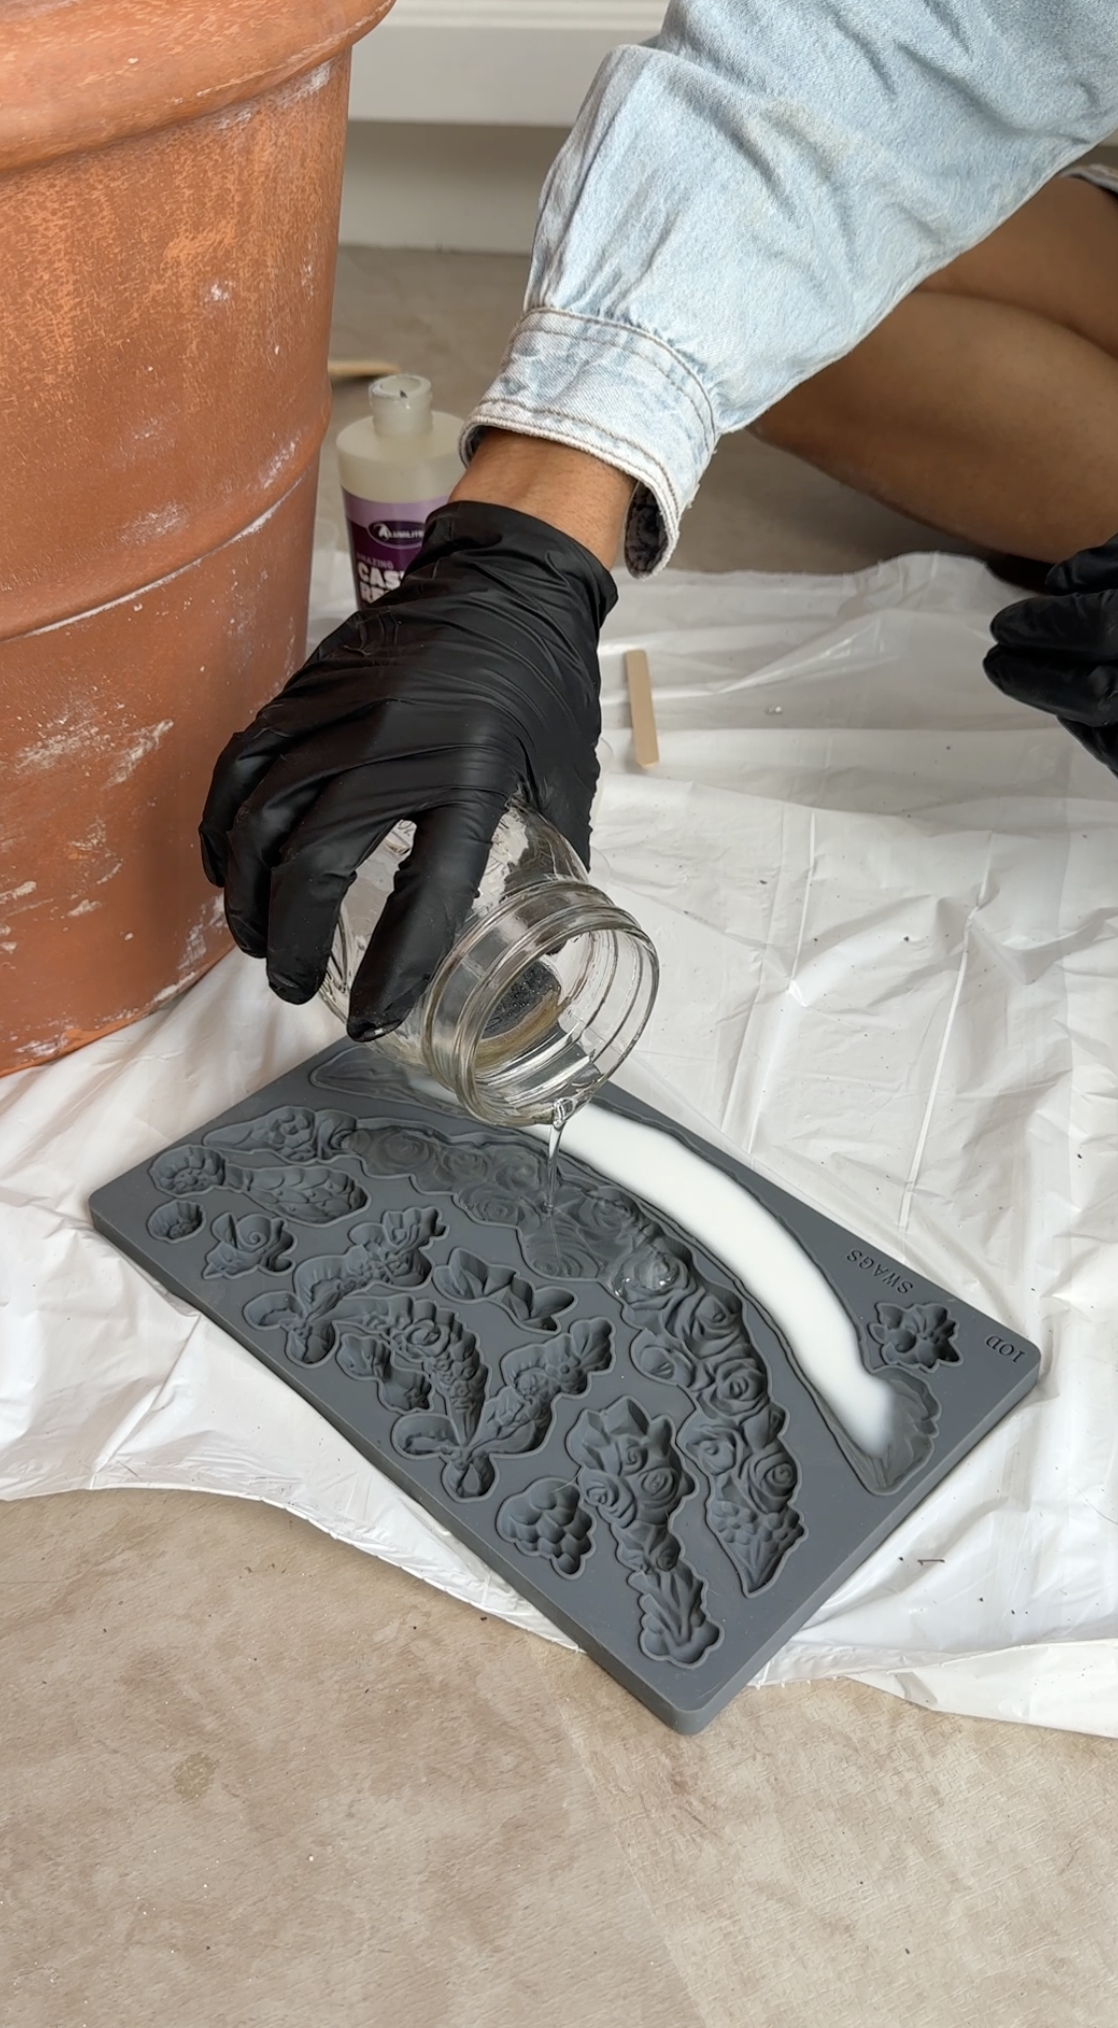
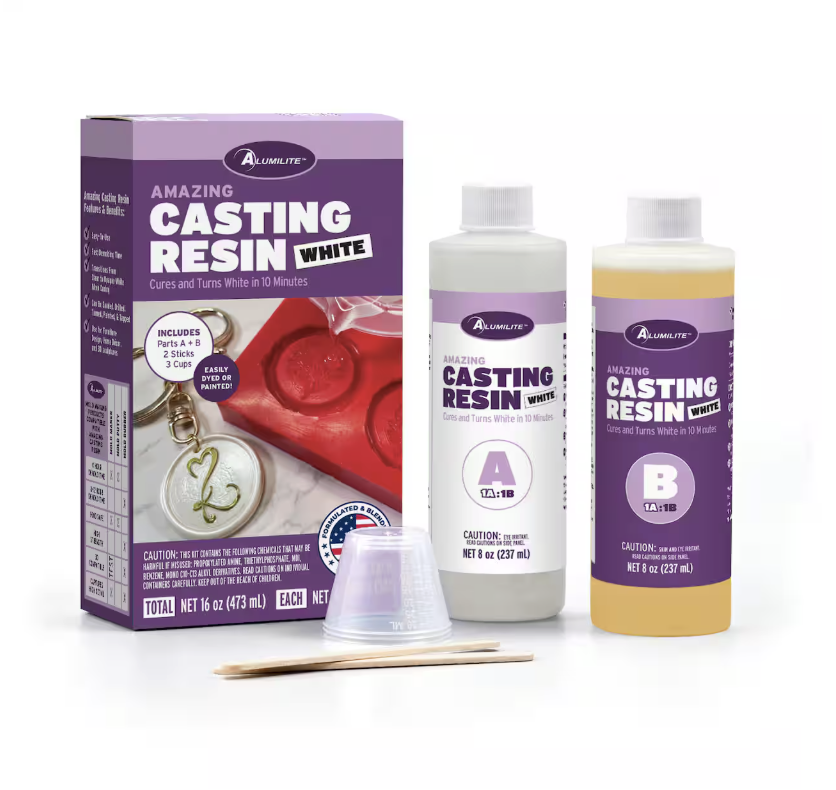
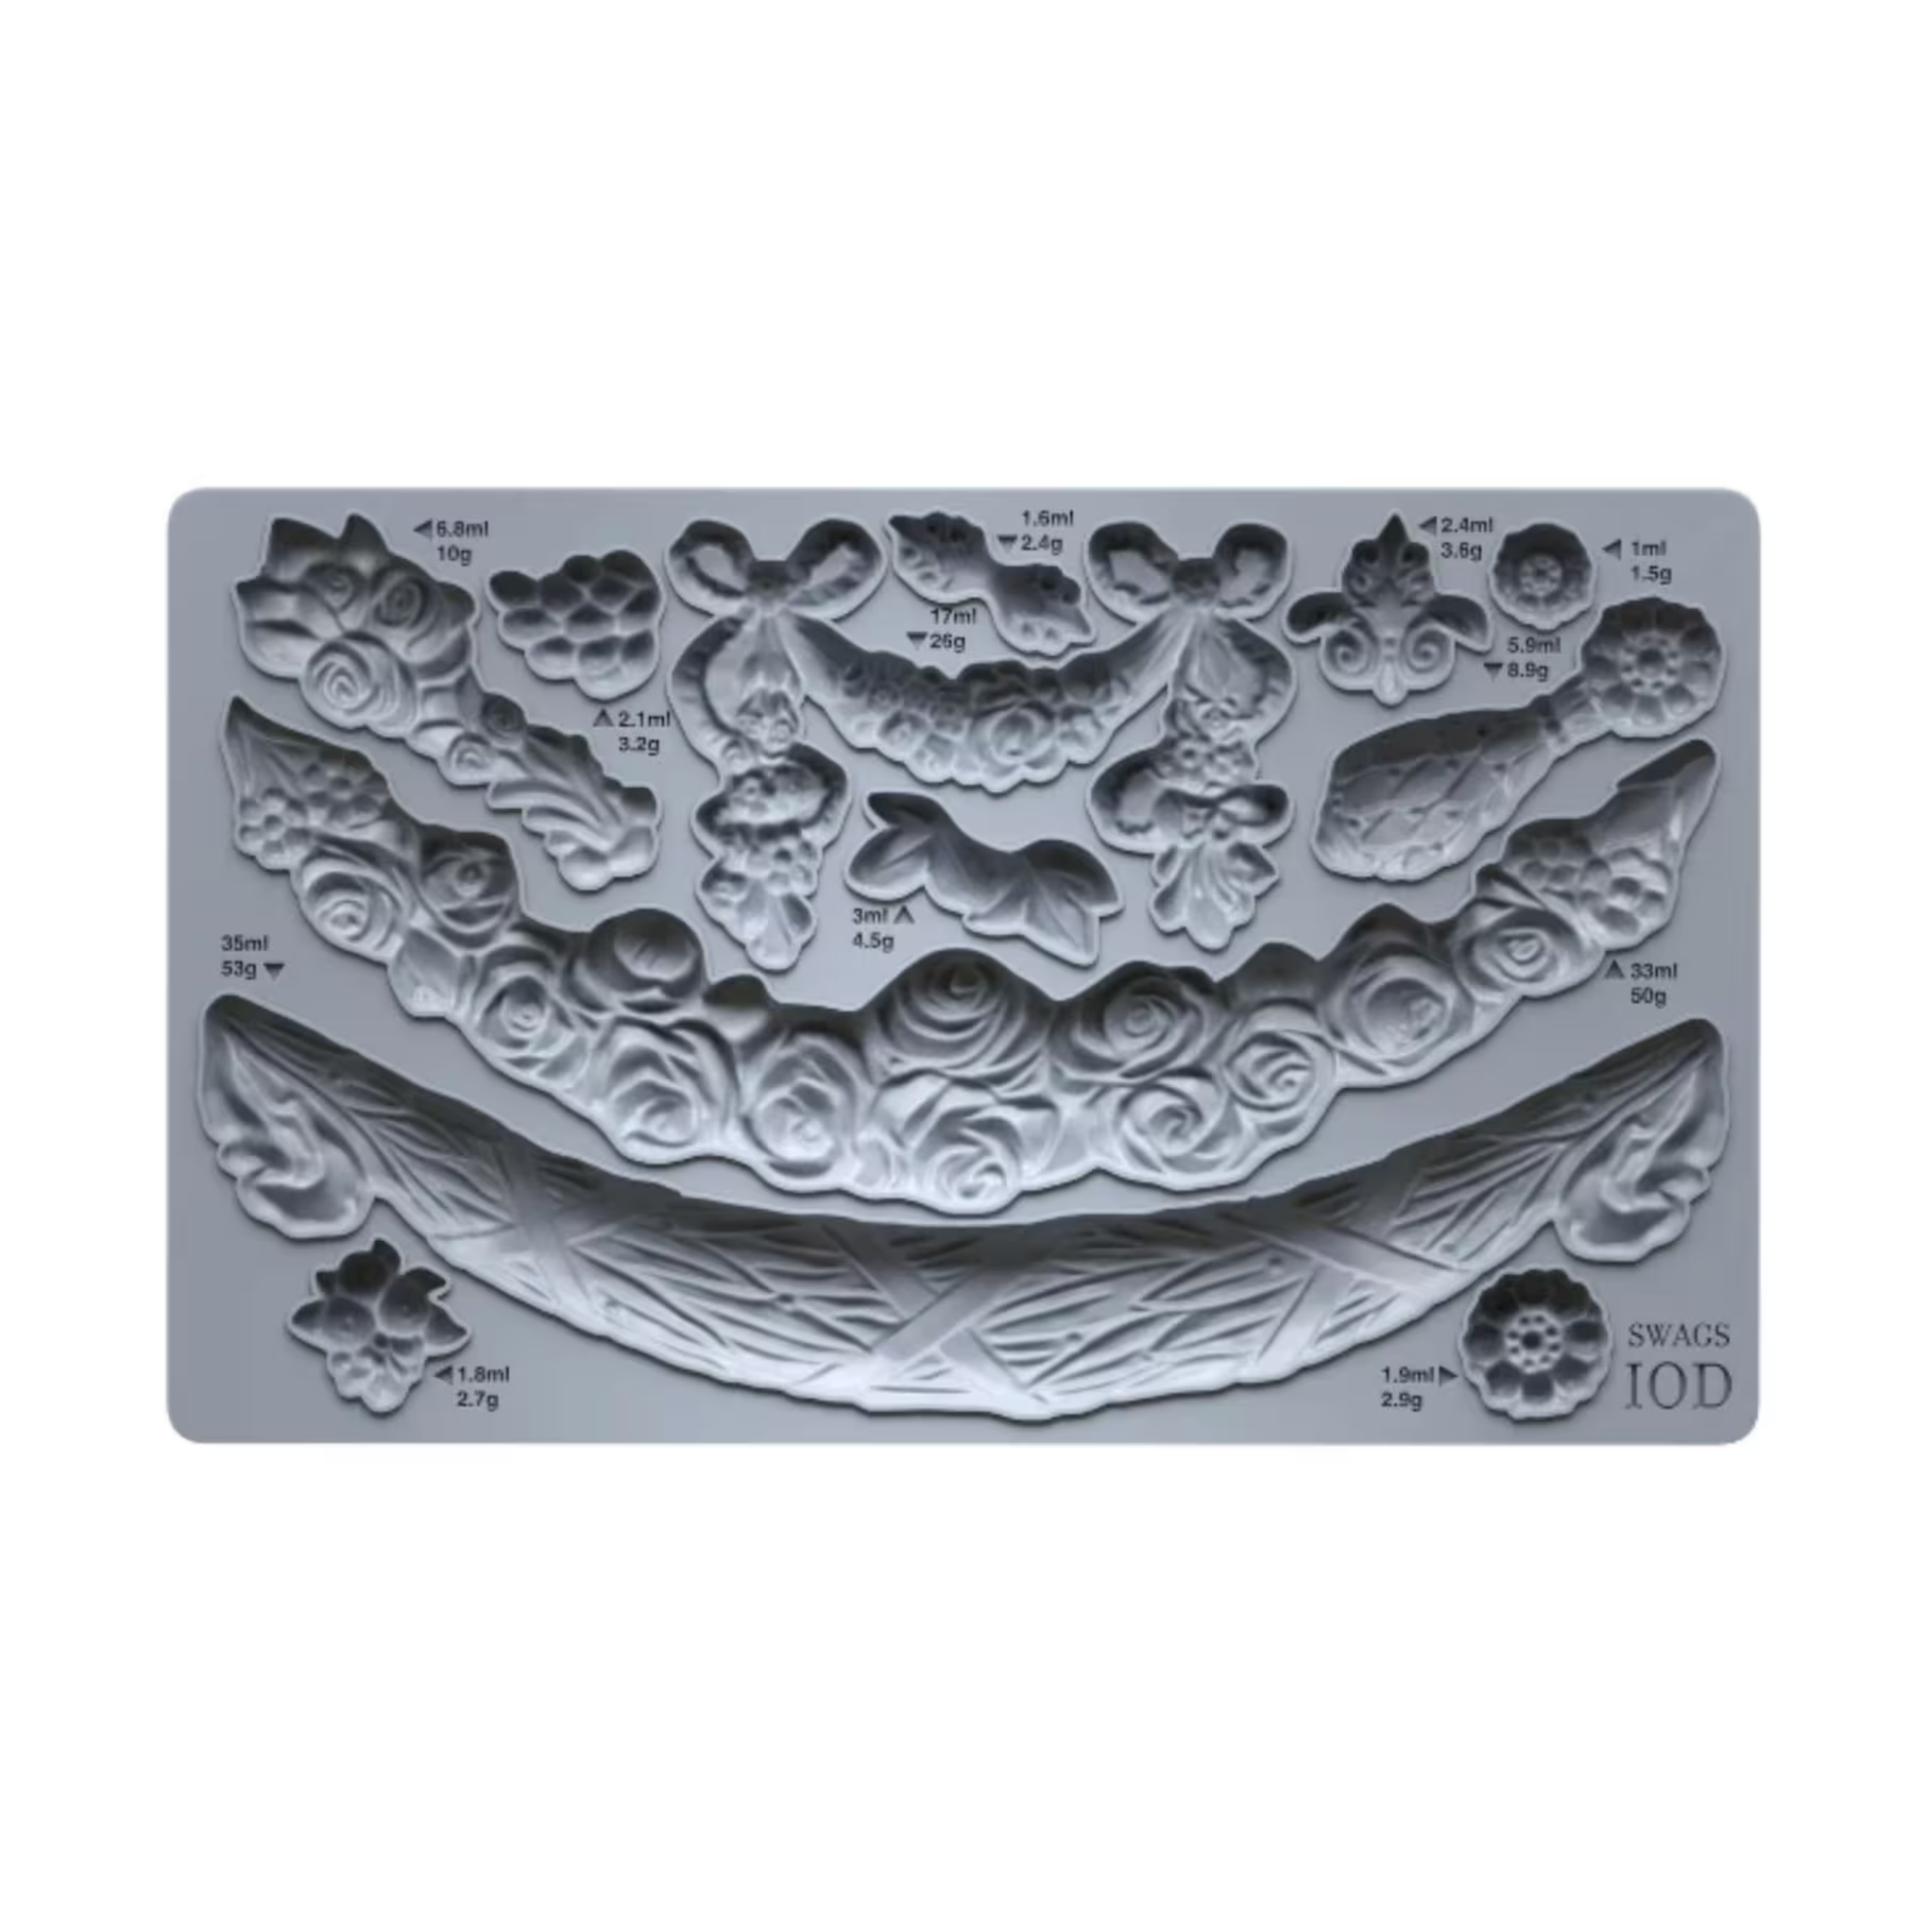
First, I made the appliqués themselves. I used silicone molds I found on Etsy along with a resin casting kit to cast a handful of ornate pieces I could then arrange however I wanted on the pot.
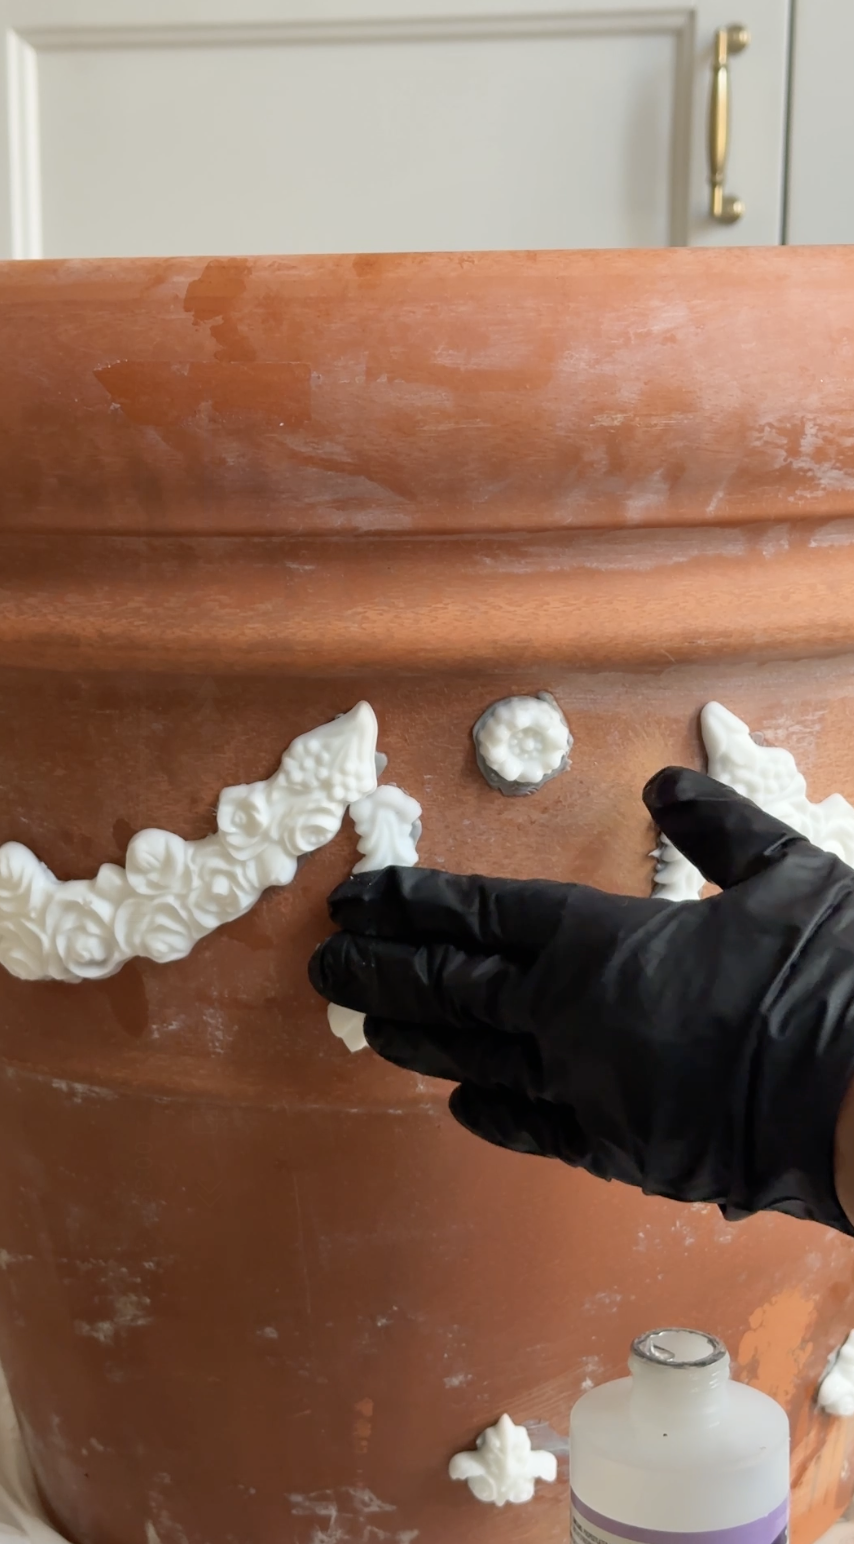
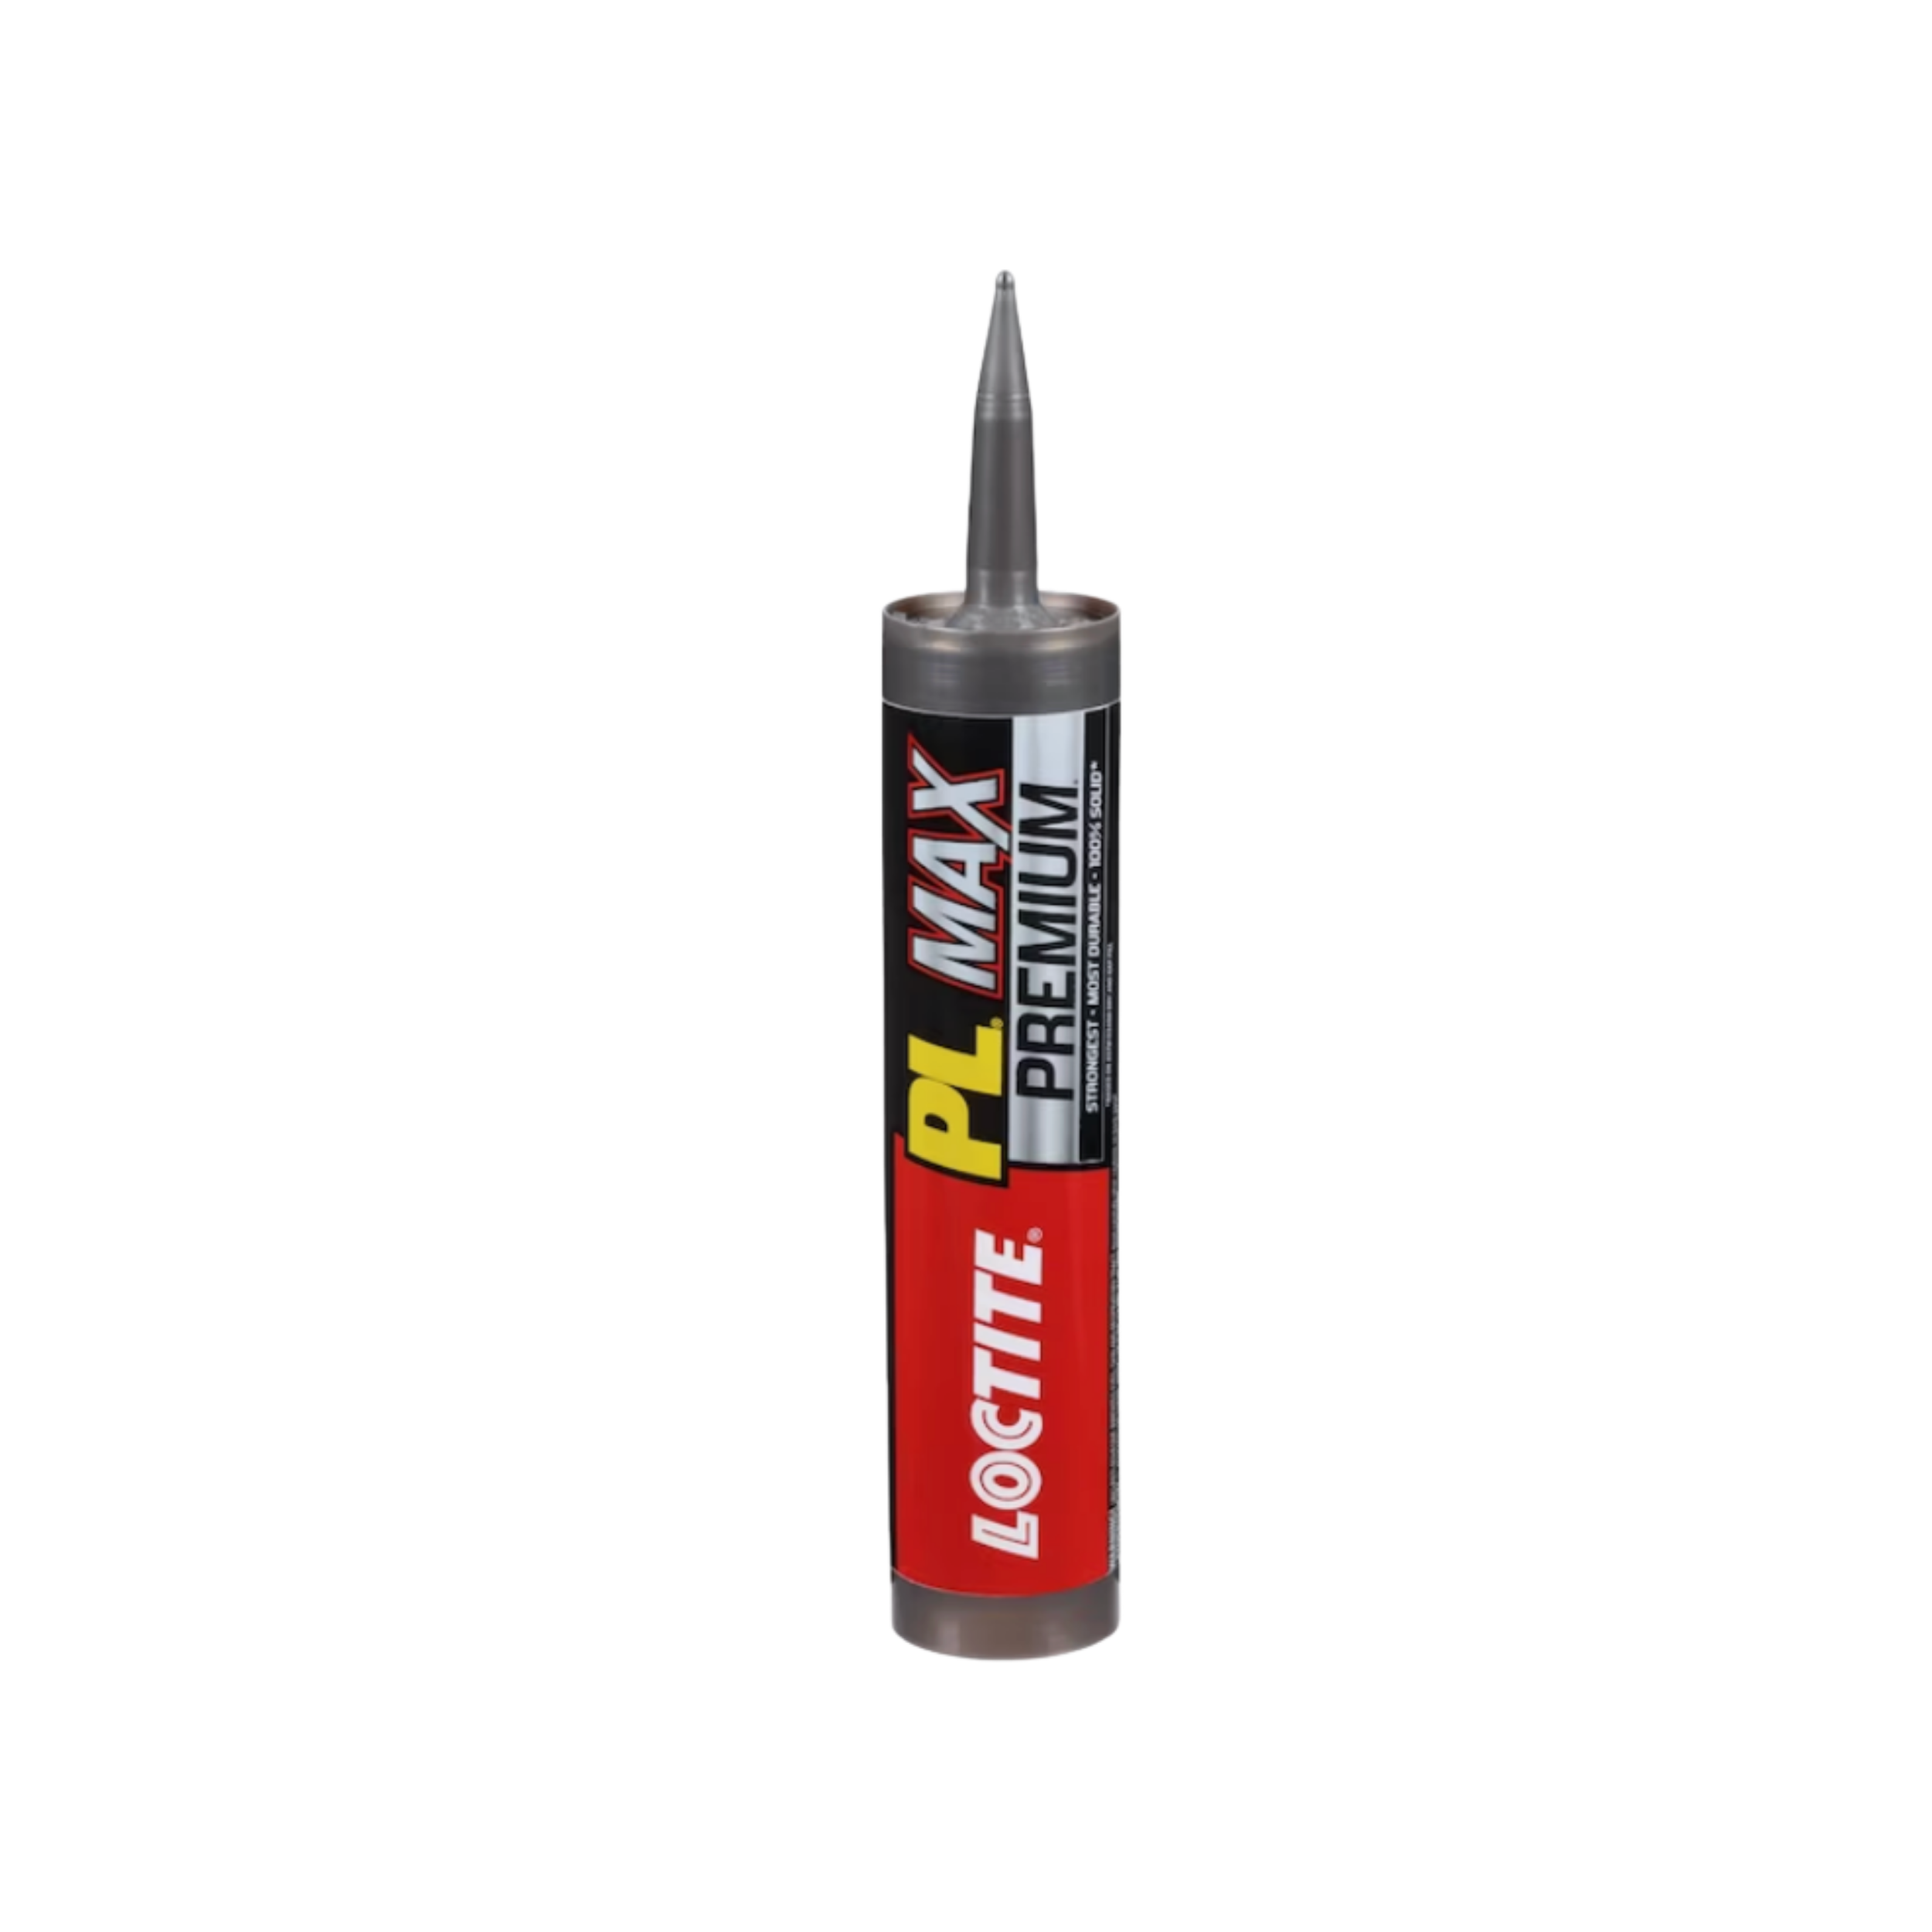
Before gluing anything down, I lightly scuffed the back of each resin piece and scuffed the spots on the terracotta pot where they'd go — just enough for the glue to actually have something to grip. Then I arranged them in whatever layout I liked and glued everything on with construction adhesive. I let that dry fully before moving on.
Phase two: Prime Everything
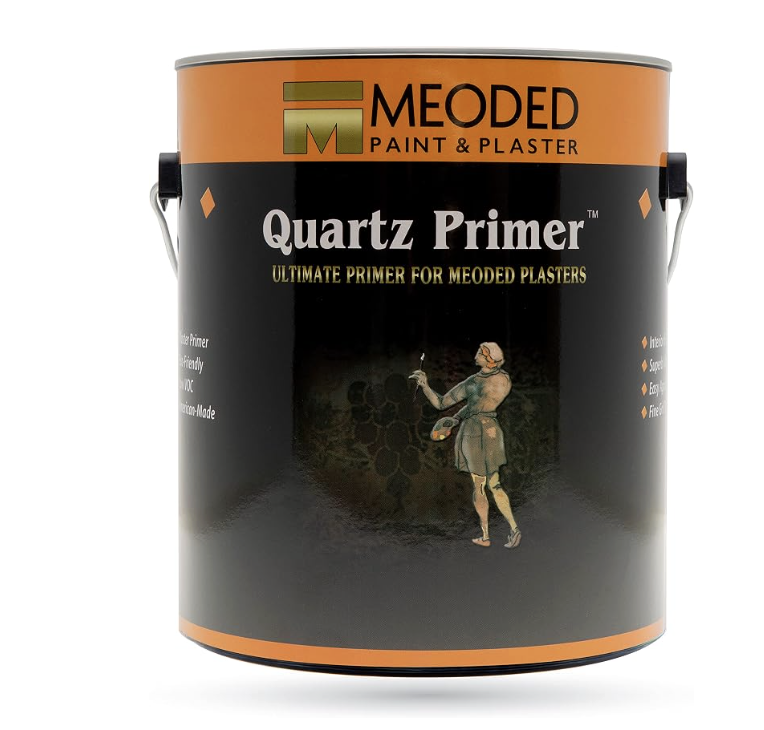
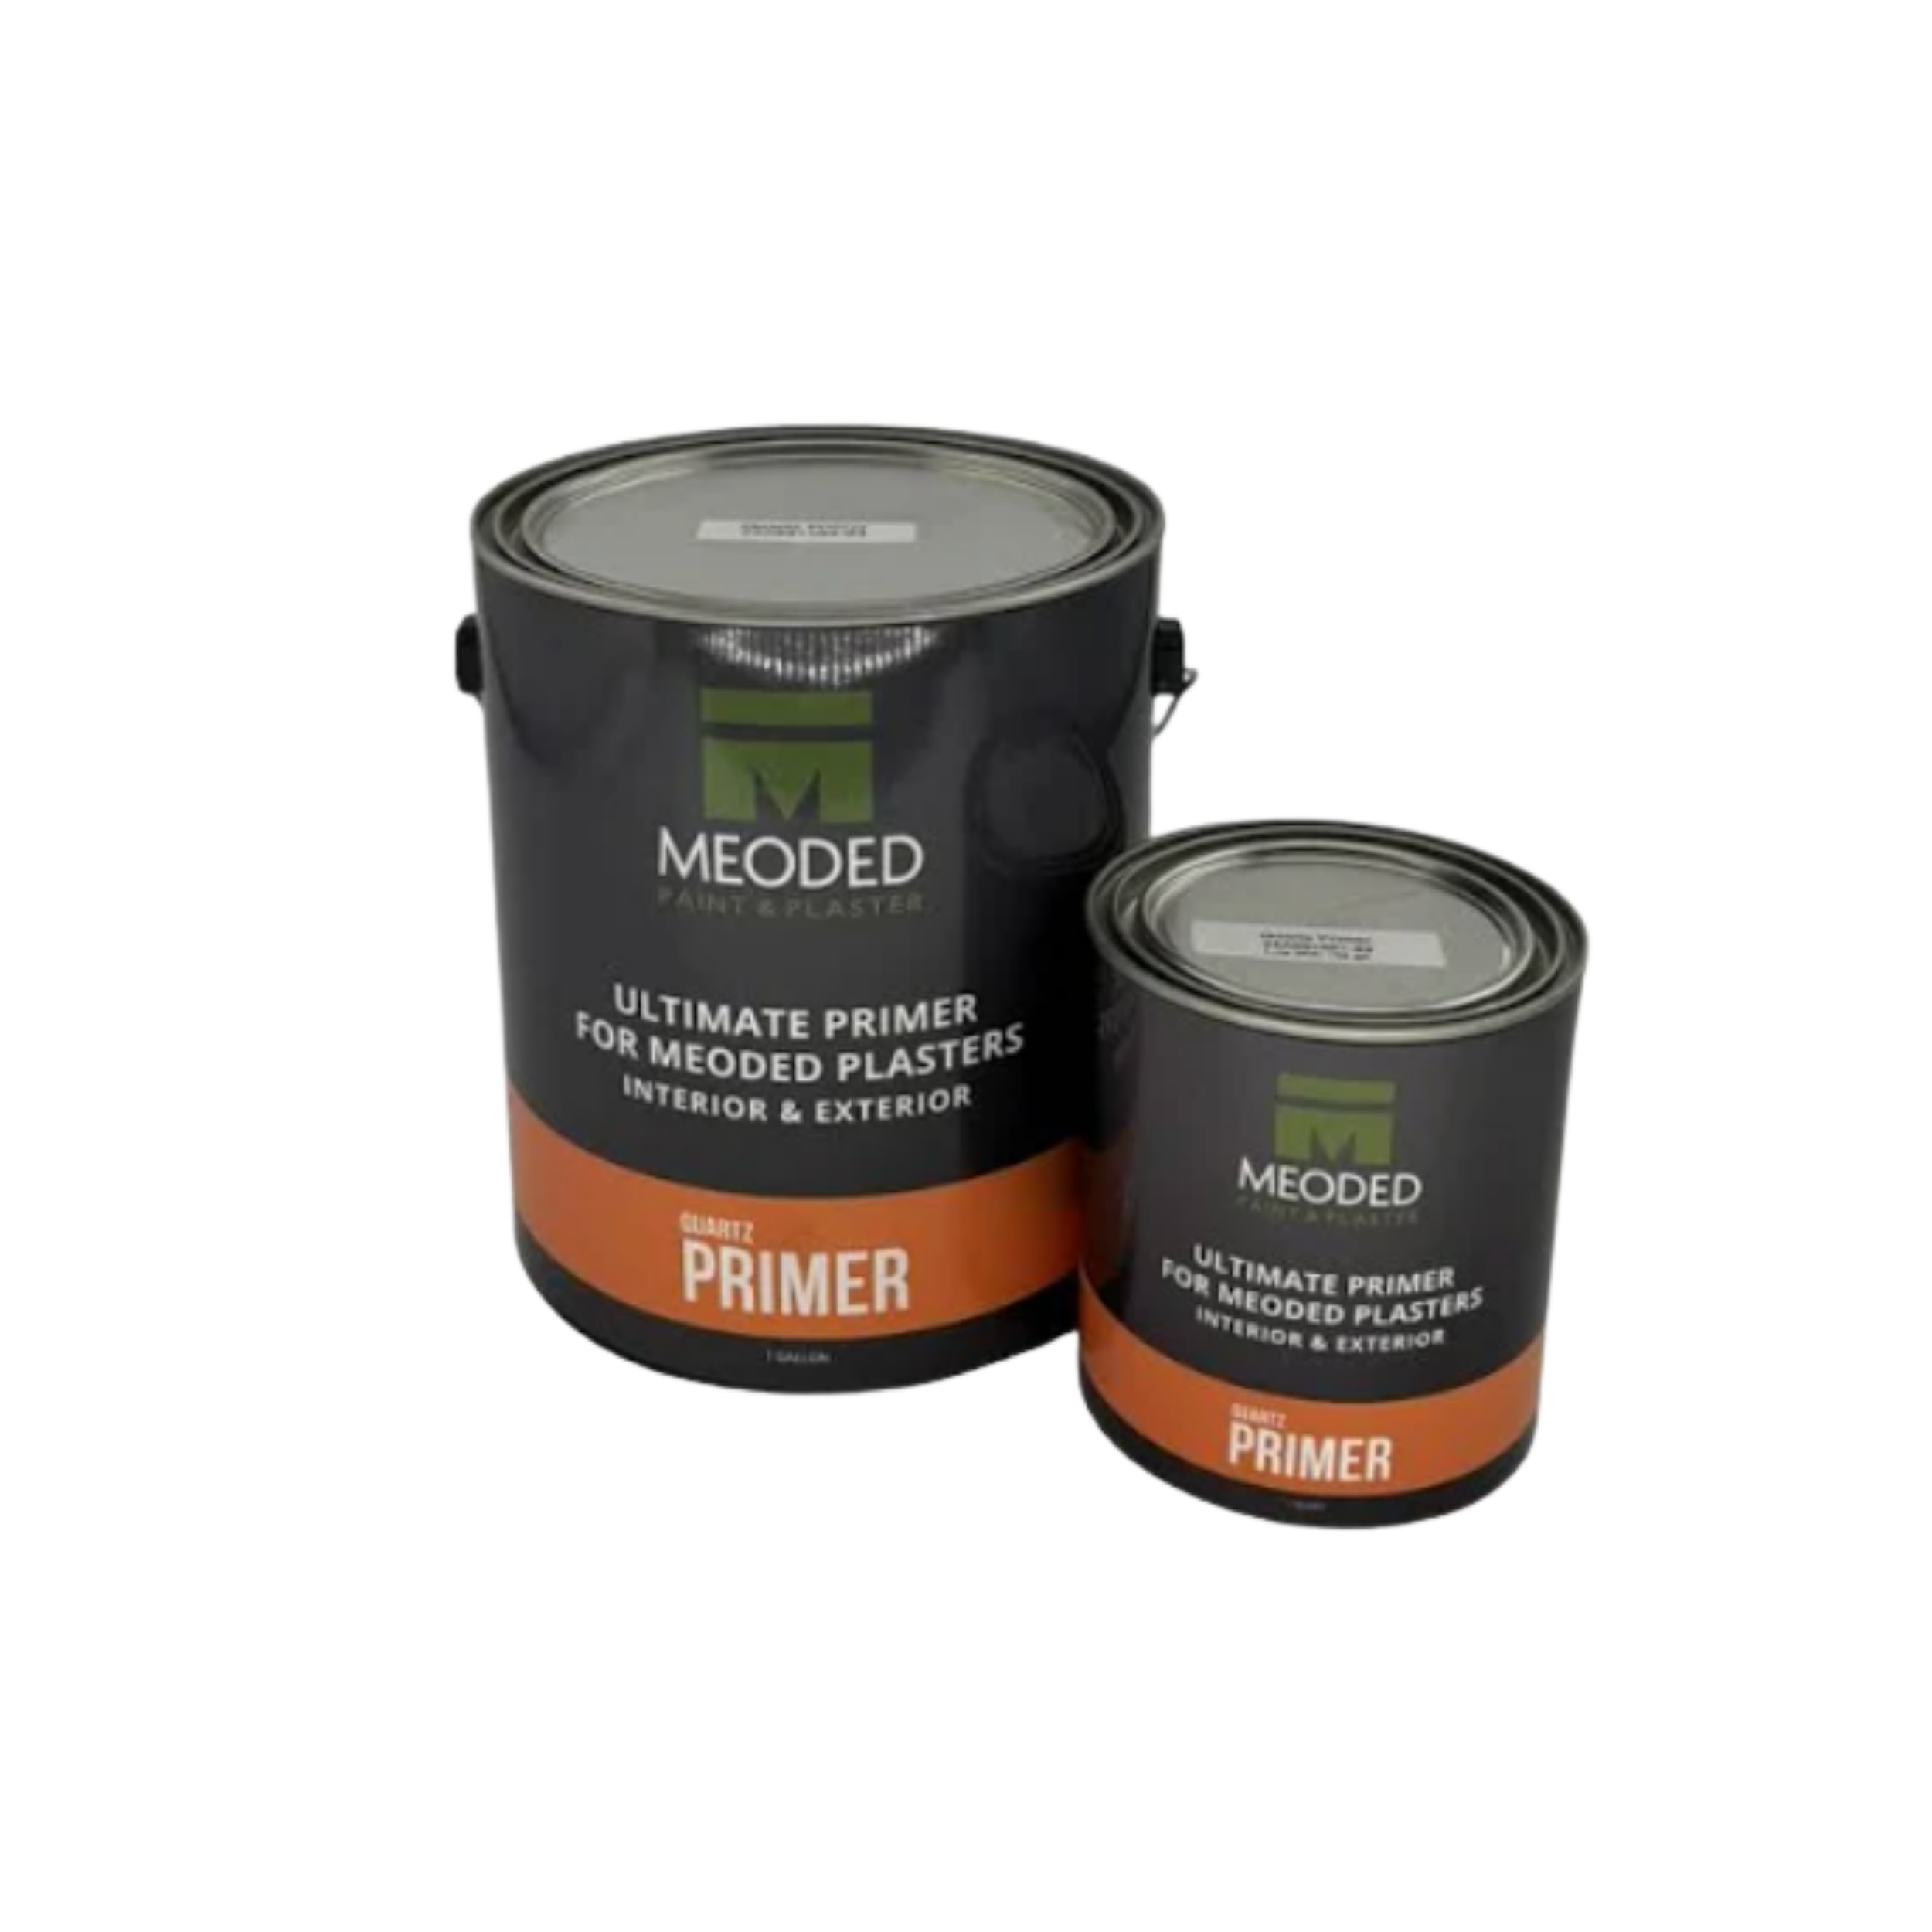
Once the appliqués were secure, I primed the entire pot — appliqués included — with Meoded primer. This is what lets the Concreta actually bond to the surface in the next step, so don't skip it even though it feels like an extra pass before the "real" work starts.
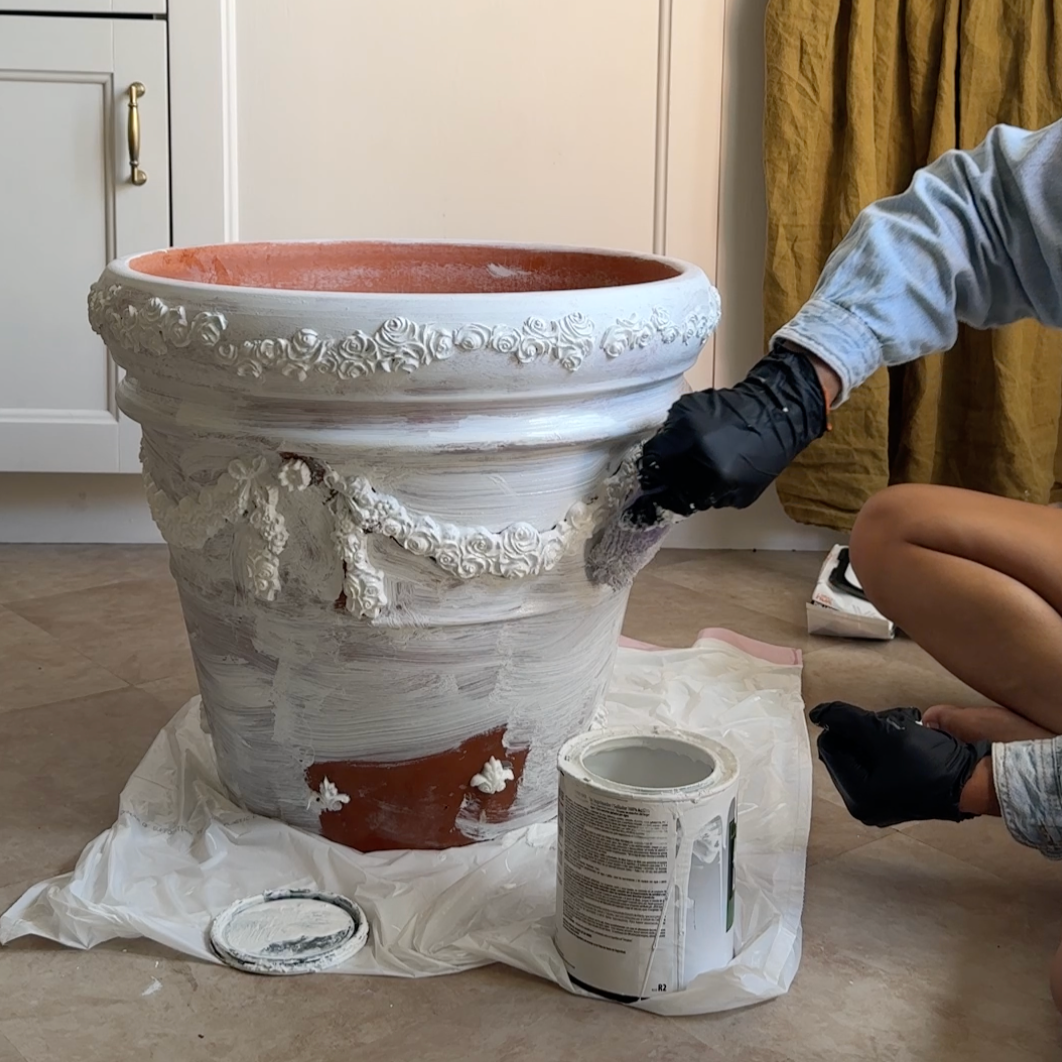
Phase three: Apply the Concretta
This is where the pot actually starts to transform, and honestly, it's the messiest, most trust-the-process part of the project.
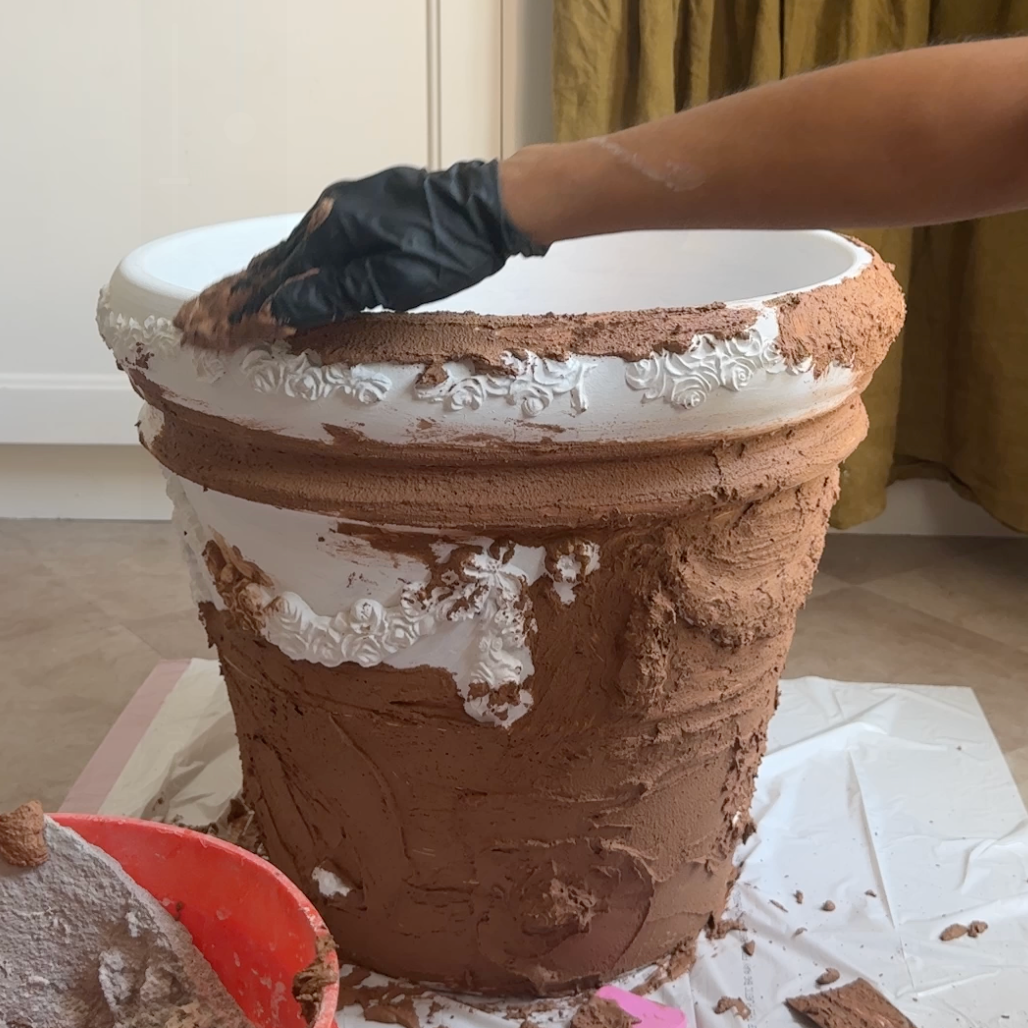
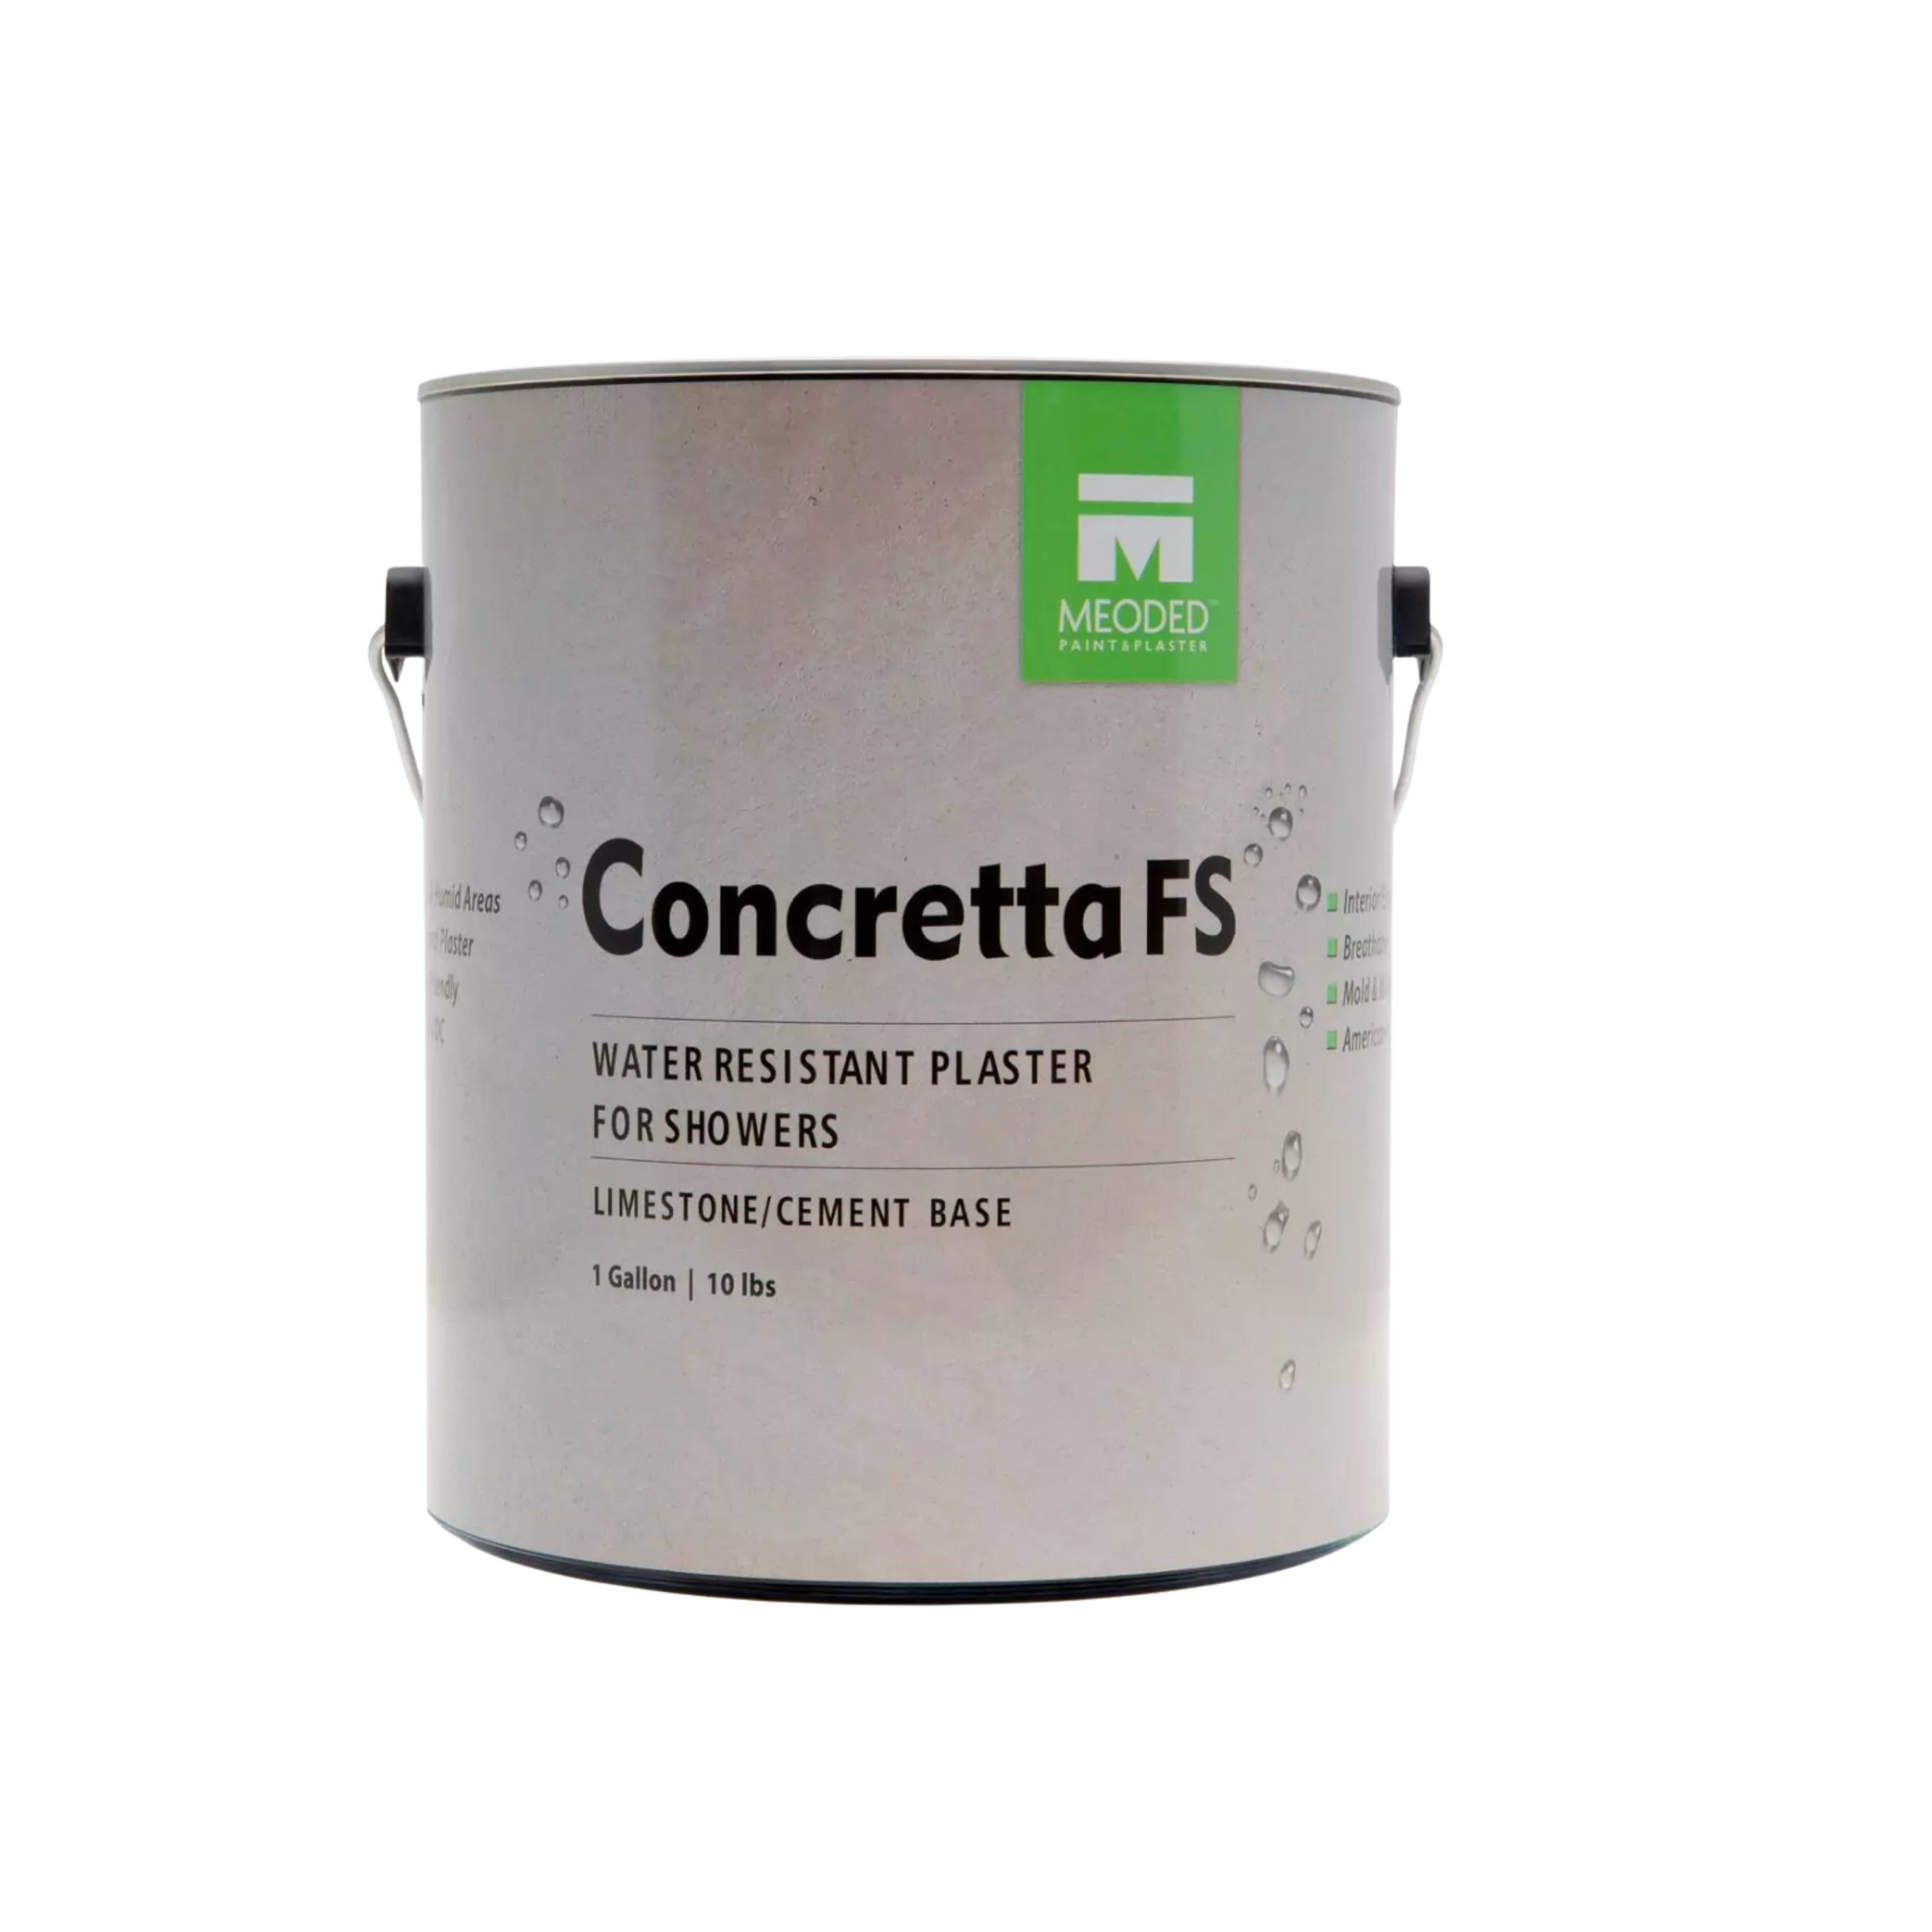
I wanted this piece to keep a warm, terracotta-adjacent feel rather than going full stone-gray, so I used Concretta in the color Canal — a pretty brownish terracotta tone that felt right for the vibe.
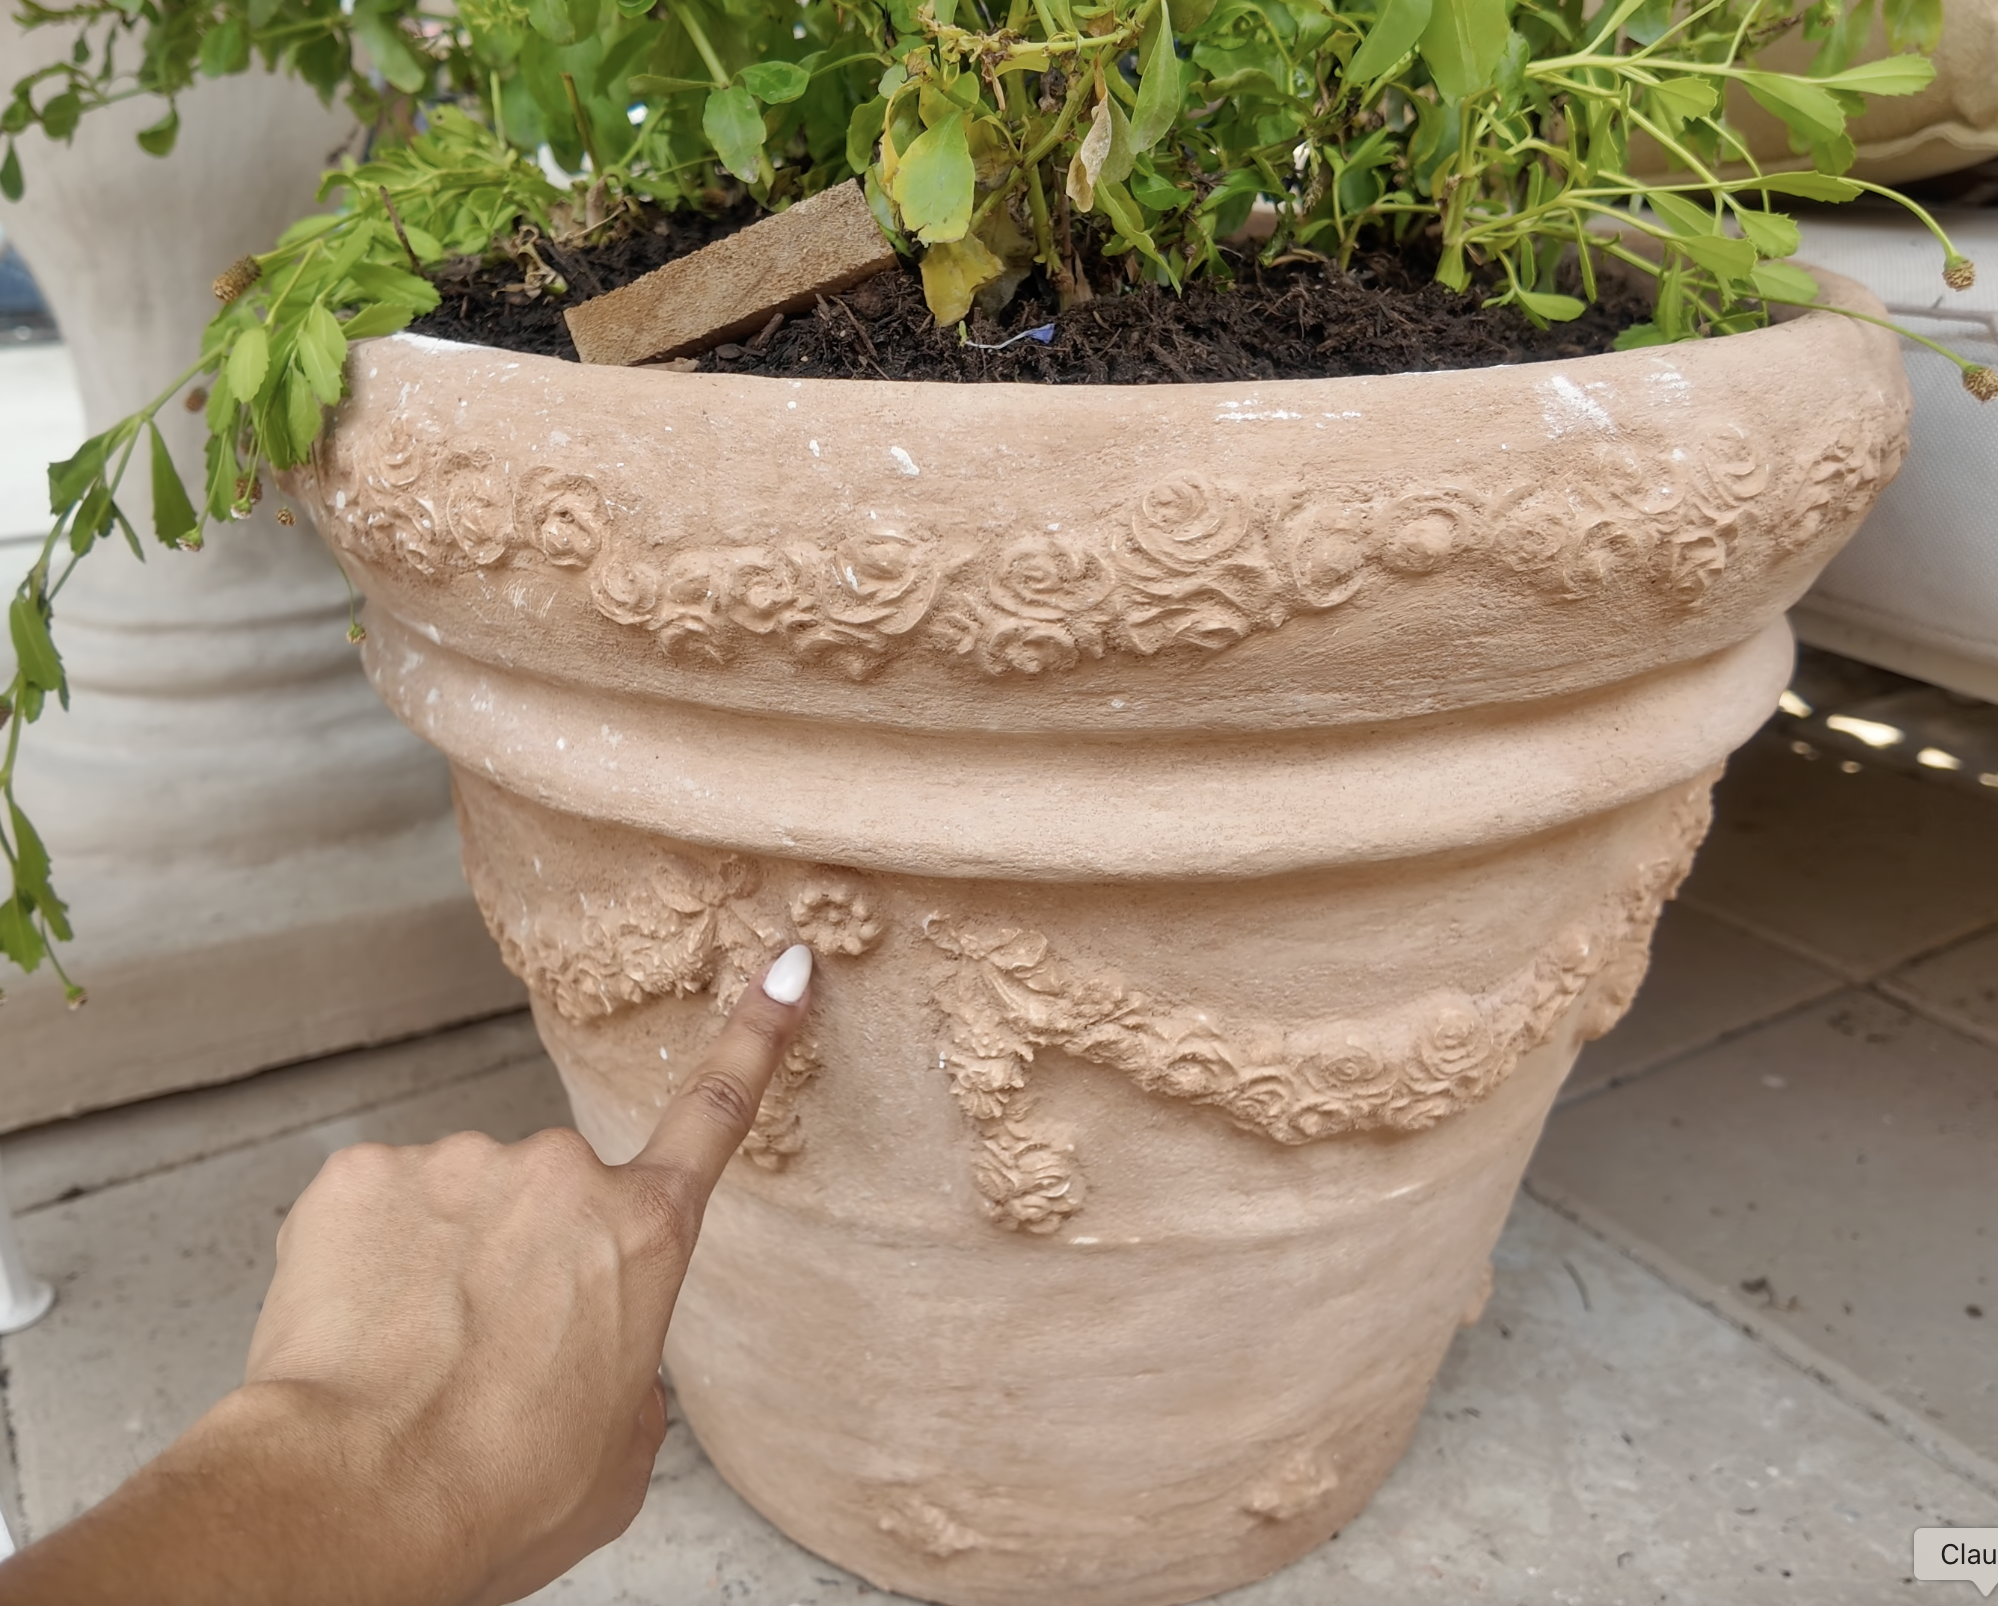
I covered the entire pot and all the appliqués with Concretta first. The tricky part is the appliqués themselves — they're detailed, and a thick layer of Concretta will just bury all that detail if you leave it as-is. So once everything was covered, I grabbed a toothbrush and a small cup of water and went back over just the molded designs, scrubbing gently with the wet brush. This thins the Concretta out right around the raised details and lets the ornate design actually show back through. I'd rinse the brush off on a paper towel whenever it got clogged and just kept going.
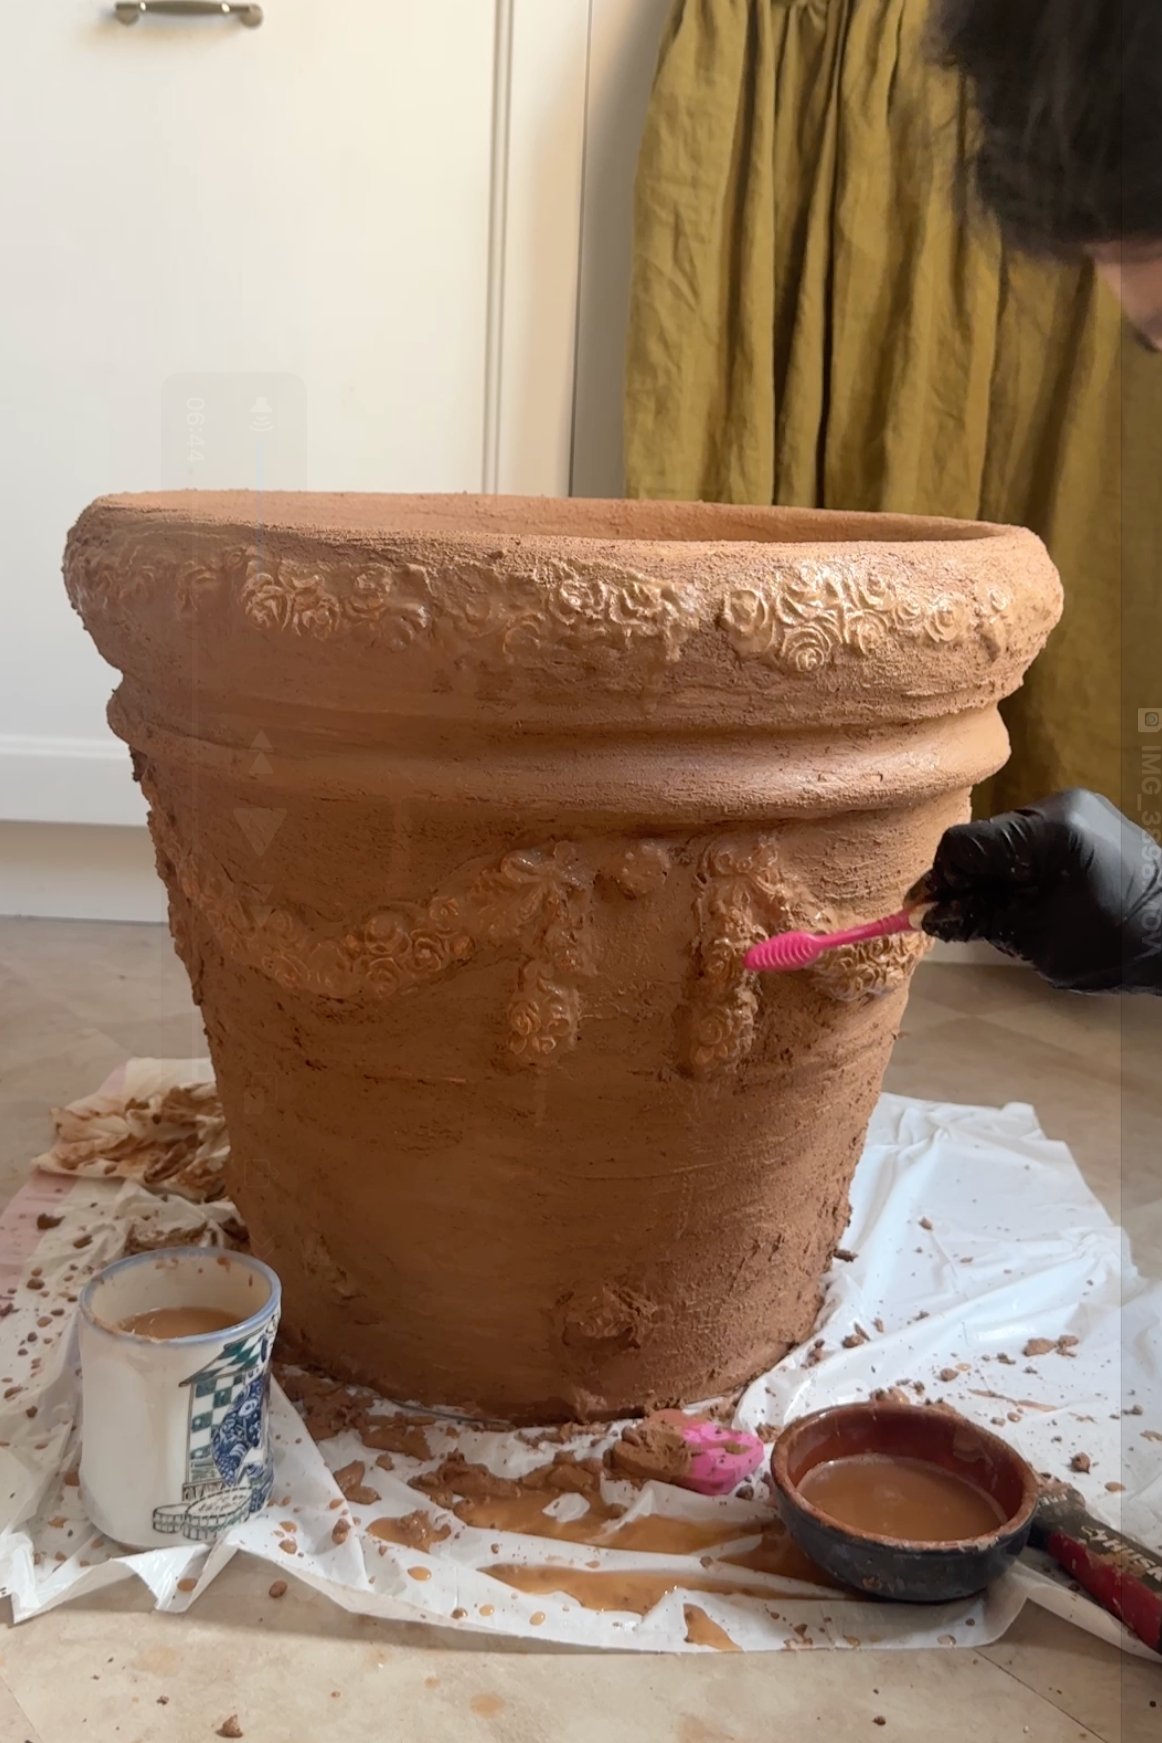
fair warning: it looks genuinely awful at this stage. Like, "did I ruin this" awful. That's normal — trust the process here.
As the Concretta started to firm up a bit, I switched to using my hands to smooth down the flat areas of the pot. If it started feeling too dry to work with, I'd dip my fingers in a little water to rehydrate it — but you don't want it fully wet either, just workable.
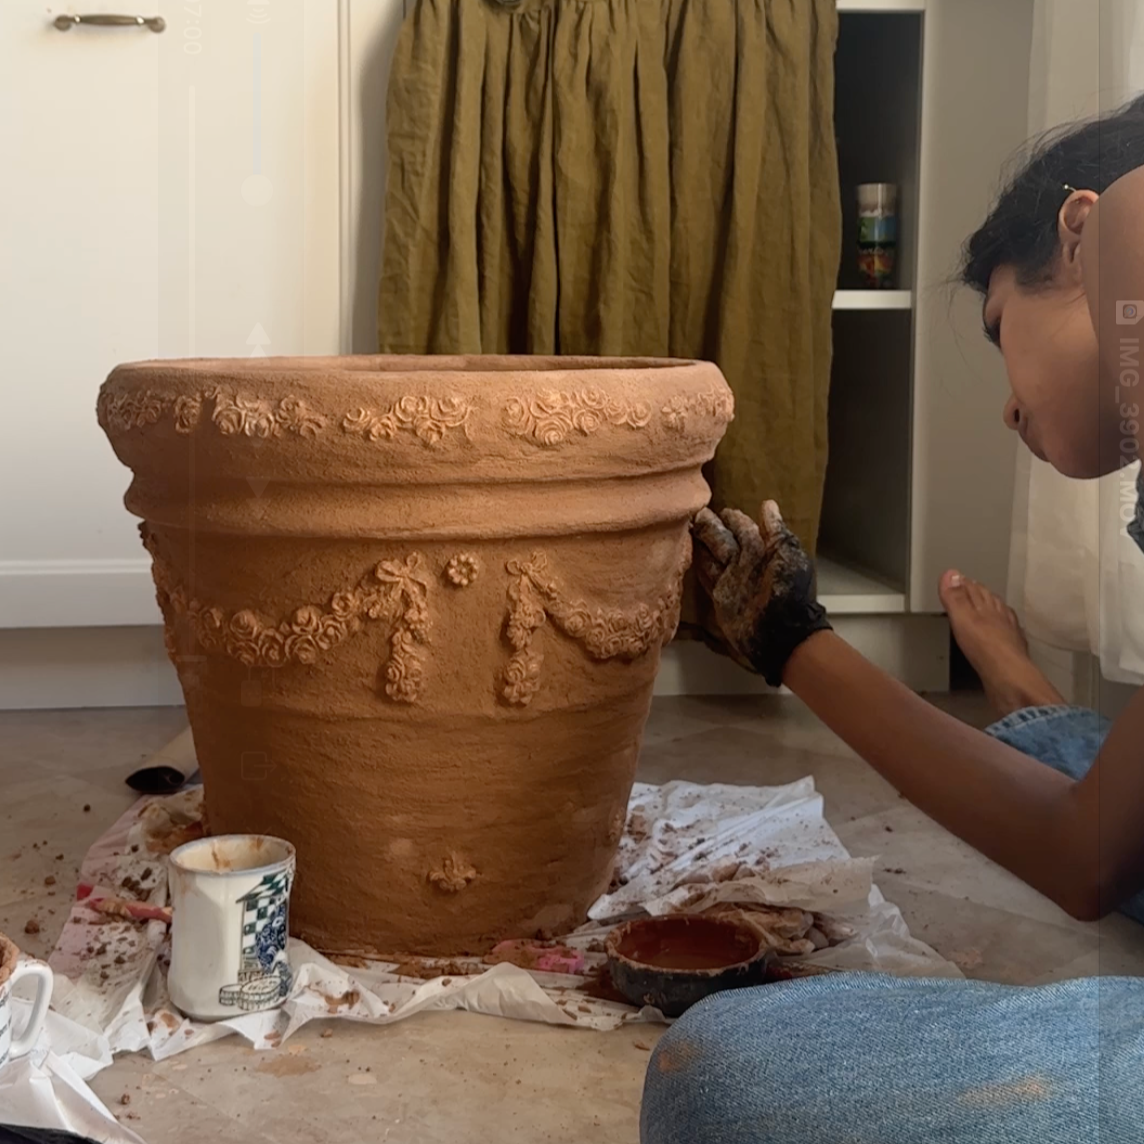
I let it dry for several hours, then came back with sandpaper to knock down the bumpier, rougher spots on the flat surfaces. I didn't sand it perfectly smooth on purpose — some of that texture is exactly what makes it look real instead of like a craft project — and I didn't sand the resin appliqués at all, since their detail is the whole point.
You can absolutely stop here and just have a beautifully finished planter. If you want to keep going and turn it into an umbrella stand like I did, here's how.
Phase four: Convert It Into an Umbrella Stand (Optional)
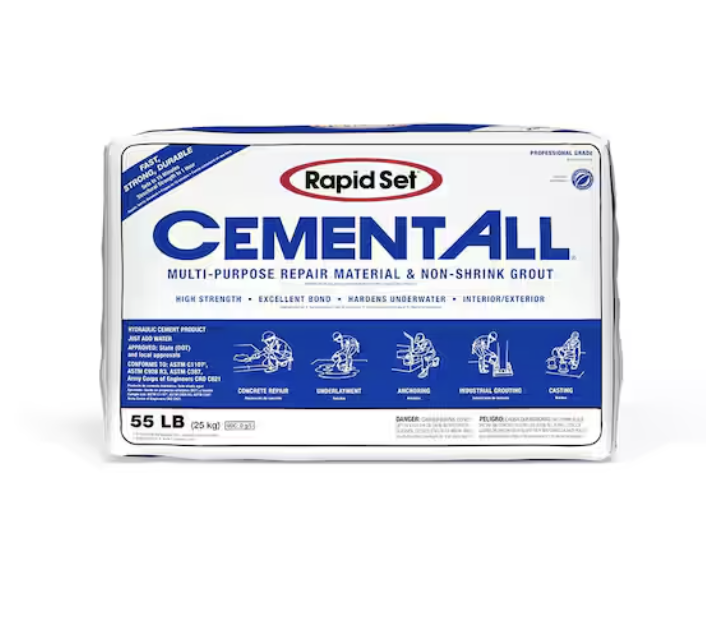
I placed the bottom half of the umbrella pole into the pot and secured it in position using wood planks braced around it so it wouldn't shift.
I ran a 3/4" PVC pipe from the pot's bottom drainage hole up to the top, also securing it in place with wood planks so it stayed straight and centered.
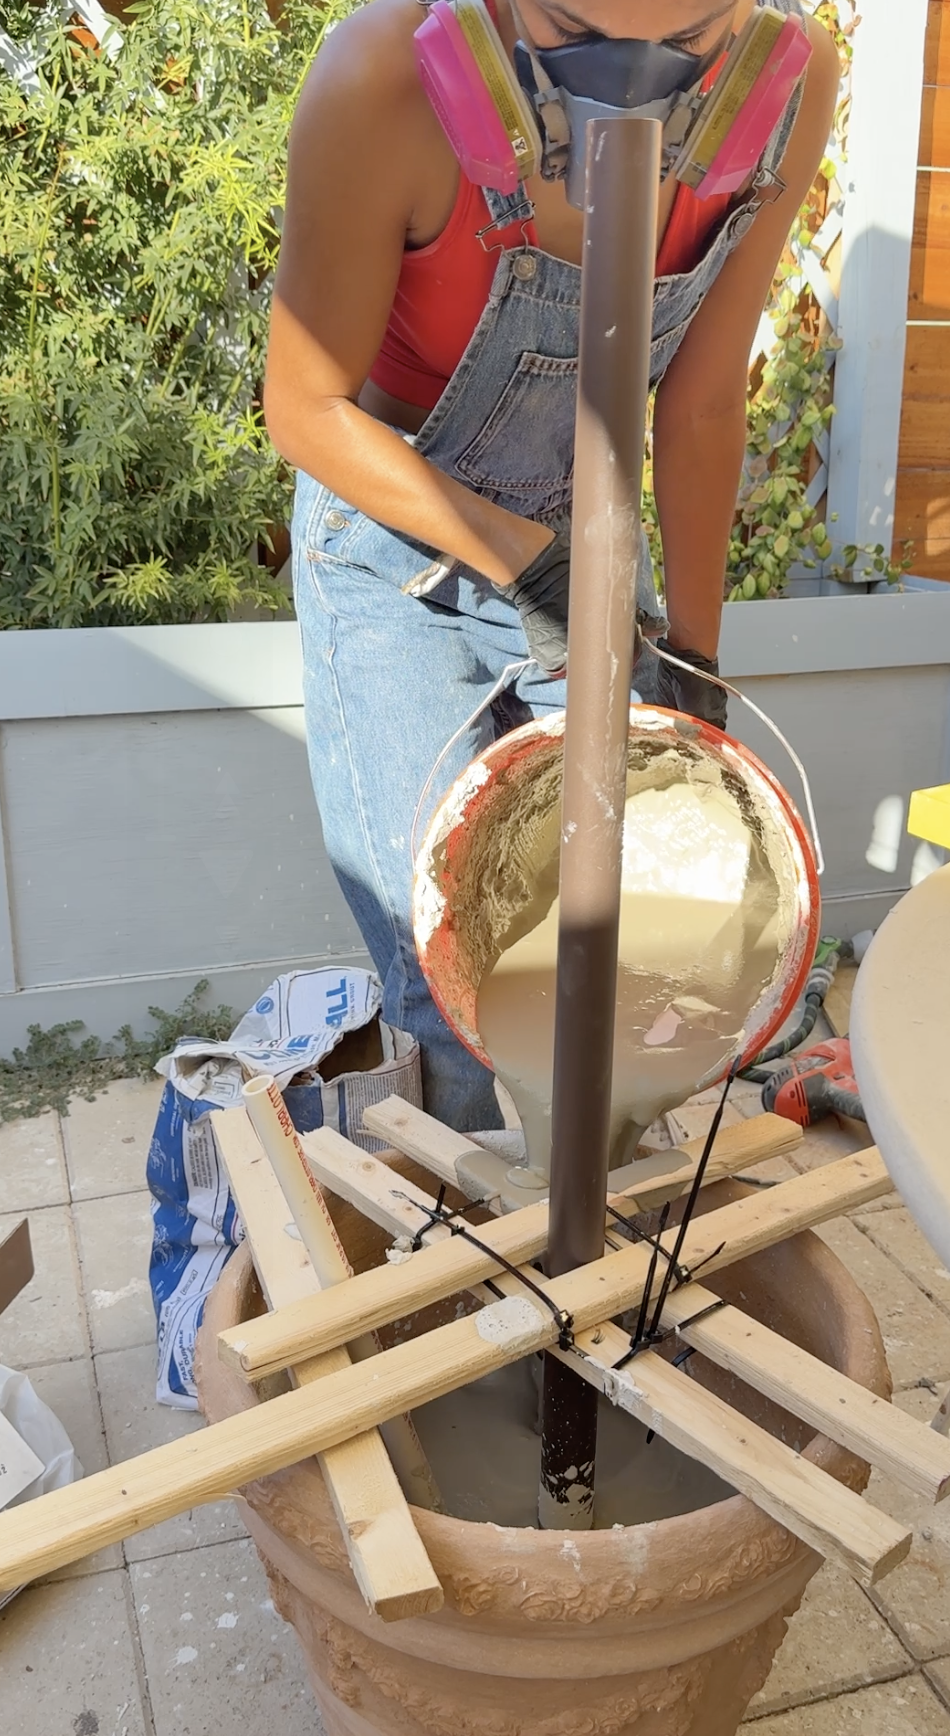
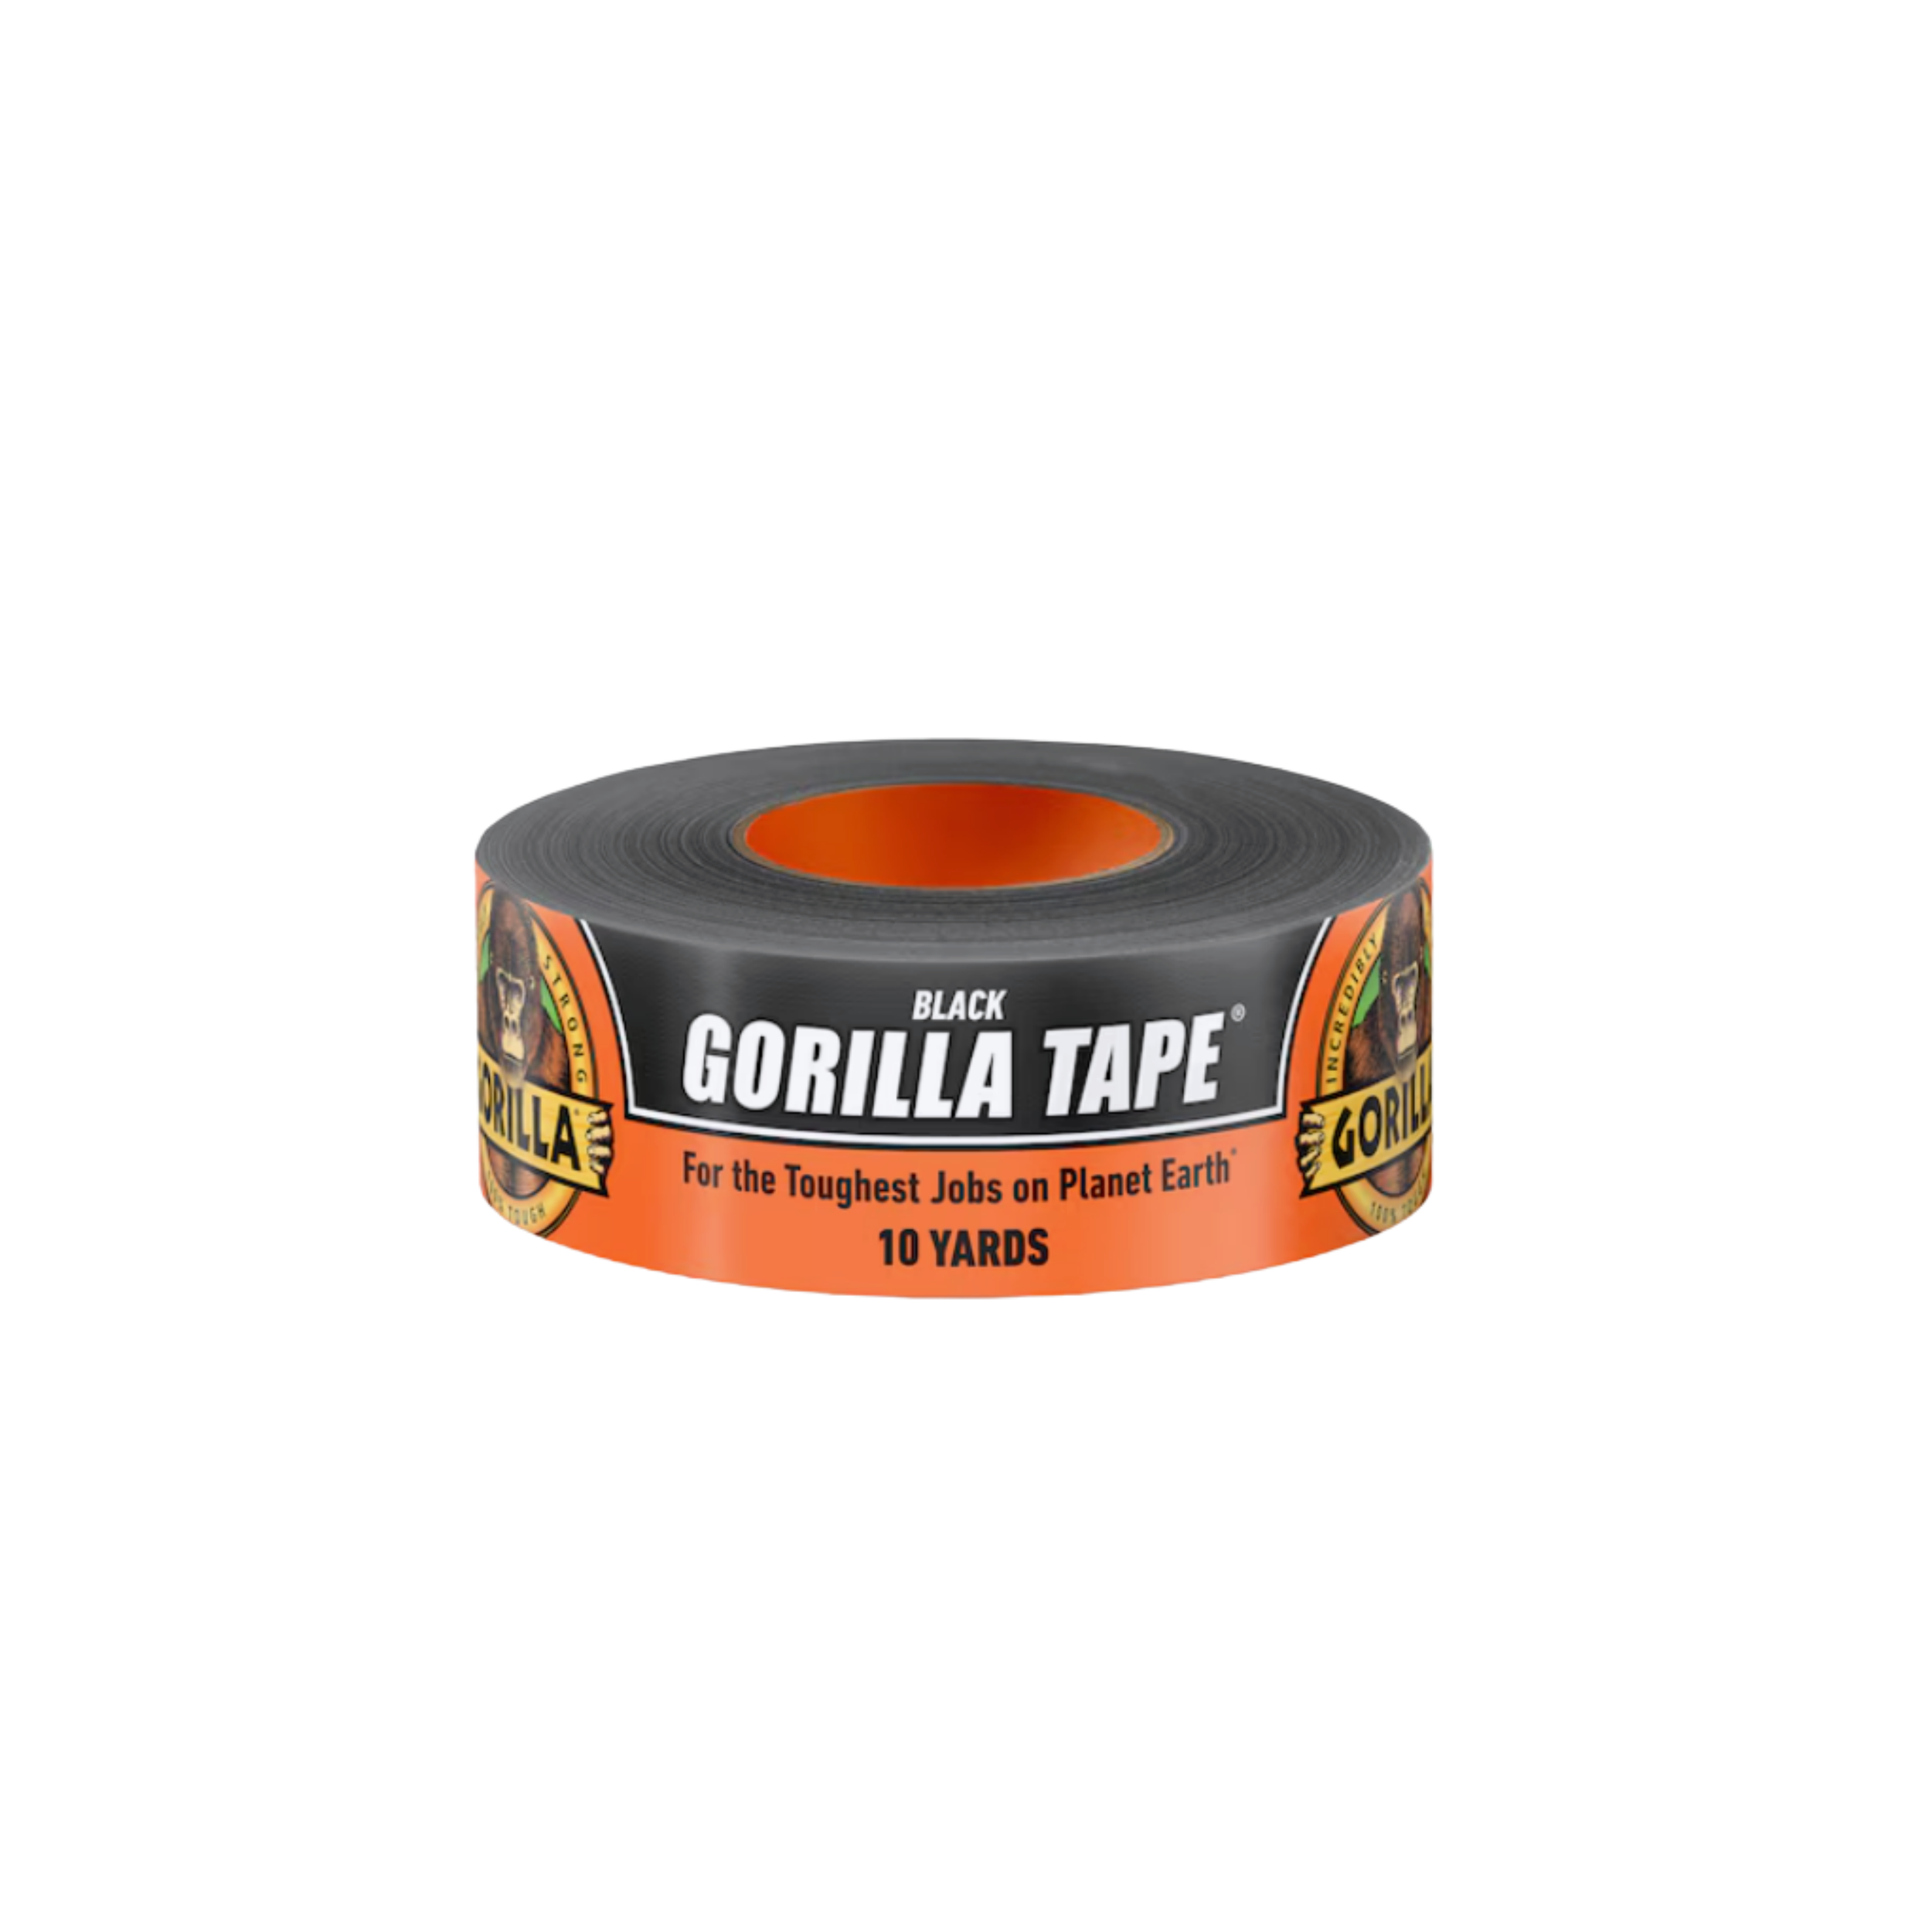
I wrapped Gorilla duct tape around the PVC pipe right where it exits the bottom drainage hole — this stops wet concrete from leaking out around the pipe as it's poured.
I poured concrete into the pot, leaving about 6 inches of space at the top for soil and plants later.
Once the concrete was fully dry, I used PVC pipe cutters to trim the pipe flush with the top surface of the concrete.
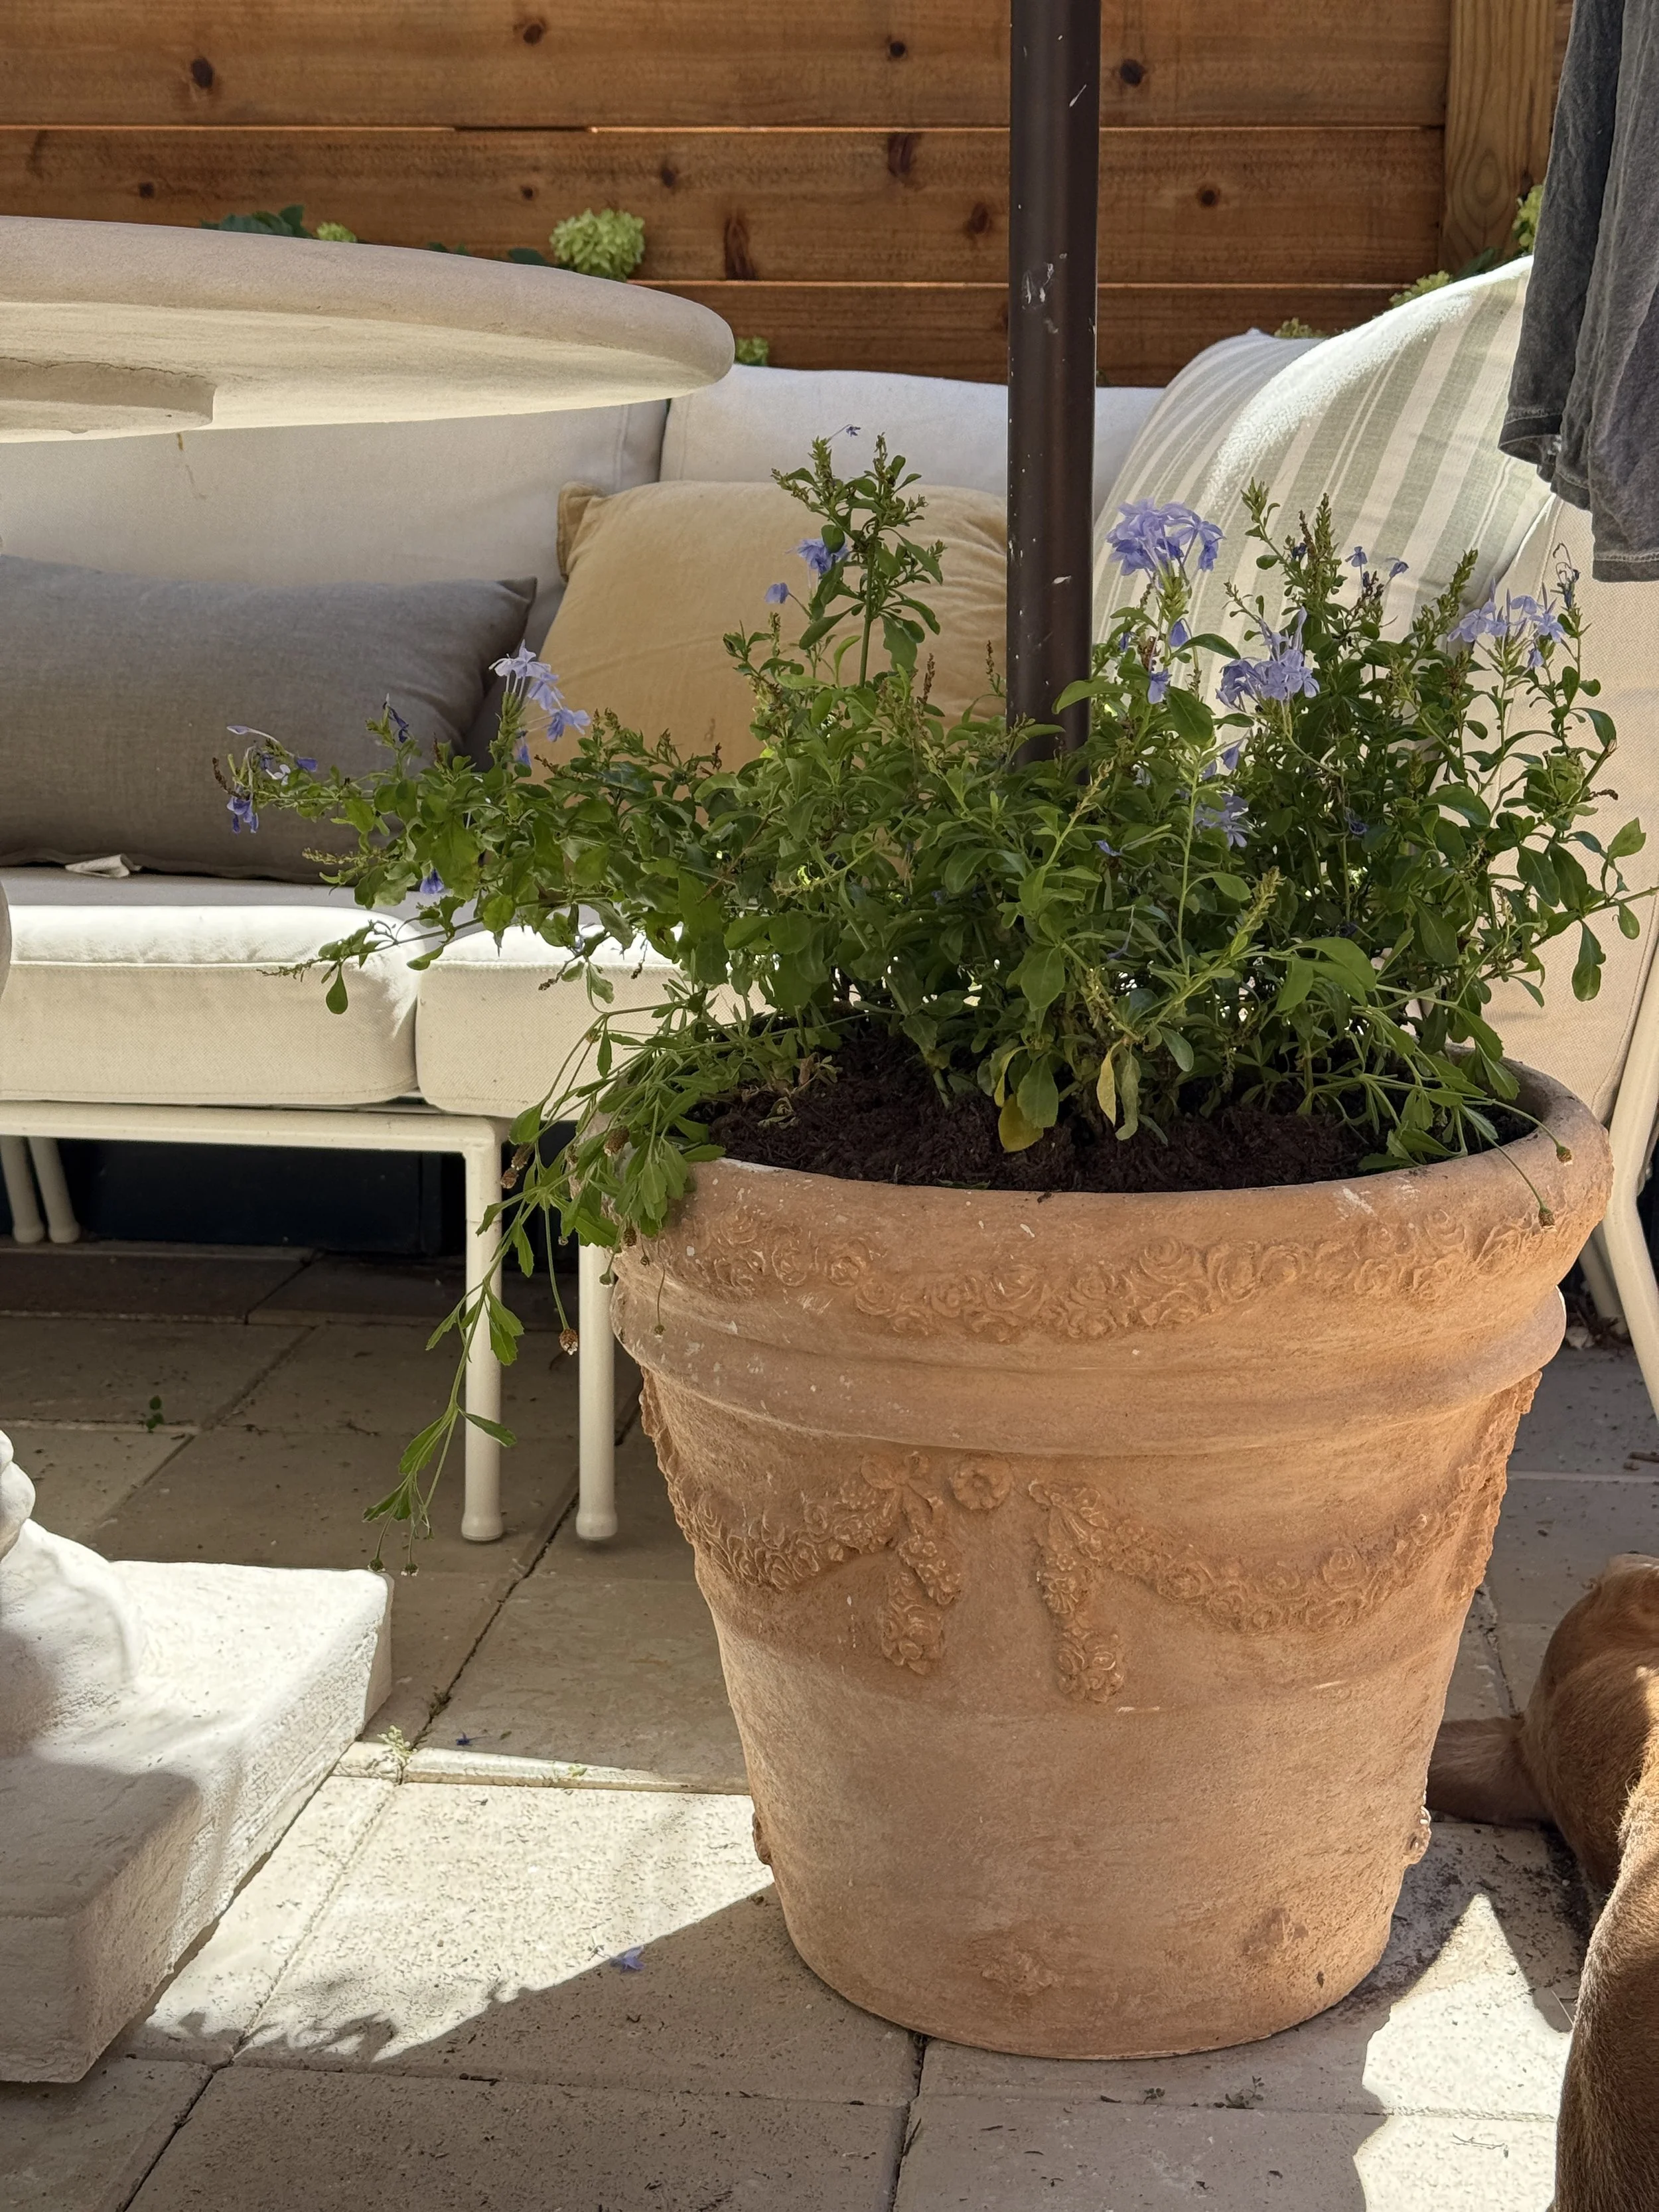
I added potting soil and plants on top, covering the concrete layer.
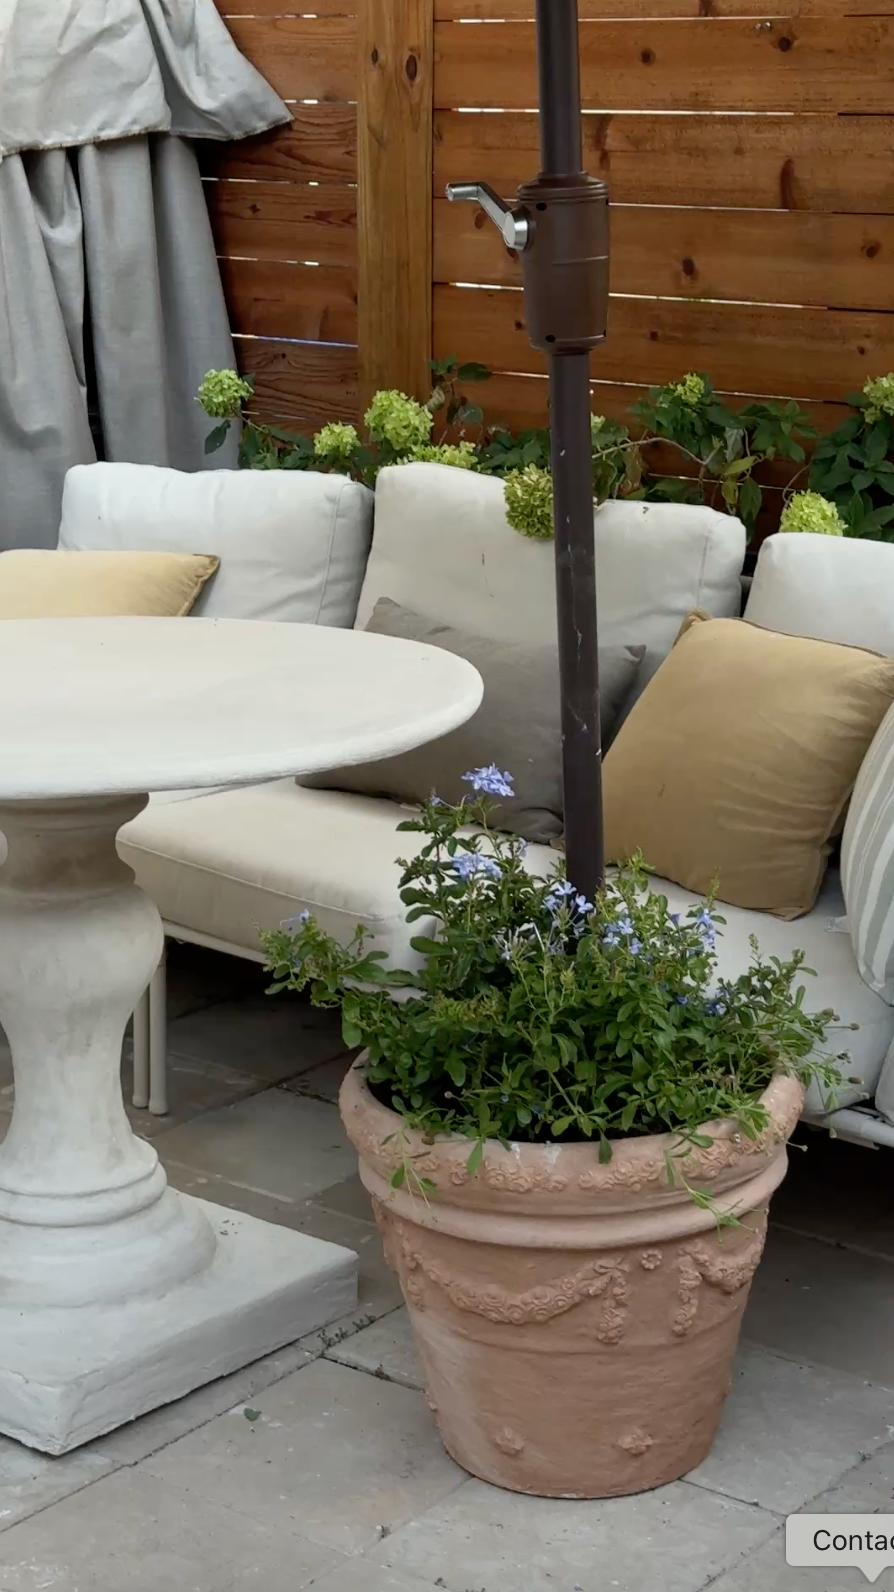
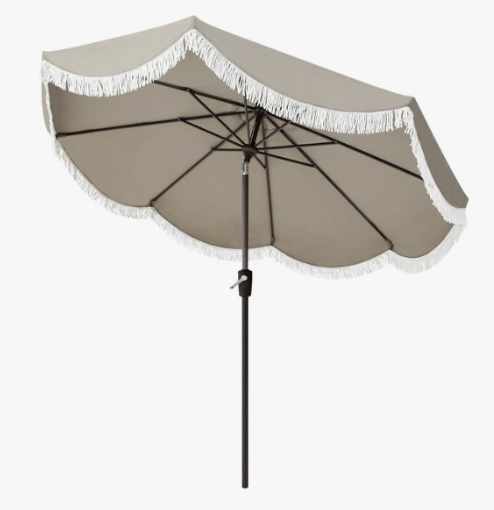
Finally, I snapped the top half of the umbrella into the pole, and the whole thing was ready to use.
Final Thoughts
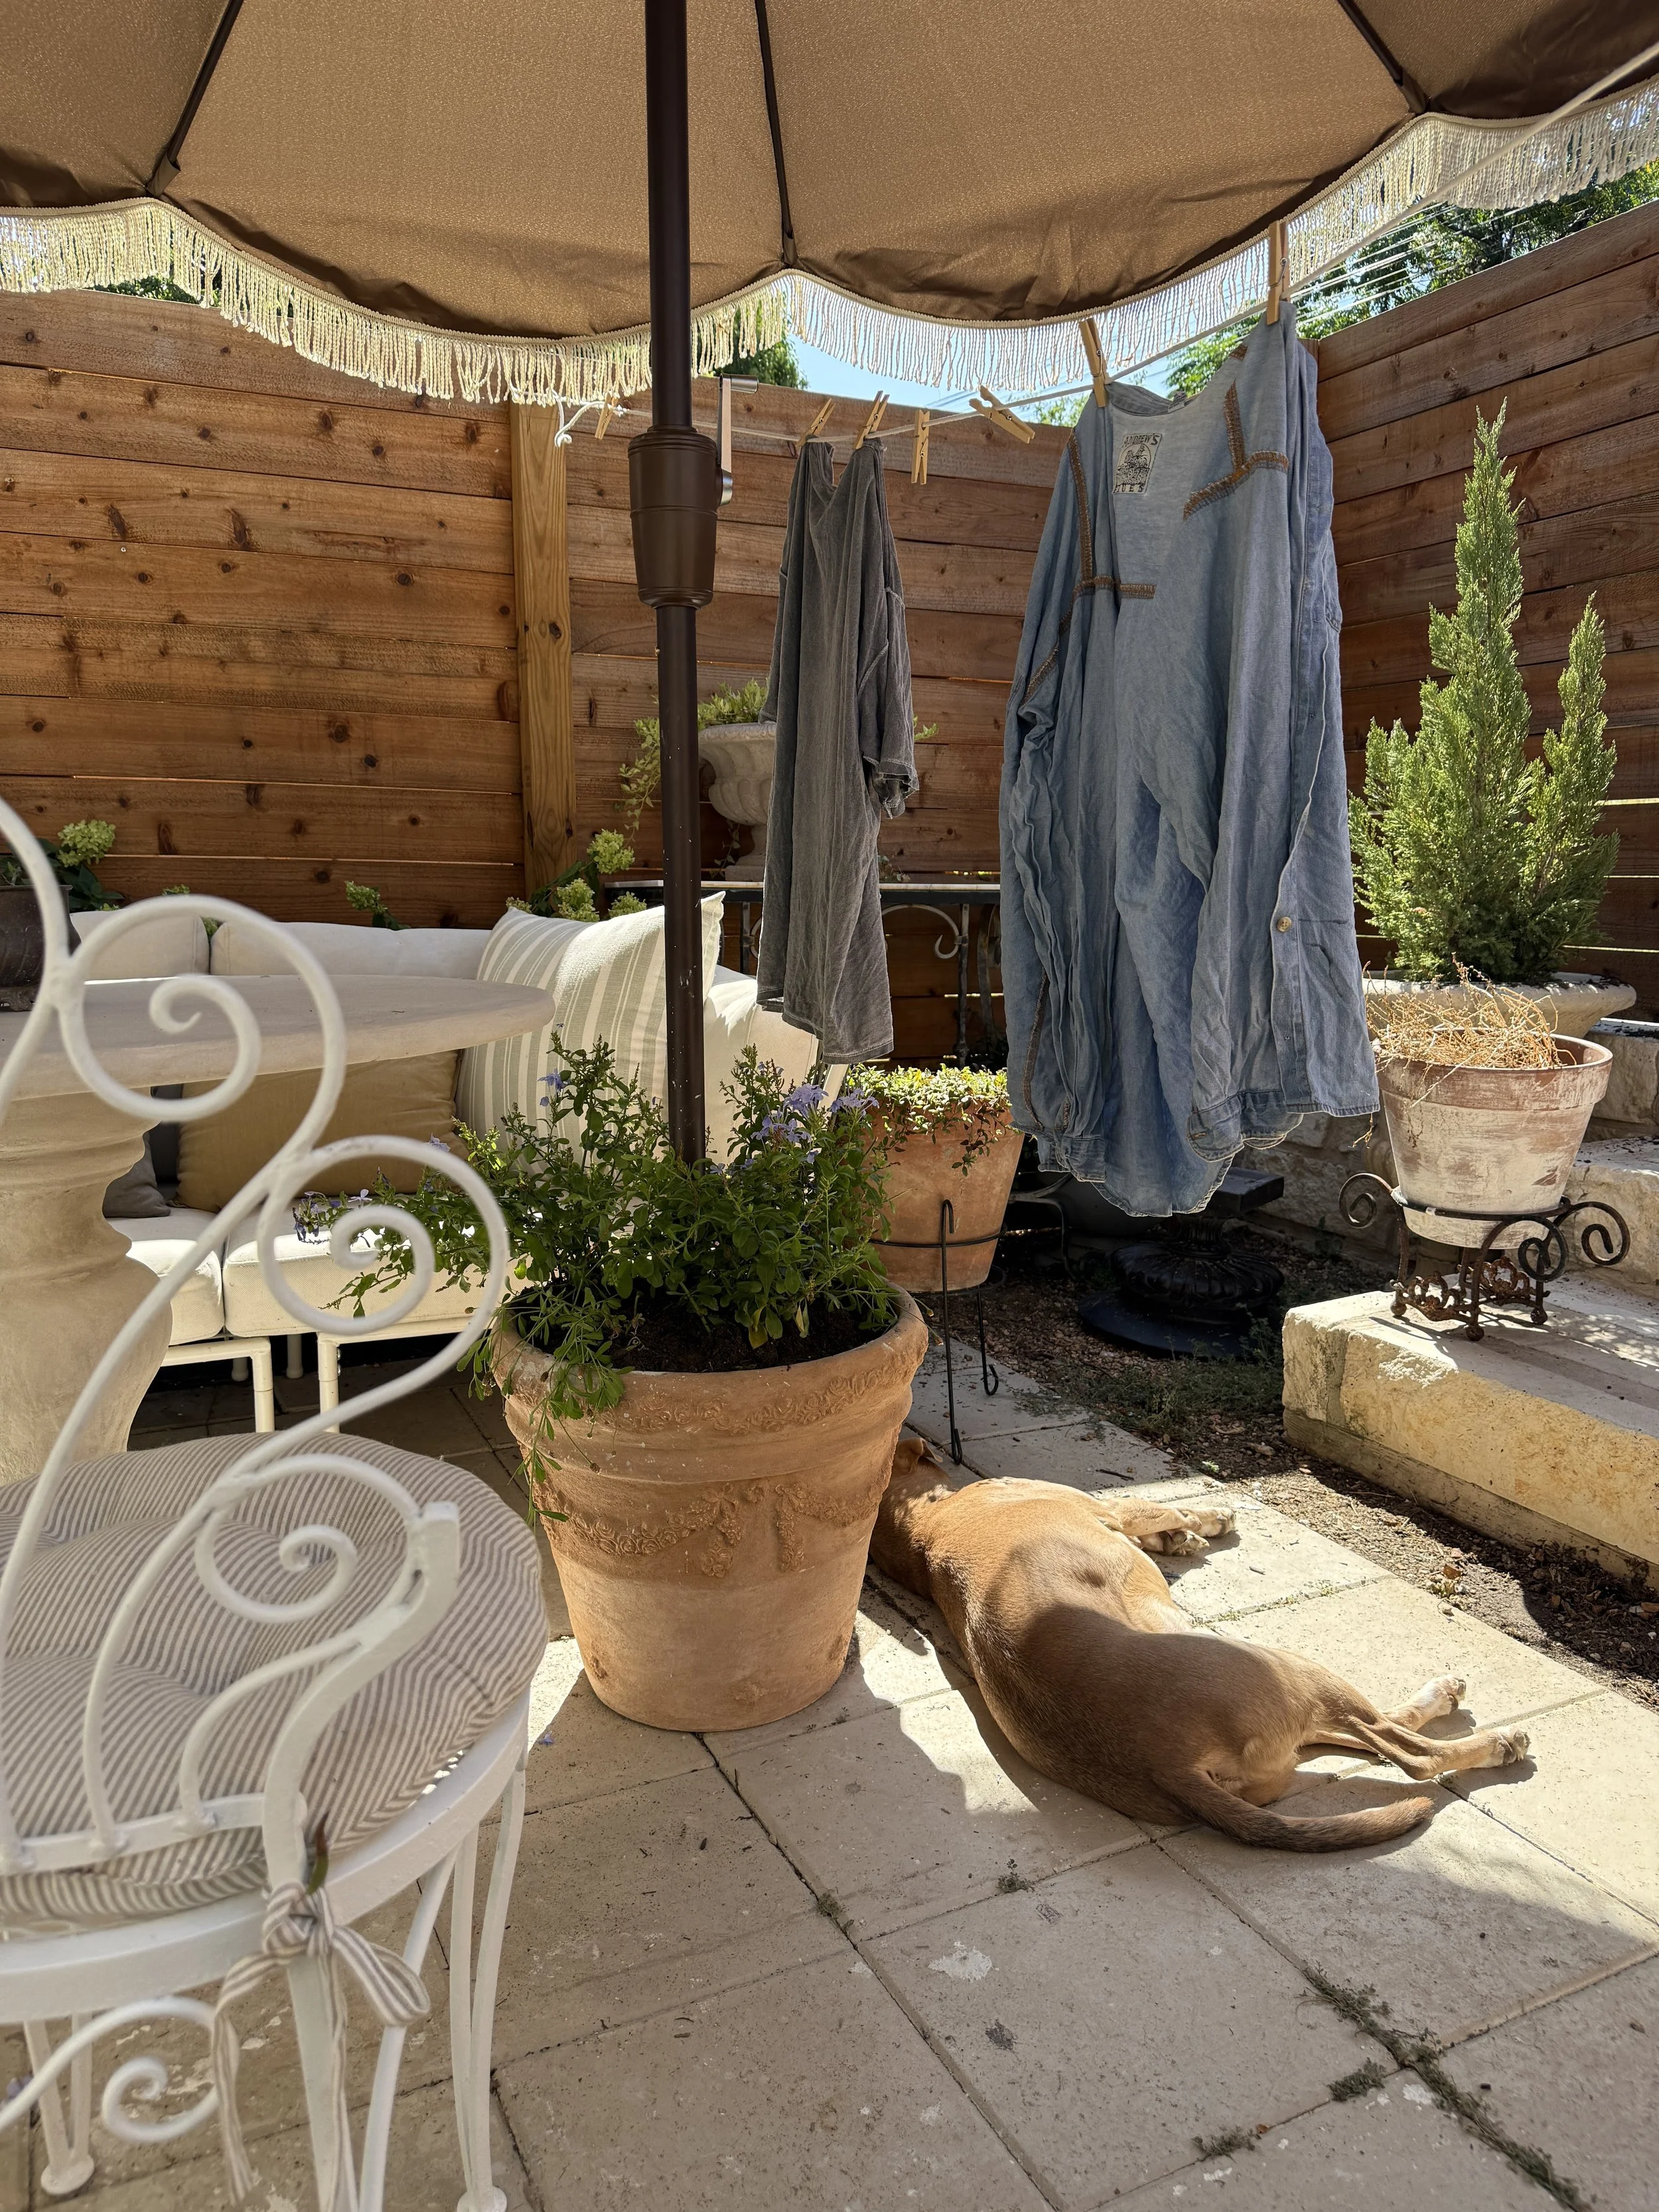
The middle of this project (right after the toothbrush step) is going to look like a mistake — every time. If you're making one of these yourself, just push through that stage, because it genuinely does pull itself together once you start smoothing and sanding. And if you don't need an umbrella stand, this same technique works just as well as a purely decorative planter — the resin-and-Concreta combo is really what makes it feel special either way.
The Result
Shop the Supplies

About the Creator

I'm slowly turning my rental into a home, one project at a time — sharing the real process, mistakes included.