Renter Friendly Kitchen Renovation + Removable Real Tile Backsplash

Room: Kitchen · Cost: $$$ · Time: One Week · Difficulty: Advanced
This turned into the biggest DIY I've tackled yet — freestanding IKEA cabinets, a fully removable REAL TILE backsplash, and a countertop I built myself. A kitchen renovation tailored for a renter. Here's exactly how it came together.
*DIY projects involve tools, construction methods, and materials that can present risks. I'm sharing what worked for me in my own home, but every space is different. Please do your own research, follow manufacturer instructions, and build at your own risk.
Phase one: The Base & Cabinets
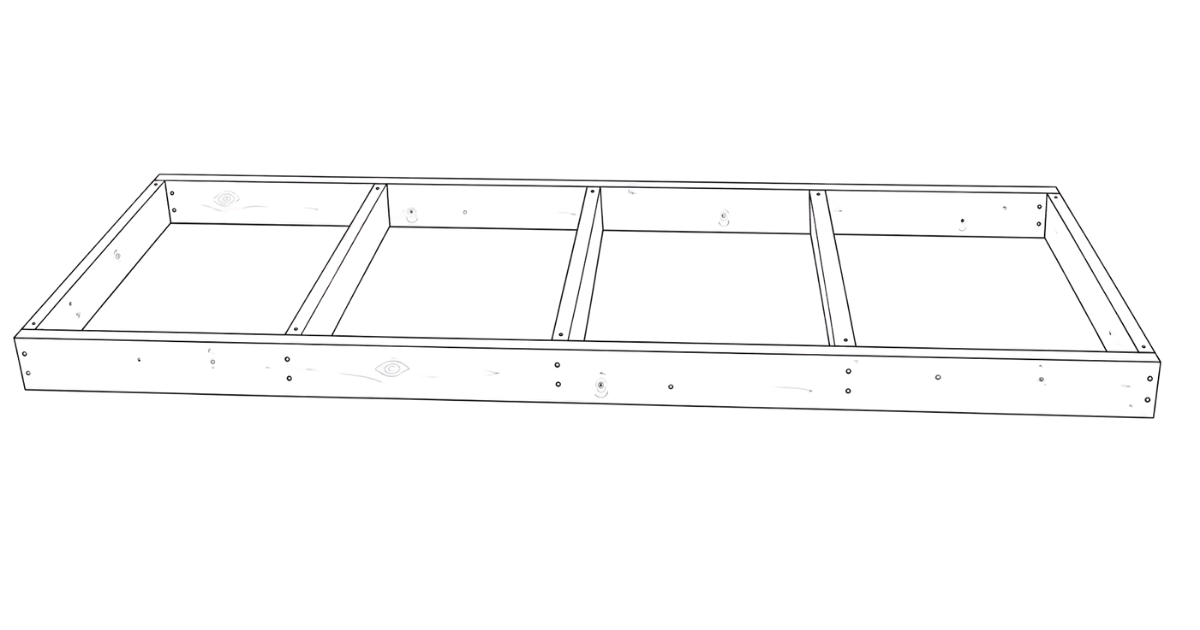
I built a simple box frame out of 2x4s, sized to fit my cabinet run, and nail plywood sheets on top. I made sure it was level and sturdy because this platform carries the full weight of the cabinets. I left maybe 2-3 inches recession on the front and side for a toe kick!
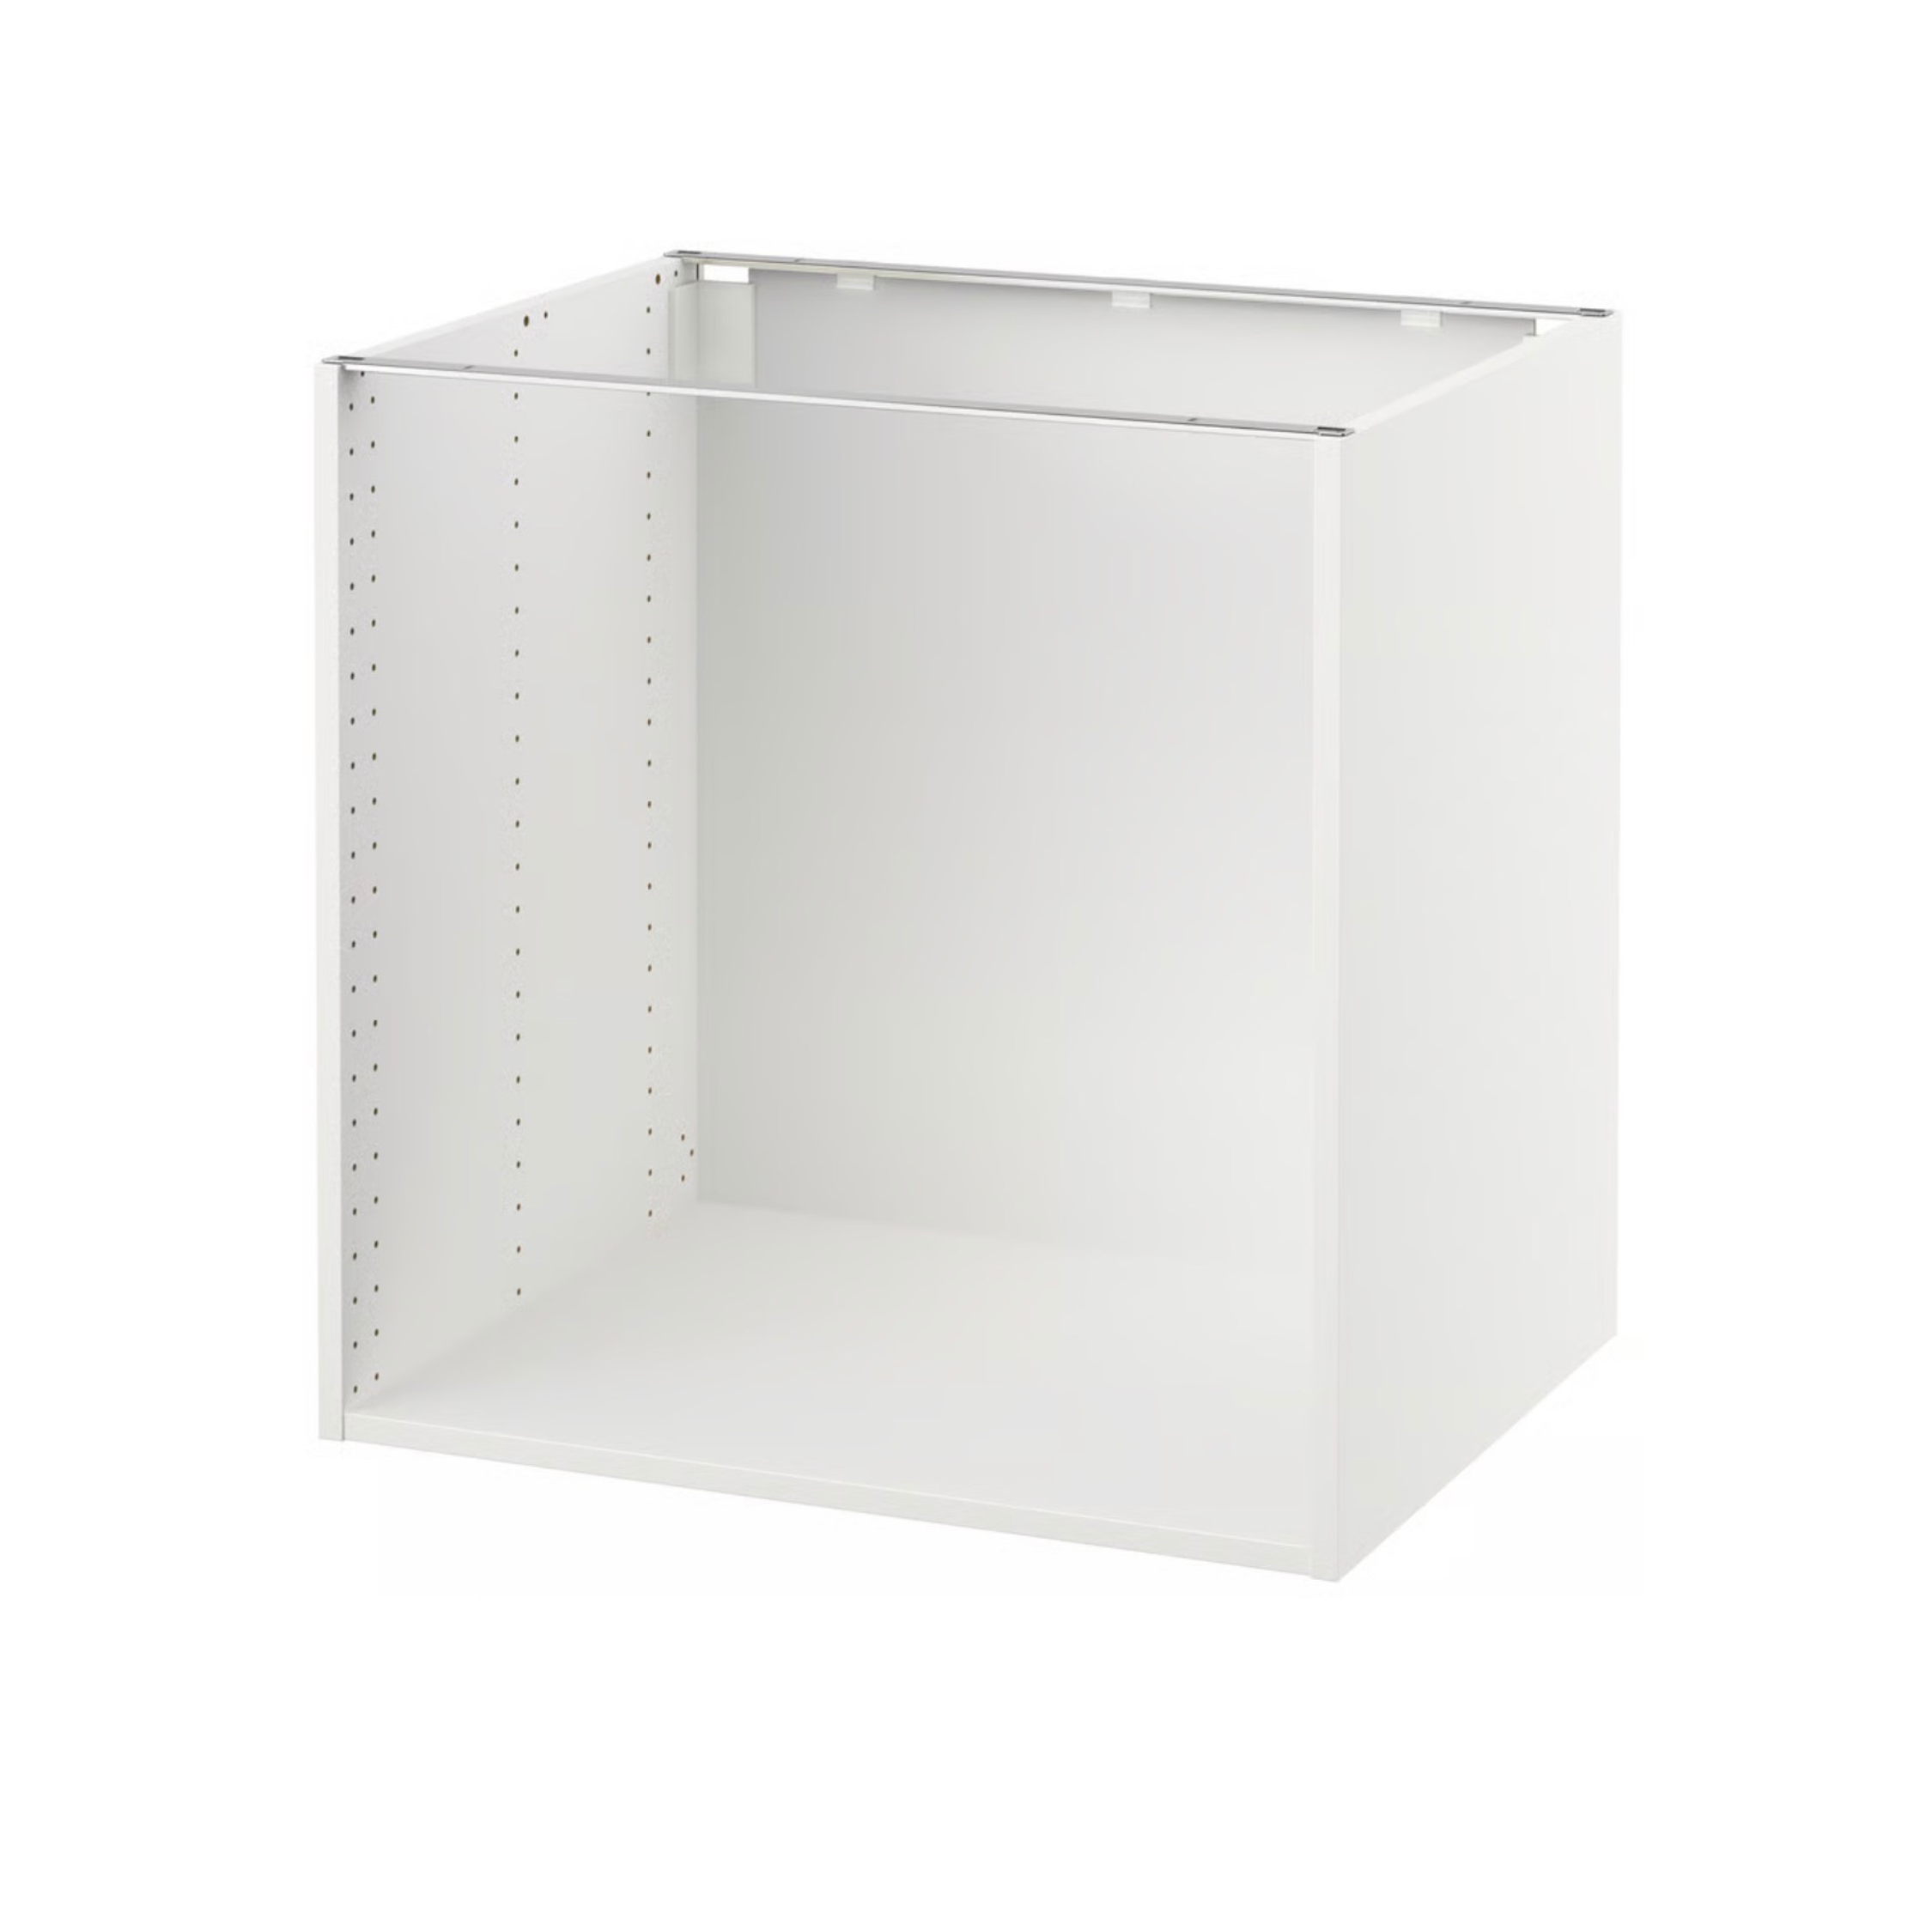
I assembled the IKEA base cabinets, set them on top of the finished platform, and screwed them into the plywood from the bottom for extra stability. That turned the whole unit into standalone furniture rather than something weight bearing on the wall — which felt like the more renter-friendly way to go.
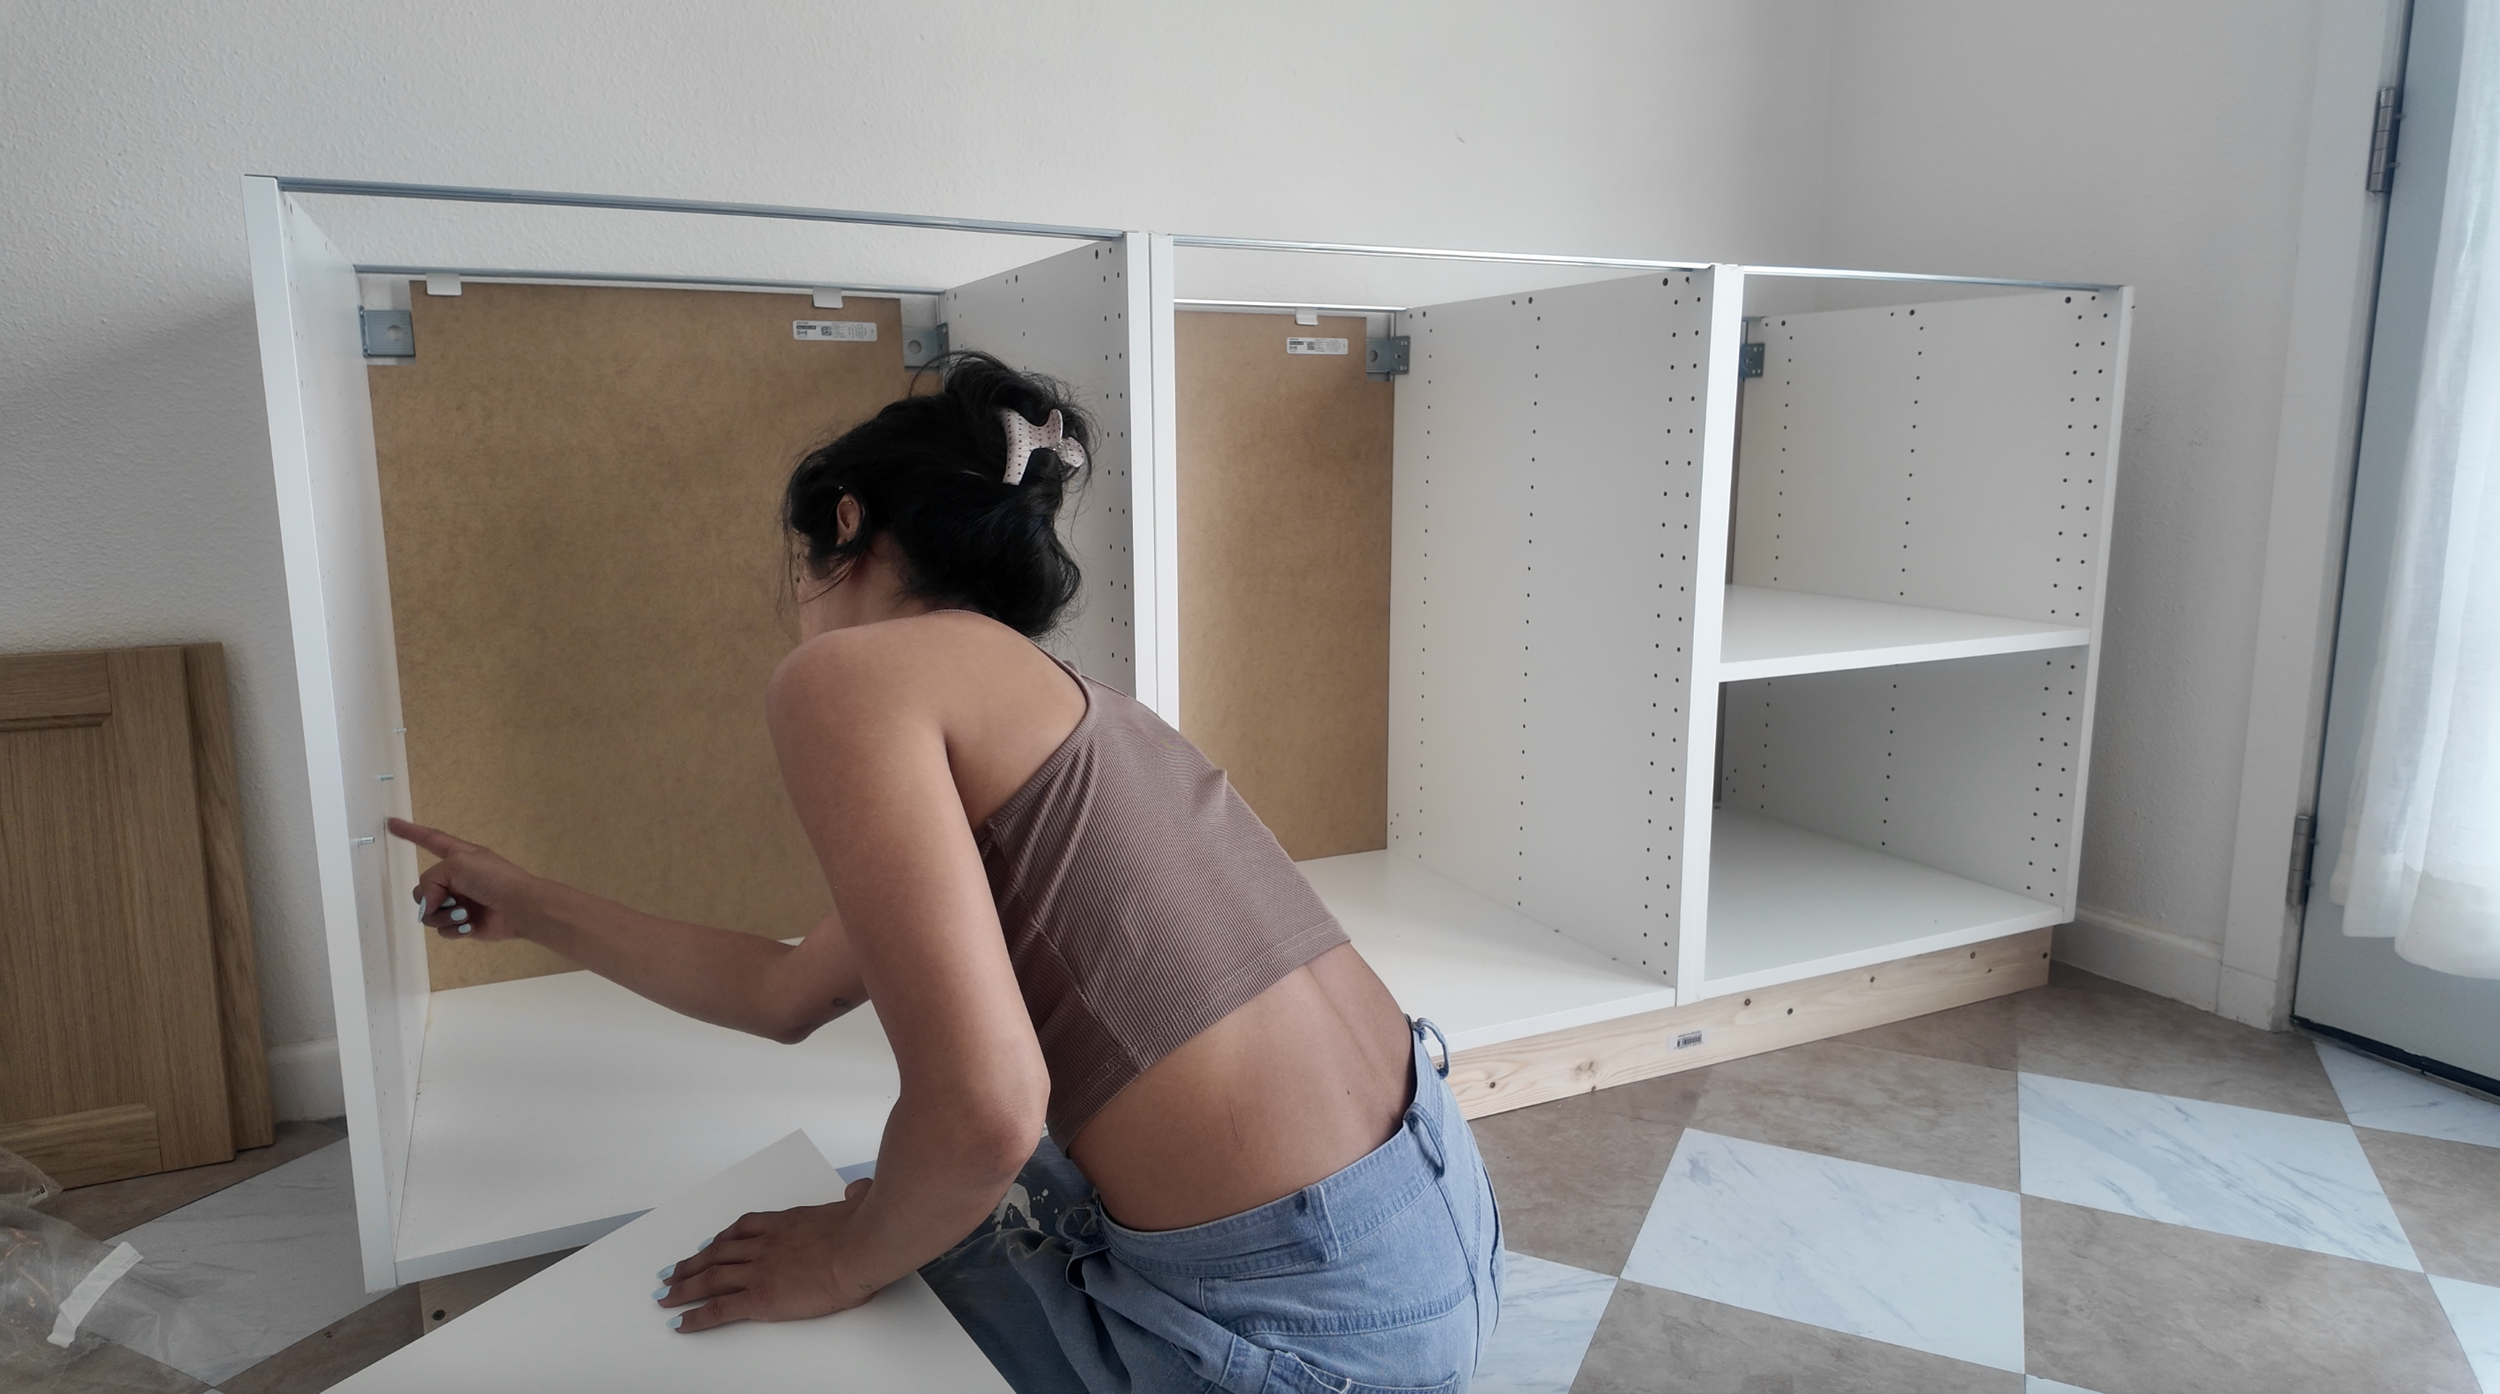
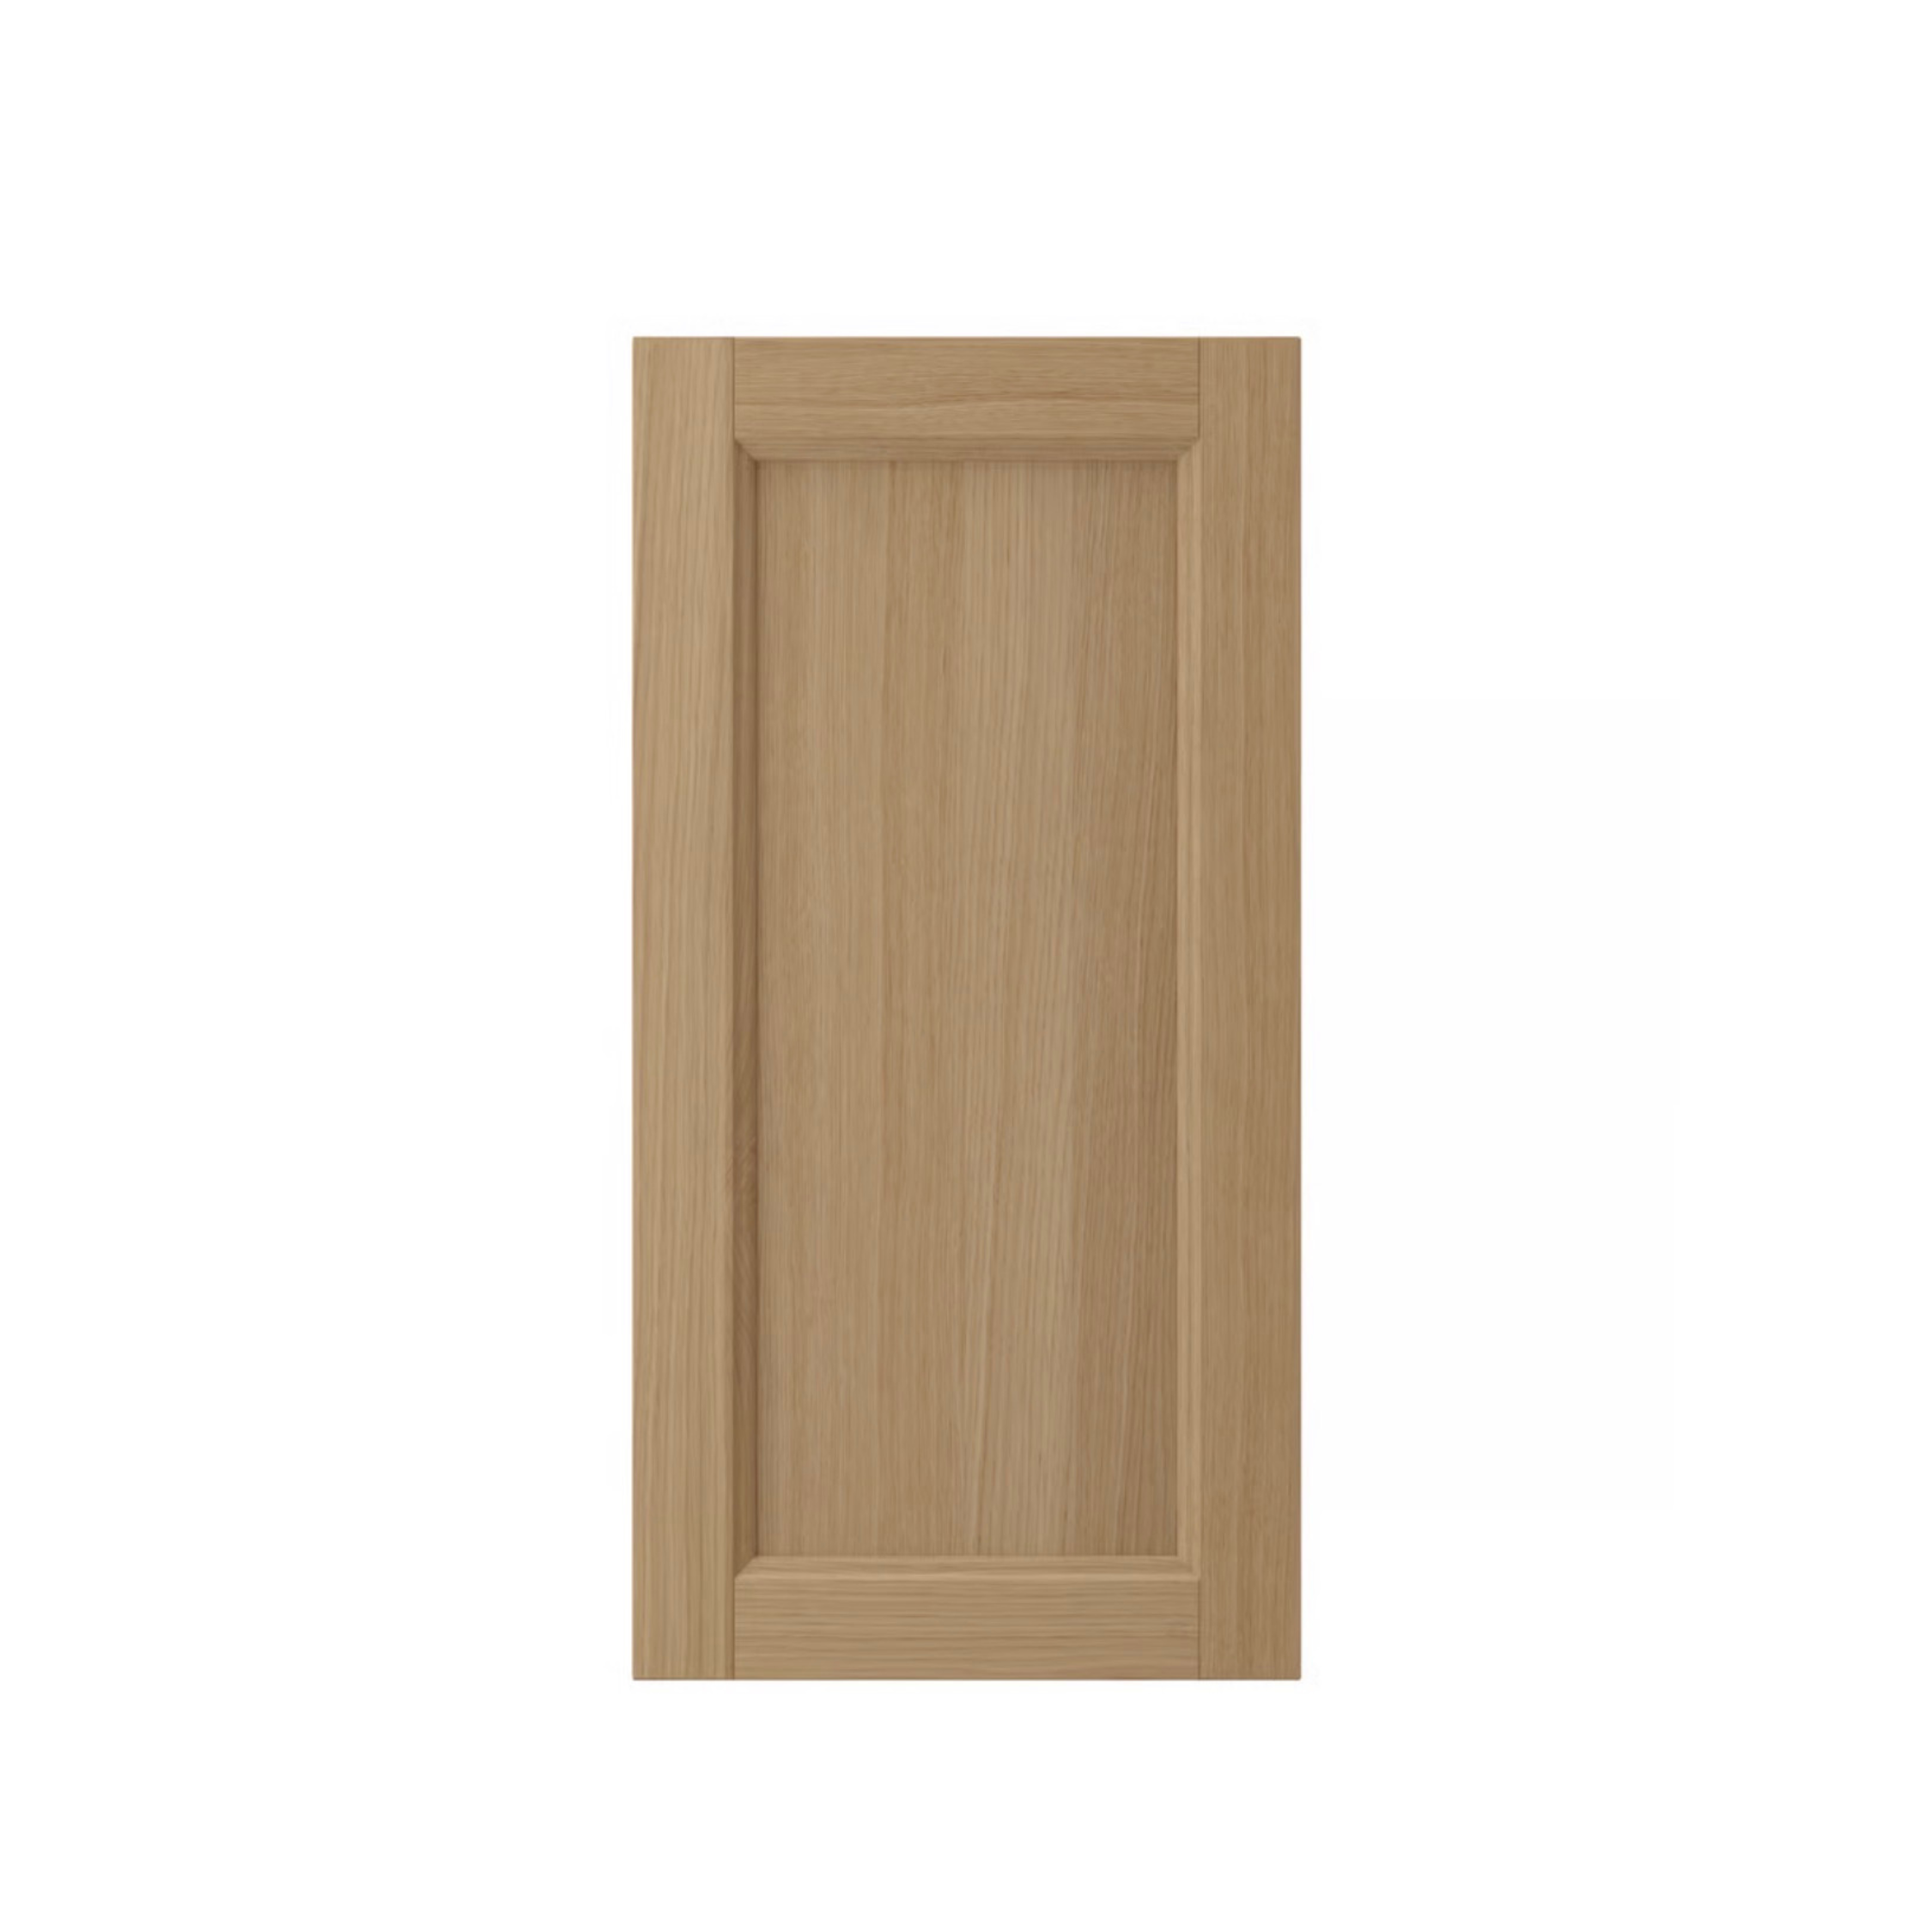
One thing I'd do differently: I used IKEA’s solid wood Vedham cabinet doors because they paint better than laminate, but they ended up costing a lot more than I expected — I could have saved a few hundred dollars ordering comparable doors from an online cabinet retailer instead.
For the cabinets, I sanded them to expose the raw wood, primed them, let them dry overnight, sand again (it should be dry enough that it has a chalky texture, it shouldn’t be clumping up on the sandpaper), then painted with White Dove by Benjamin Moore.
Phase two: The Countertop
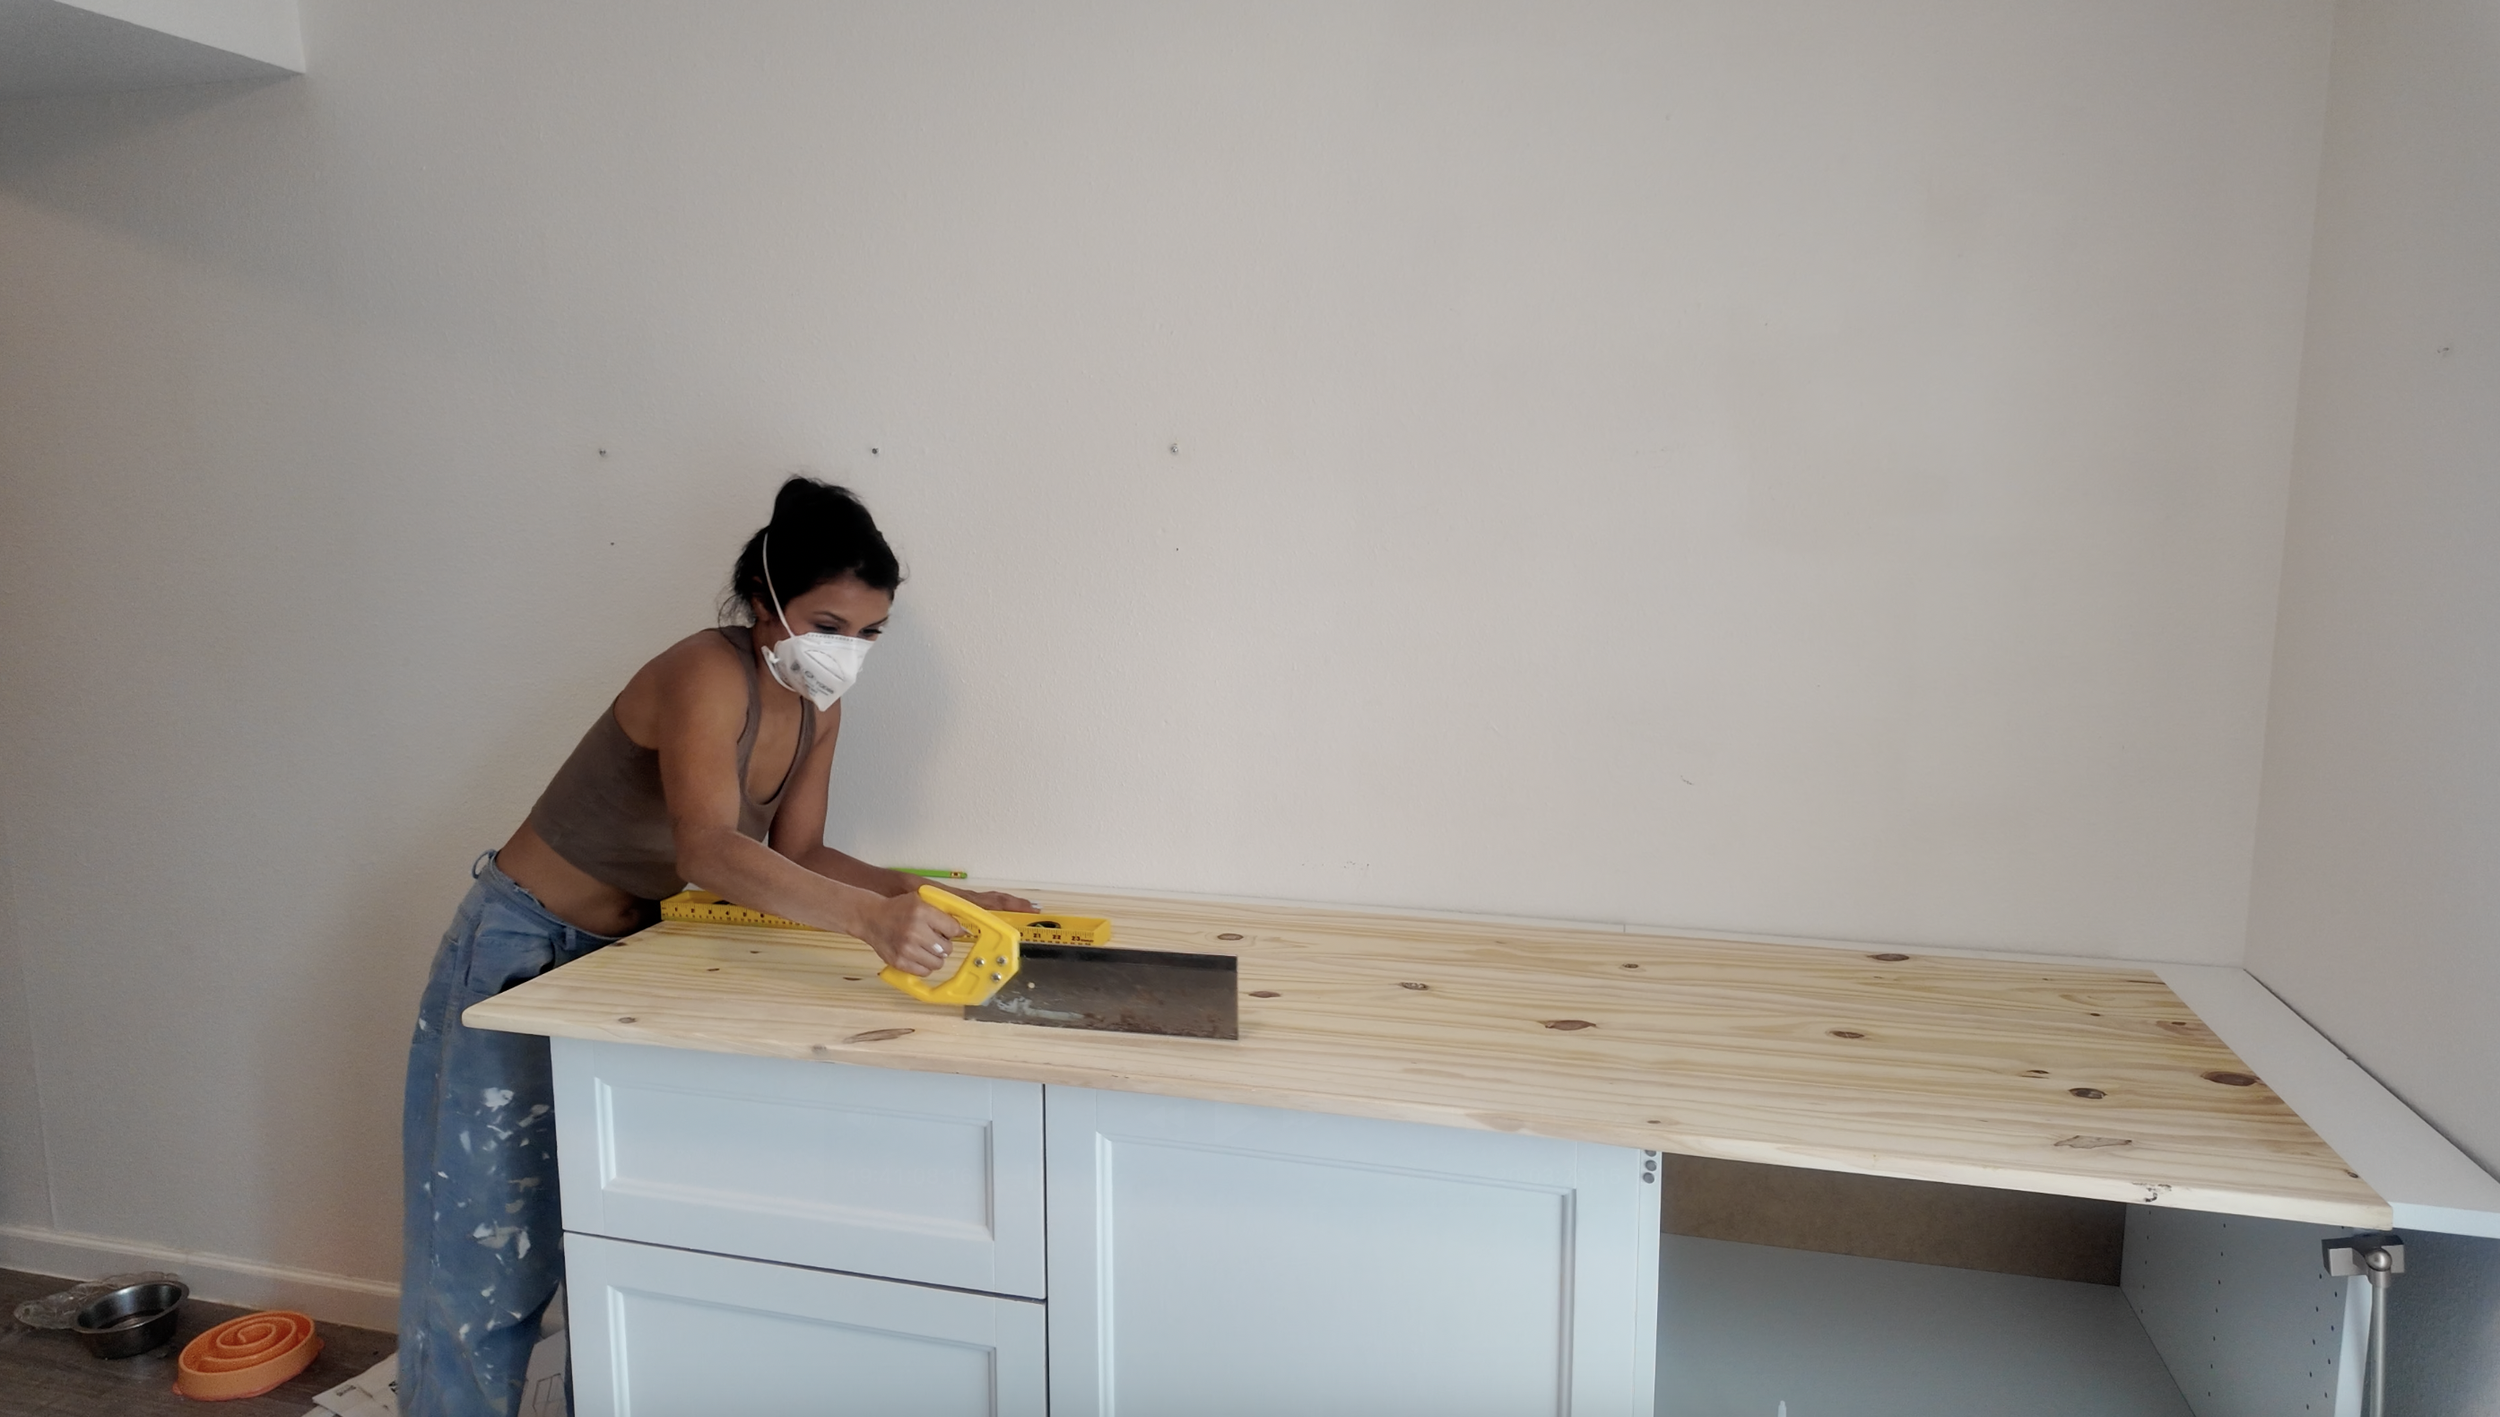
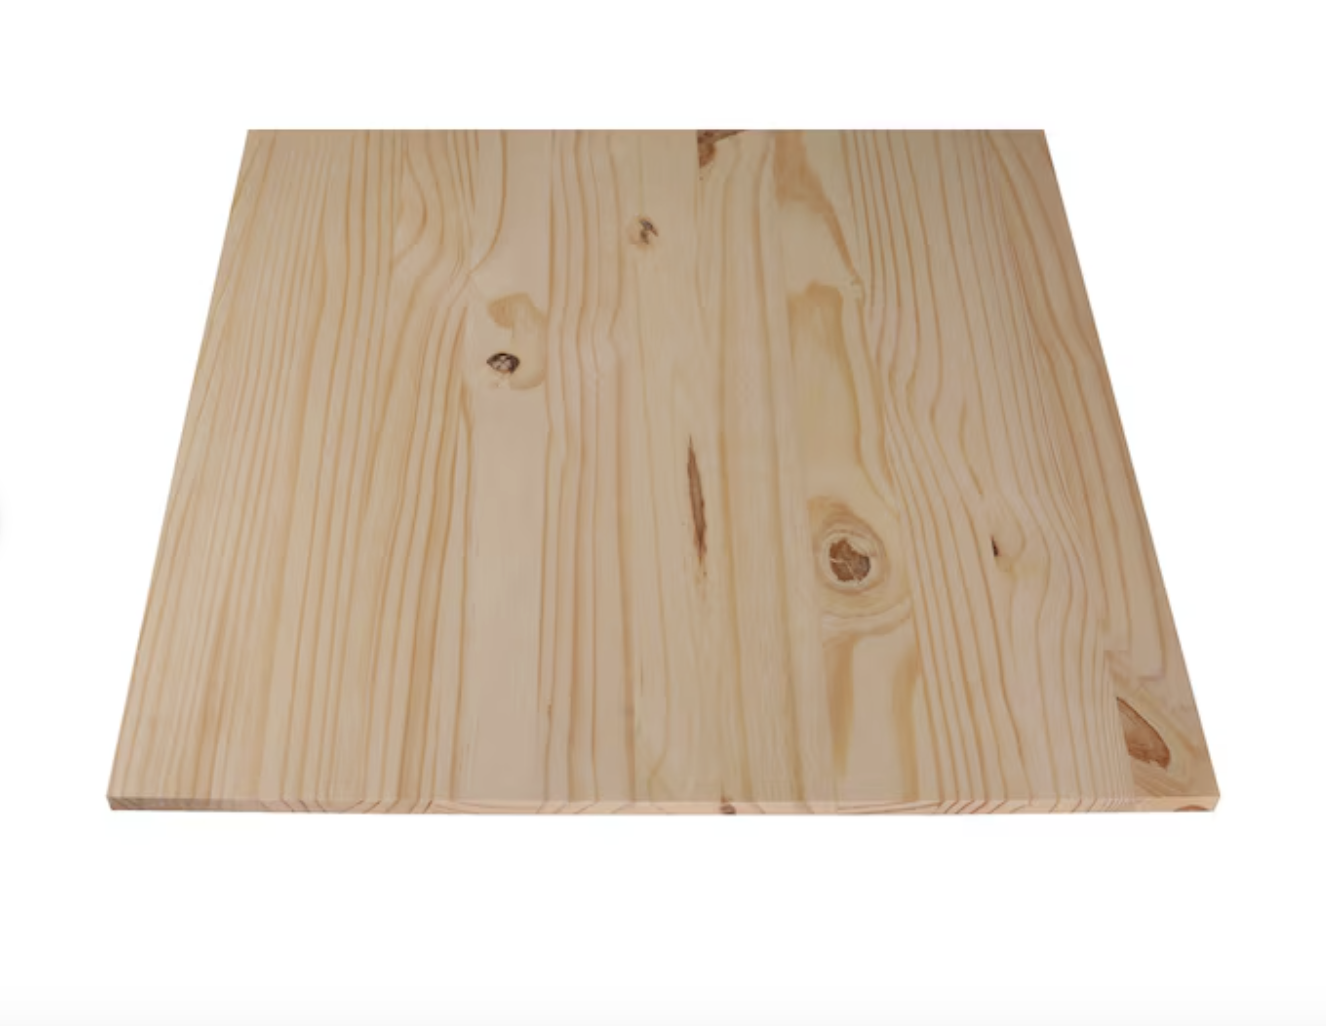
After installing the base IKEA countertop, I added this wood plank boardfrom Lowe’s on top. To get the antique wood plank top I was going for, I used my hand saw to make grooves that looked like wood planks. (Make the planks different widths and sizes! it shouldn’t look too uniform.)
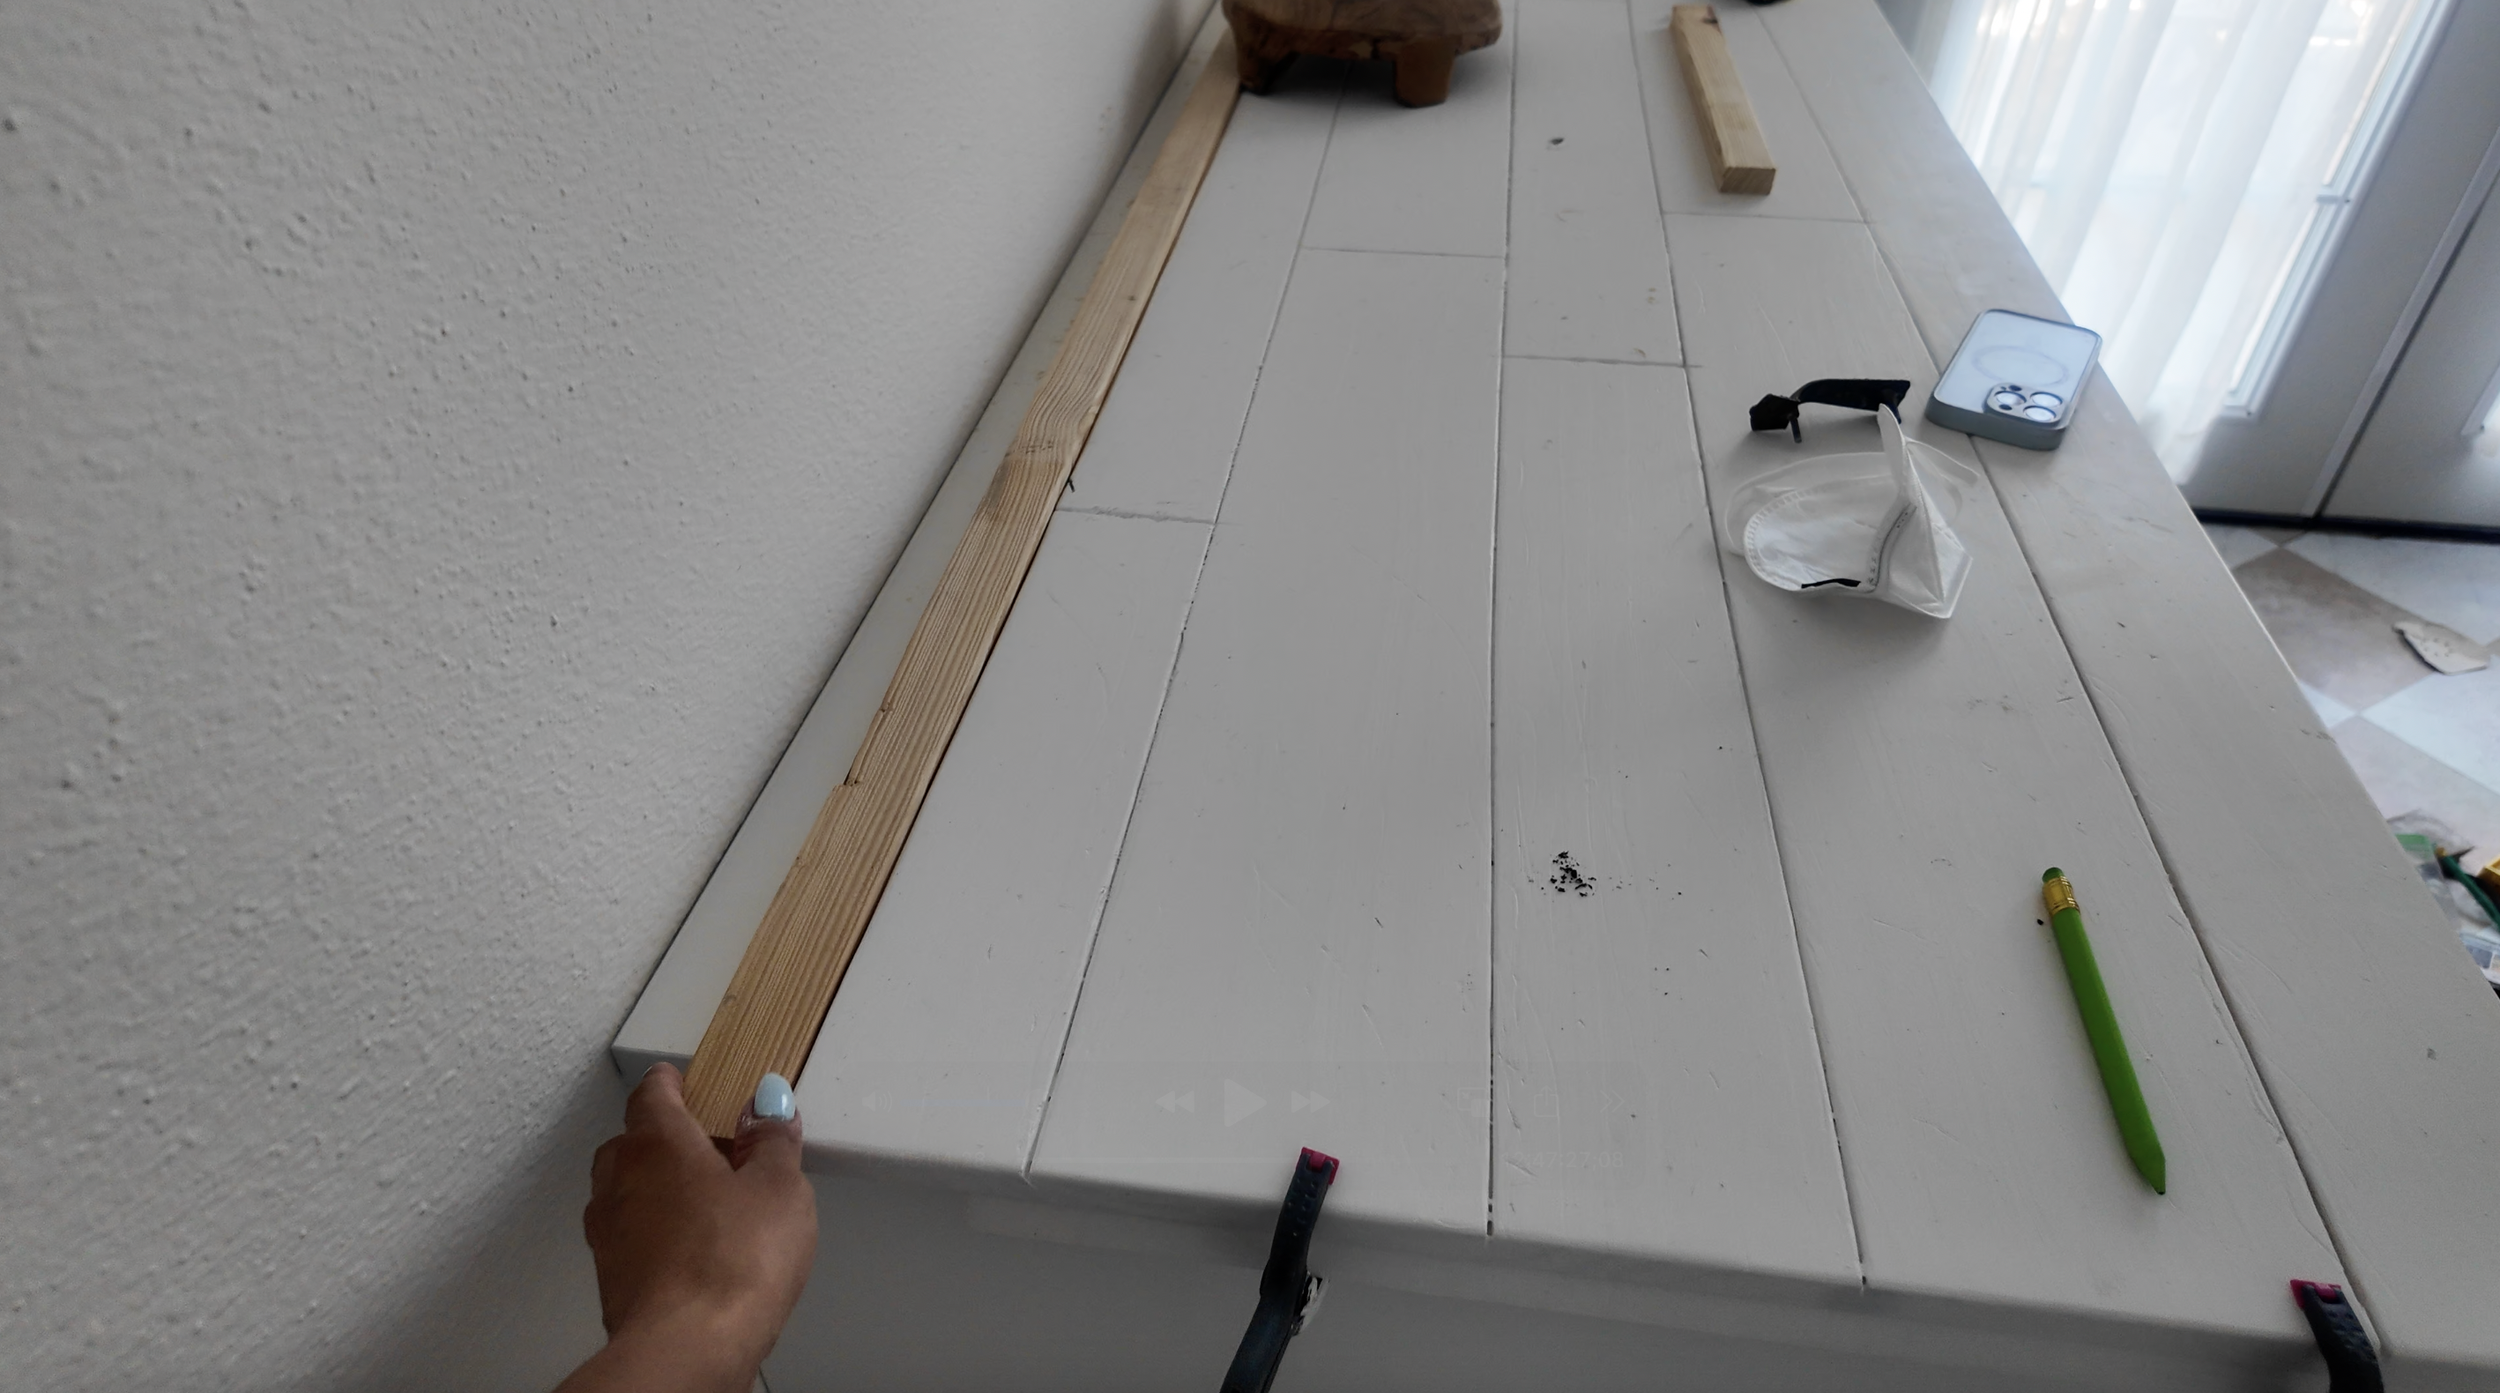
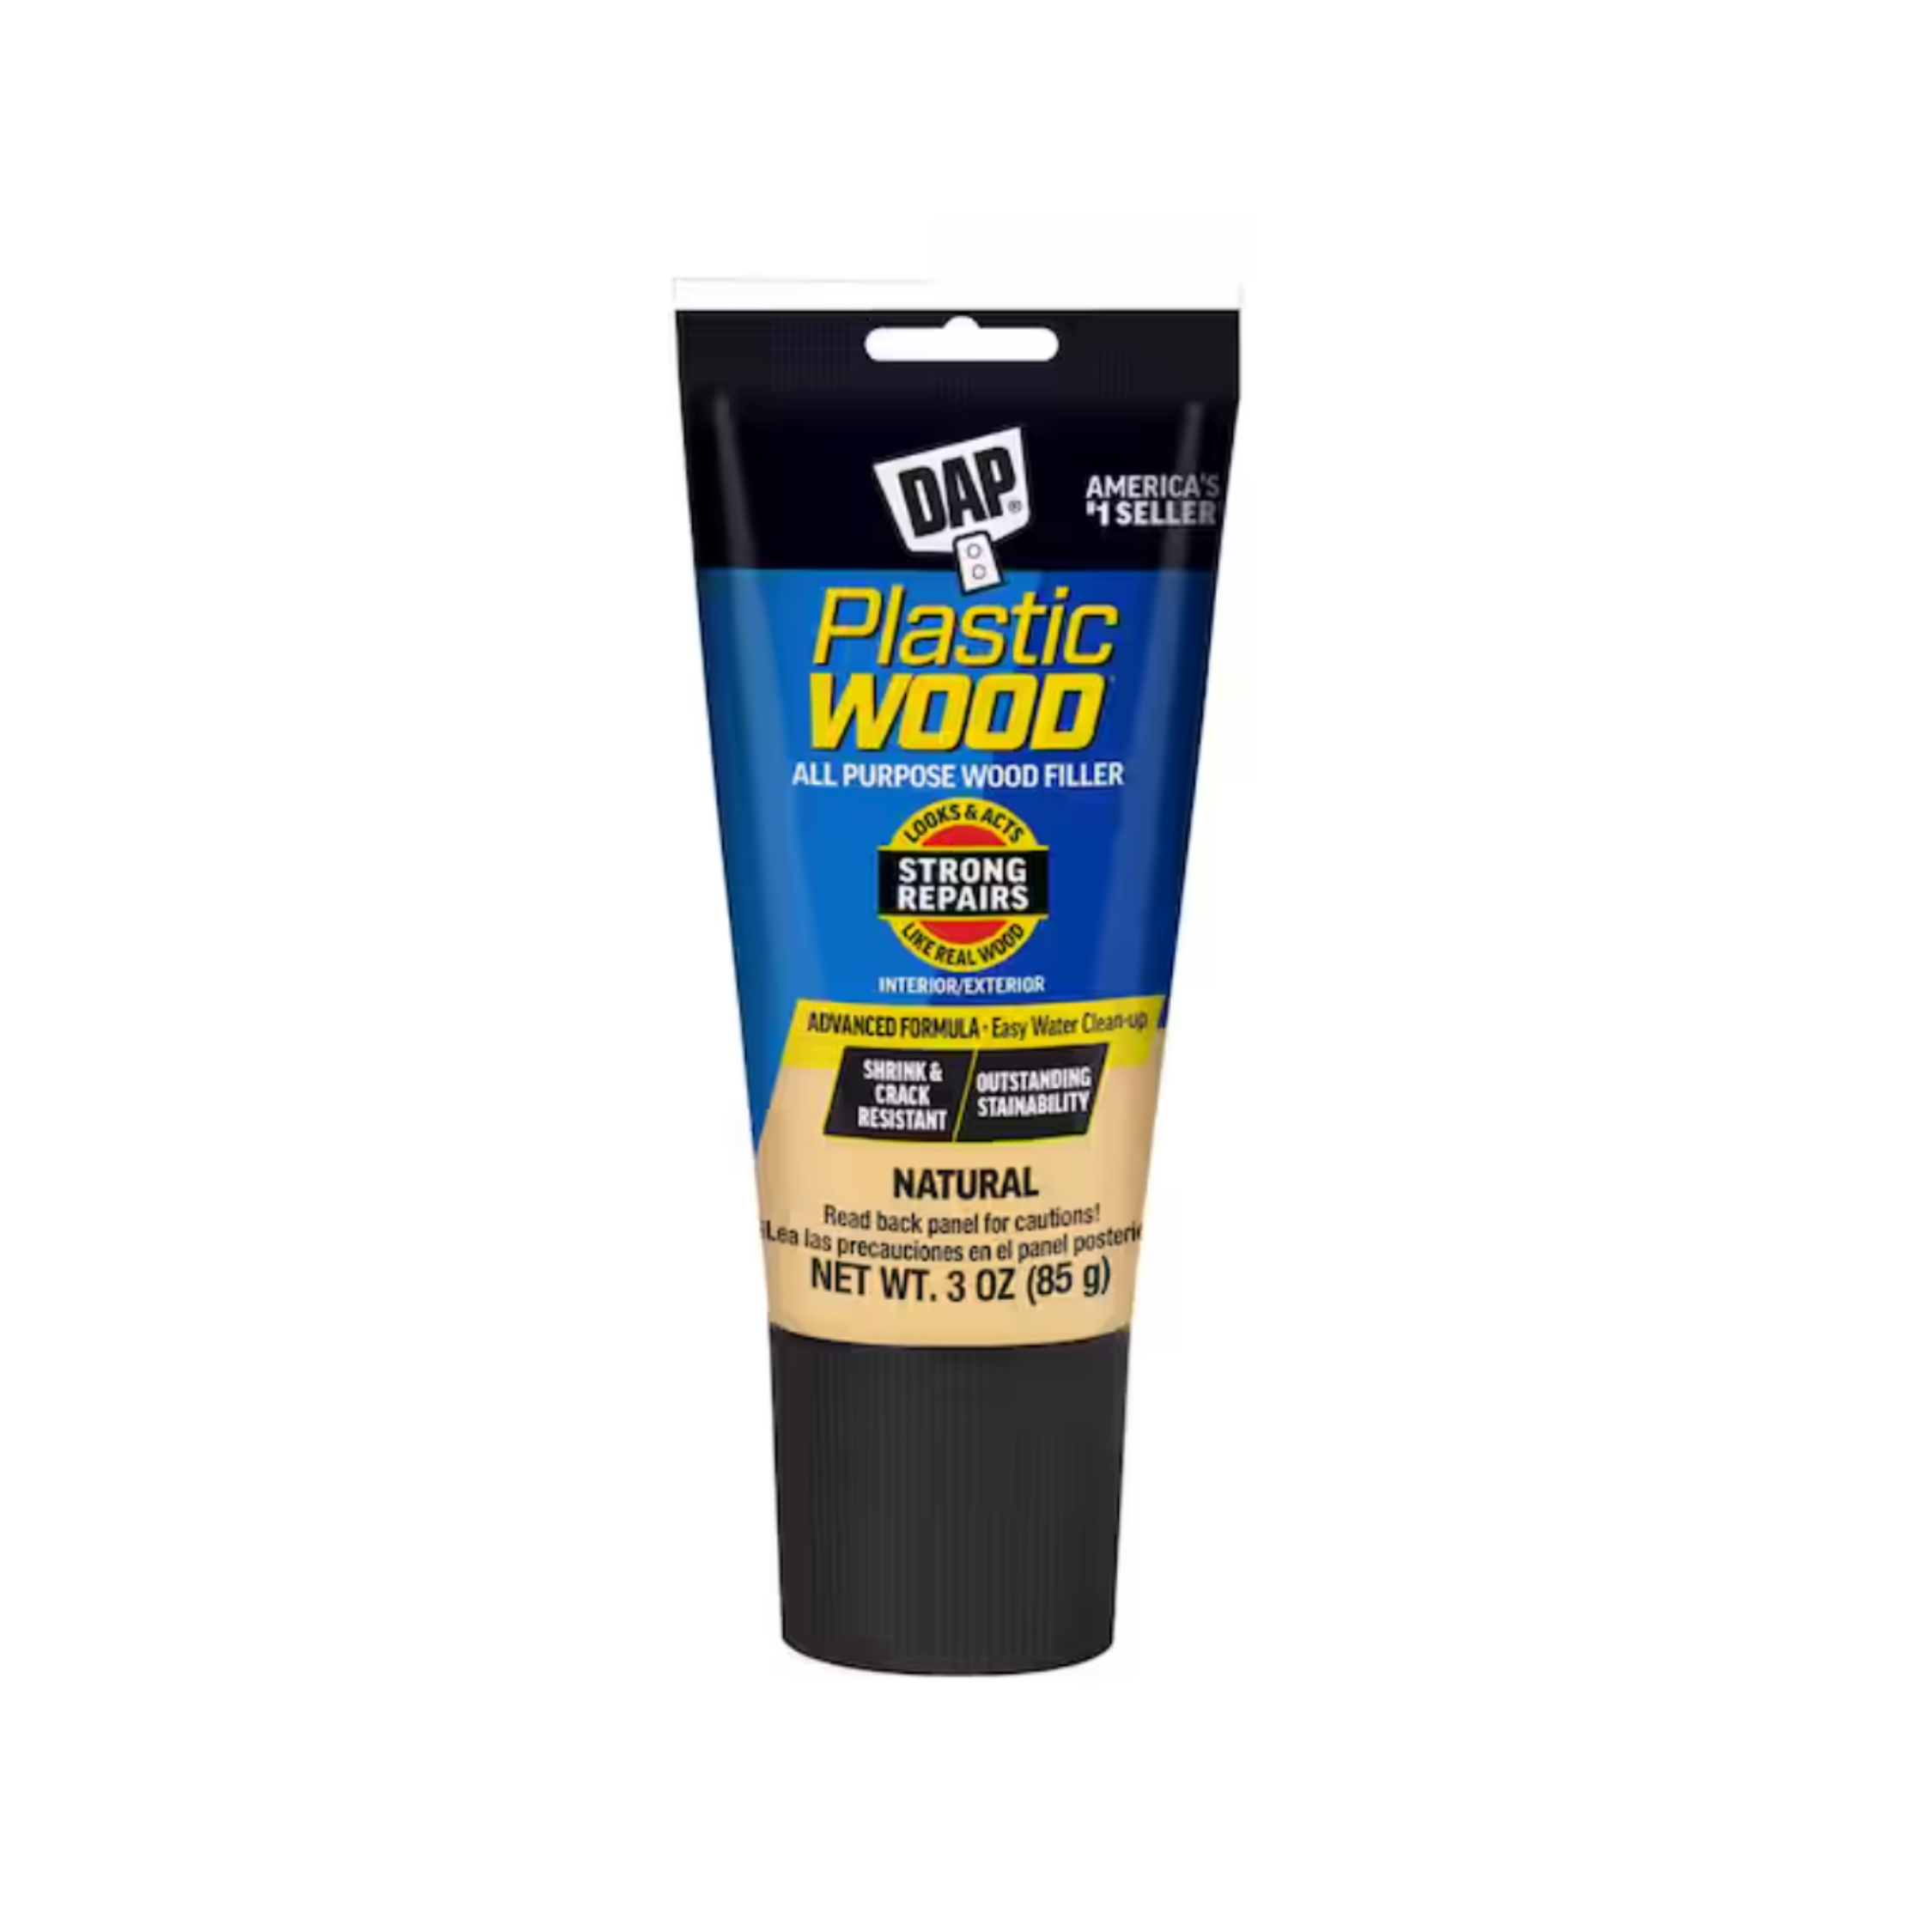
The board didn’t quite fit my entire countertop so I had to fill in the gaps using a few extra panels of wood. I glued them to the side of the large plank board, let them dry overnight, and add wood filler and sanded until it looked mostly like the same plank of wood. Then I extended the grooves across them to really blend them in.
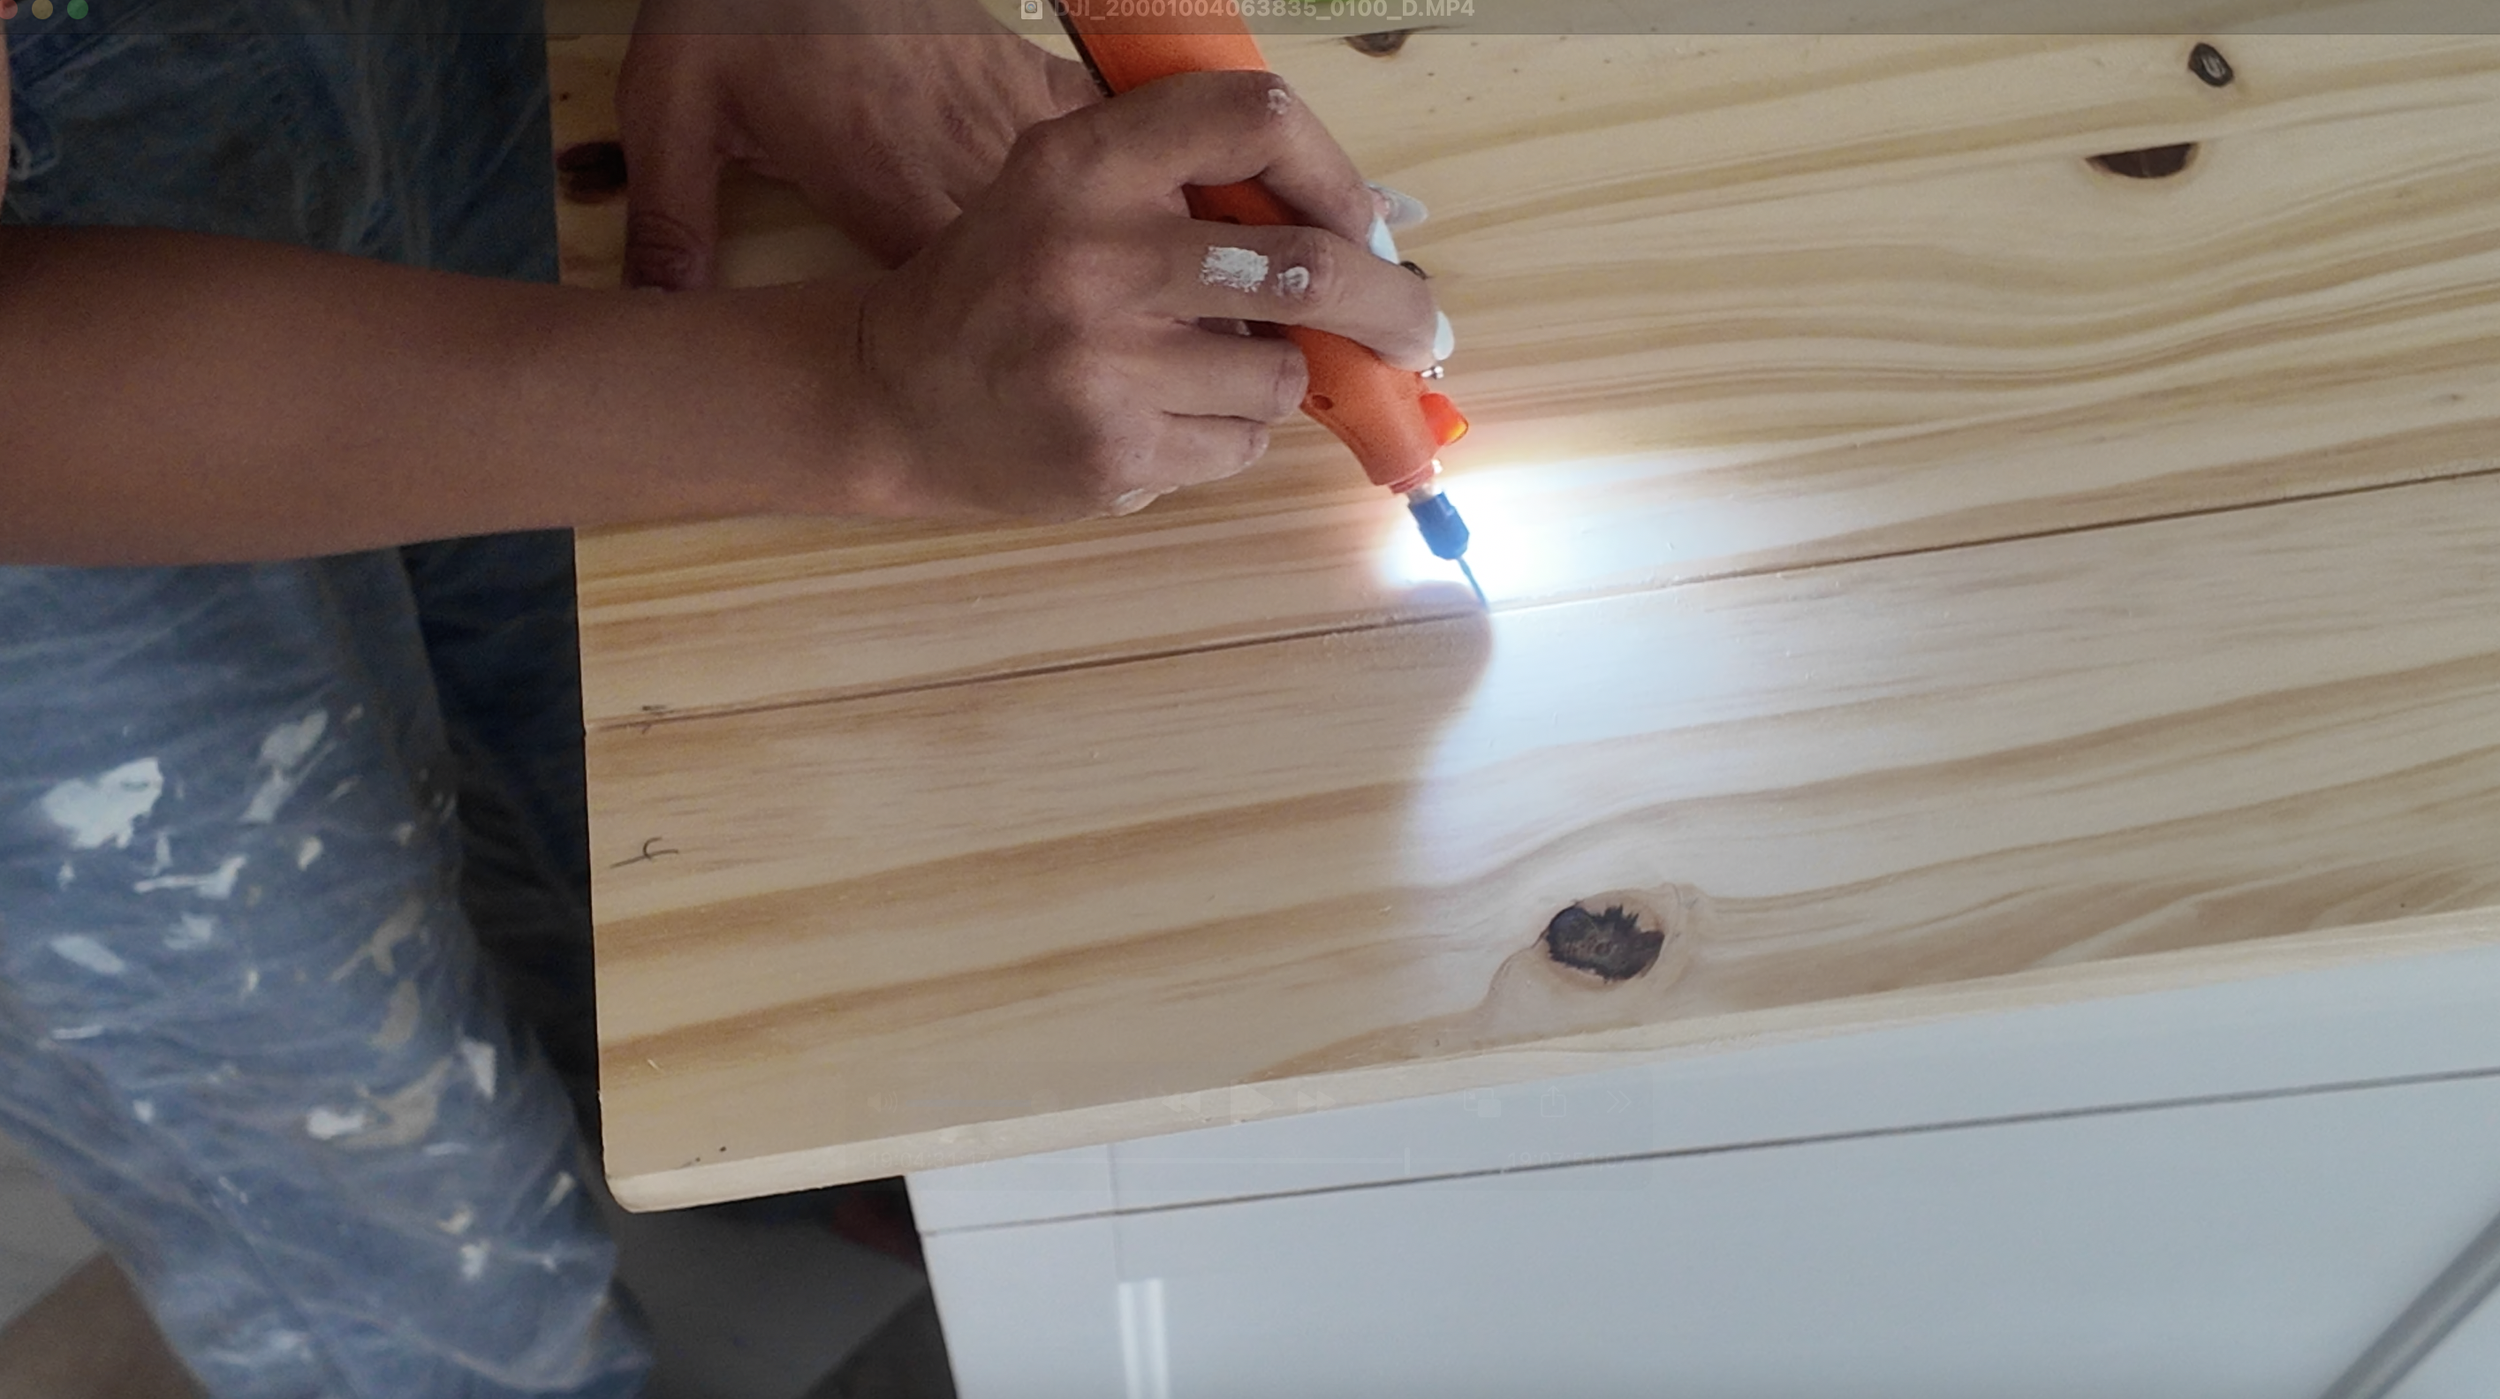
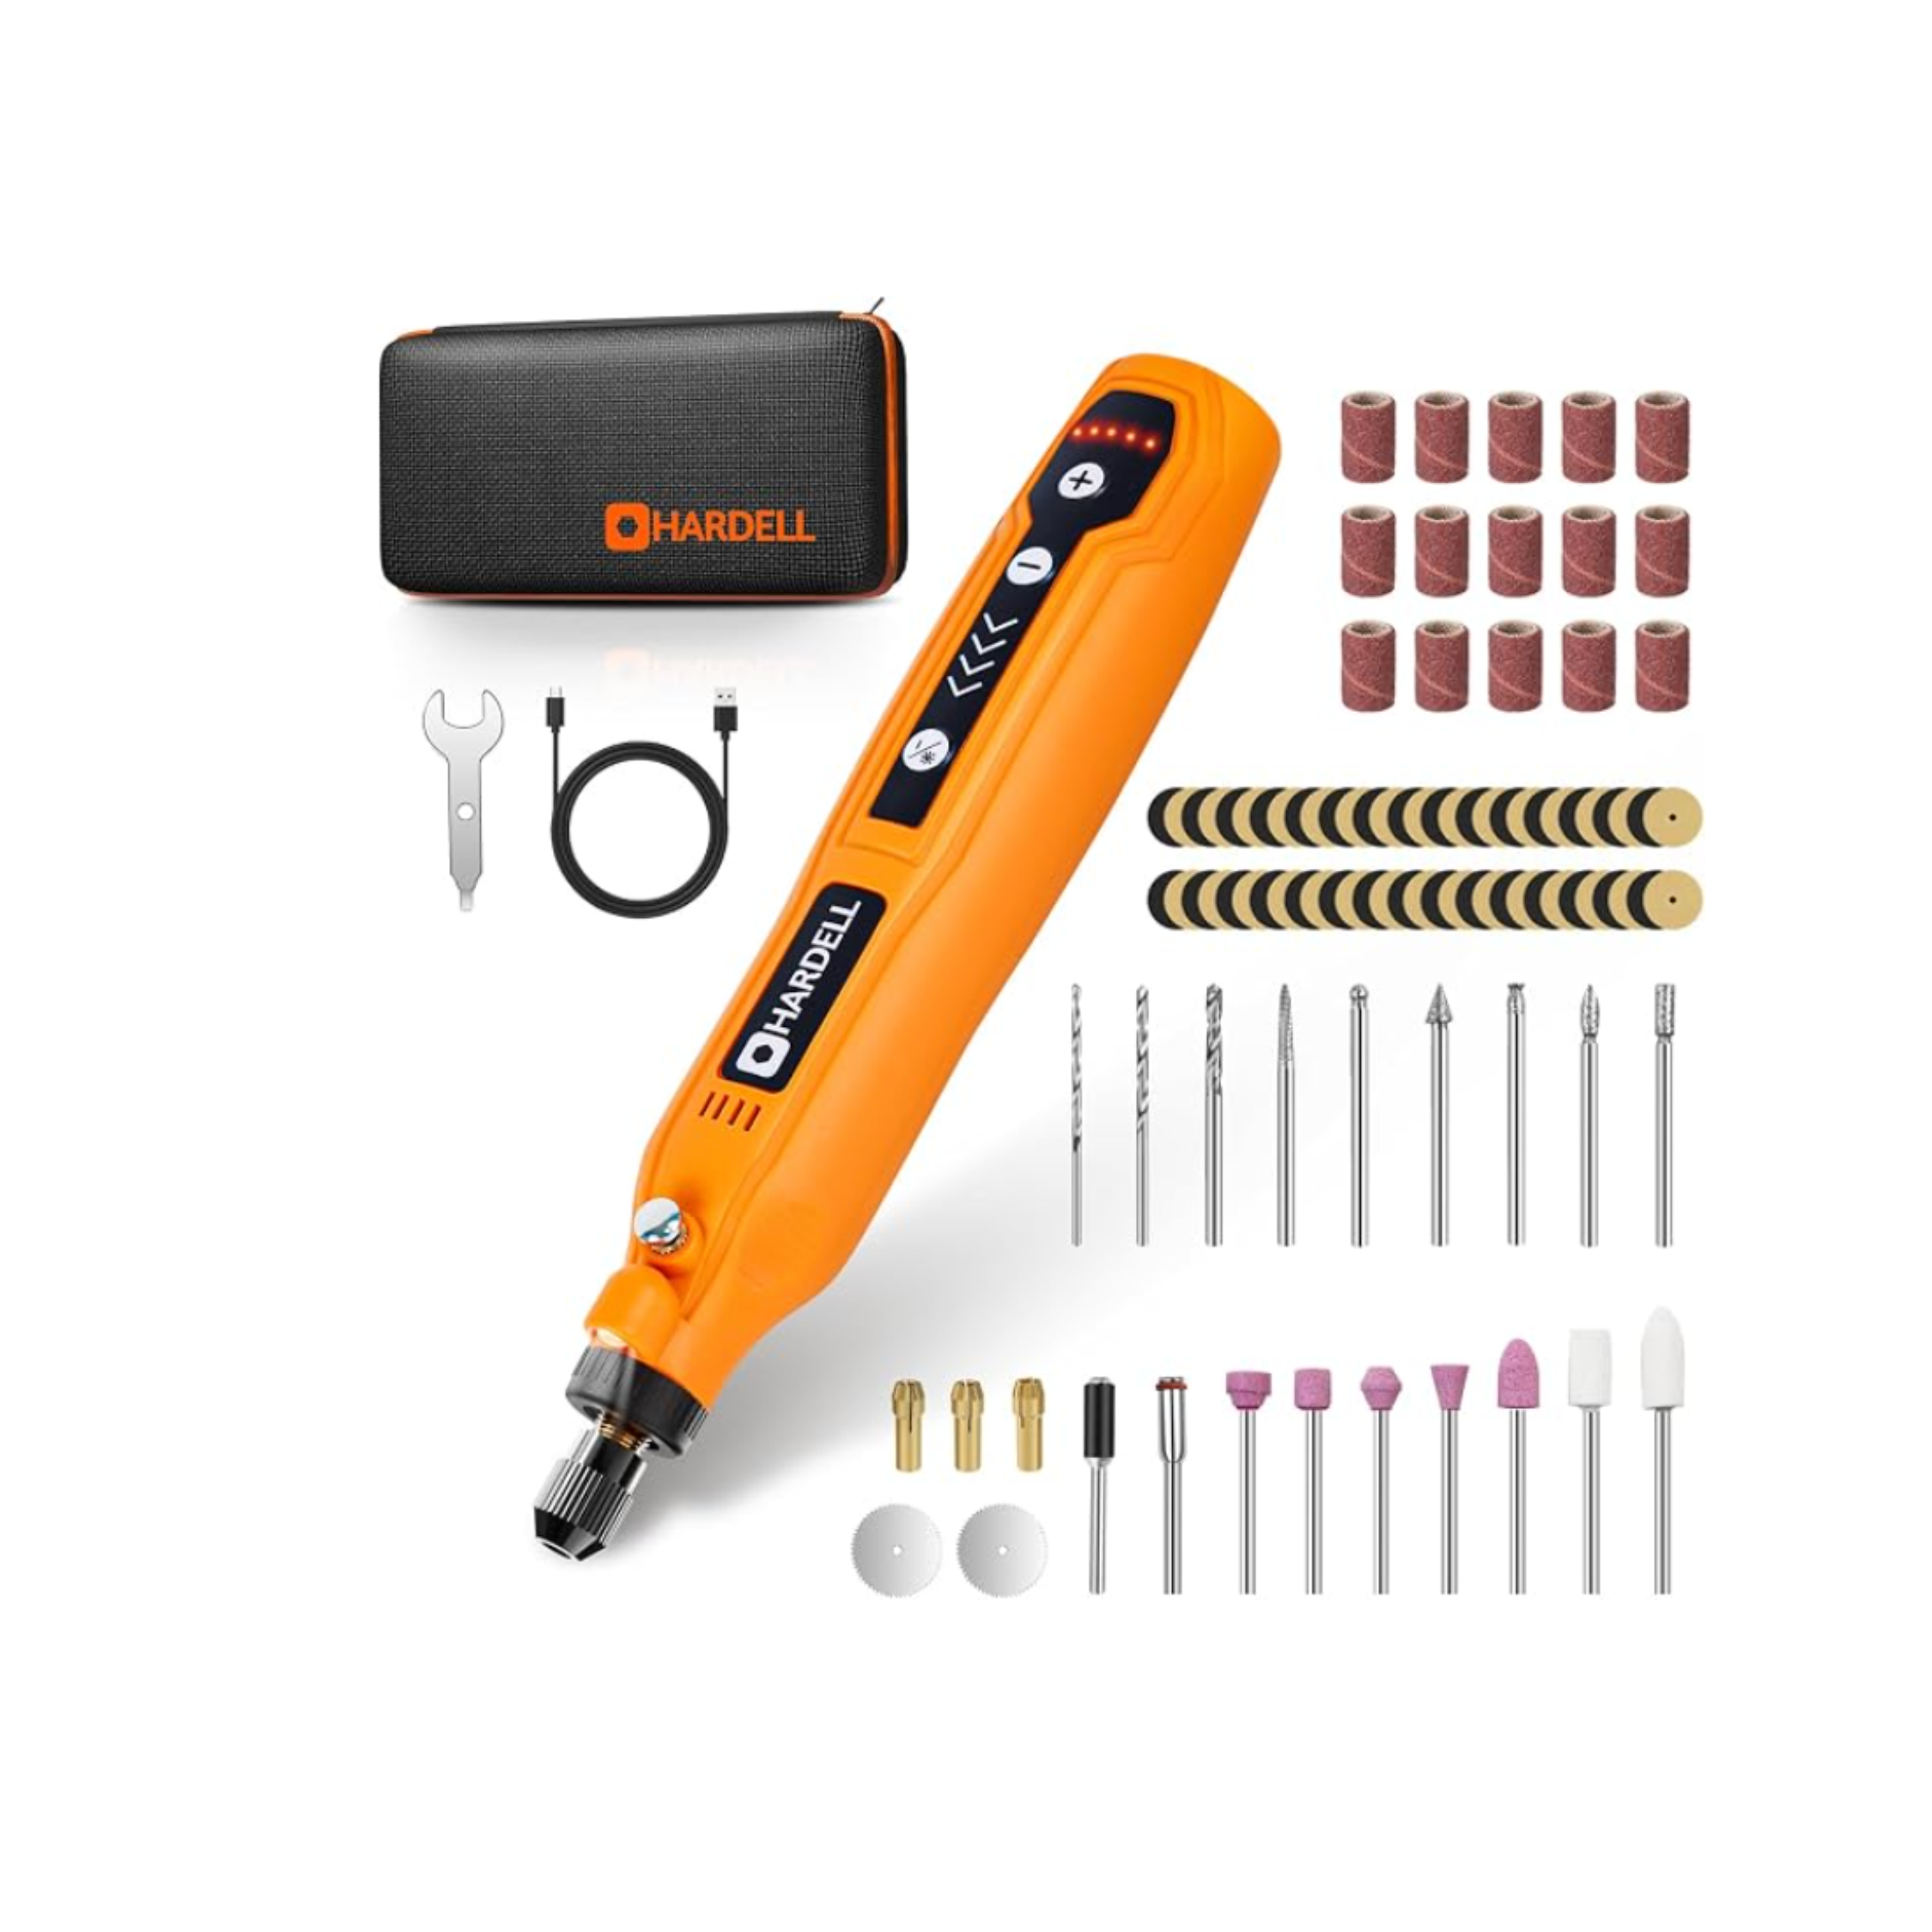
Now we don’t want this to look like a fresh plank of wood, so to give it a more worn, lived-in look, I used a handheld rotary tool and sanded down the edges of the “planks” I had created for a softer edge. Any sharp 90 degree edges will give away the illusion. I also banged it up with a screwdriver to create some dents and scratches.
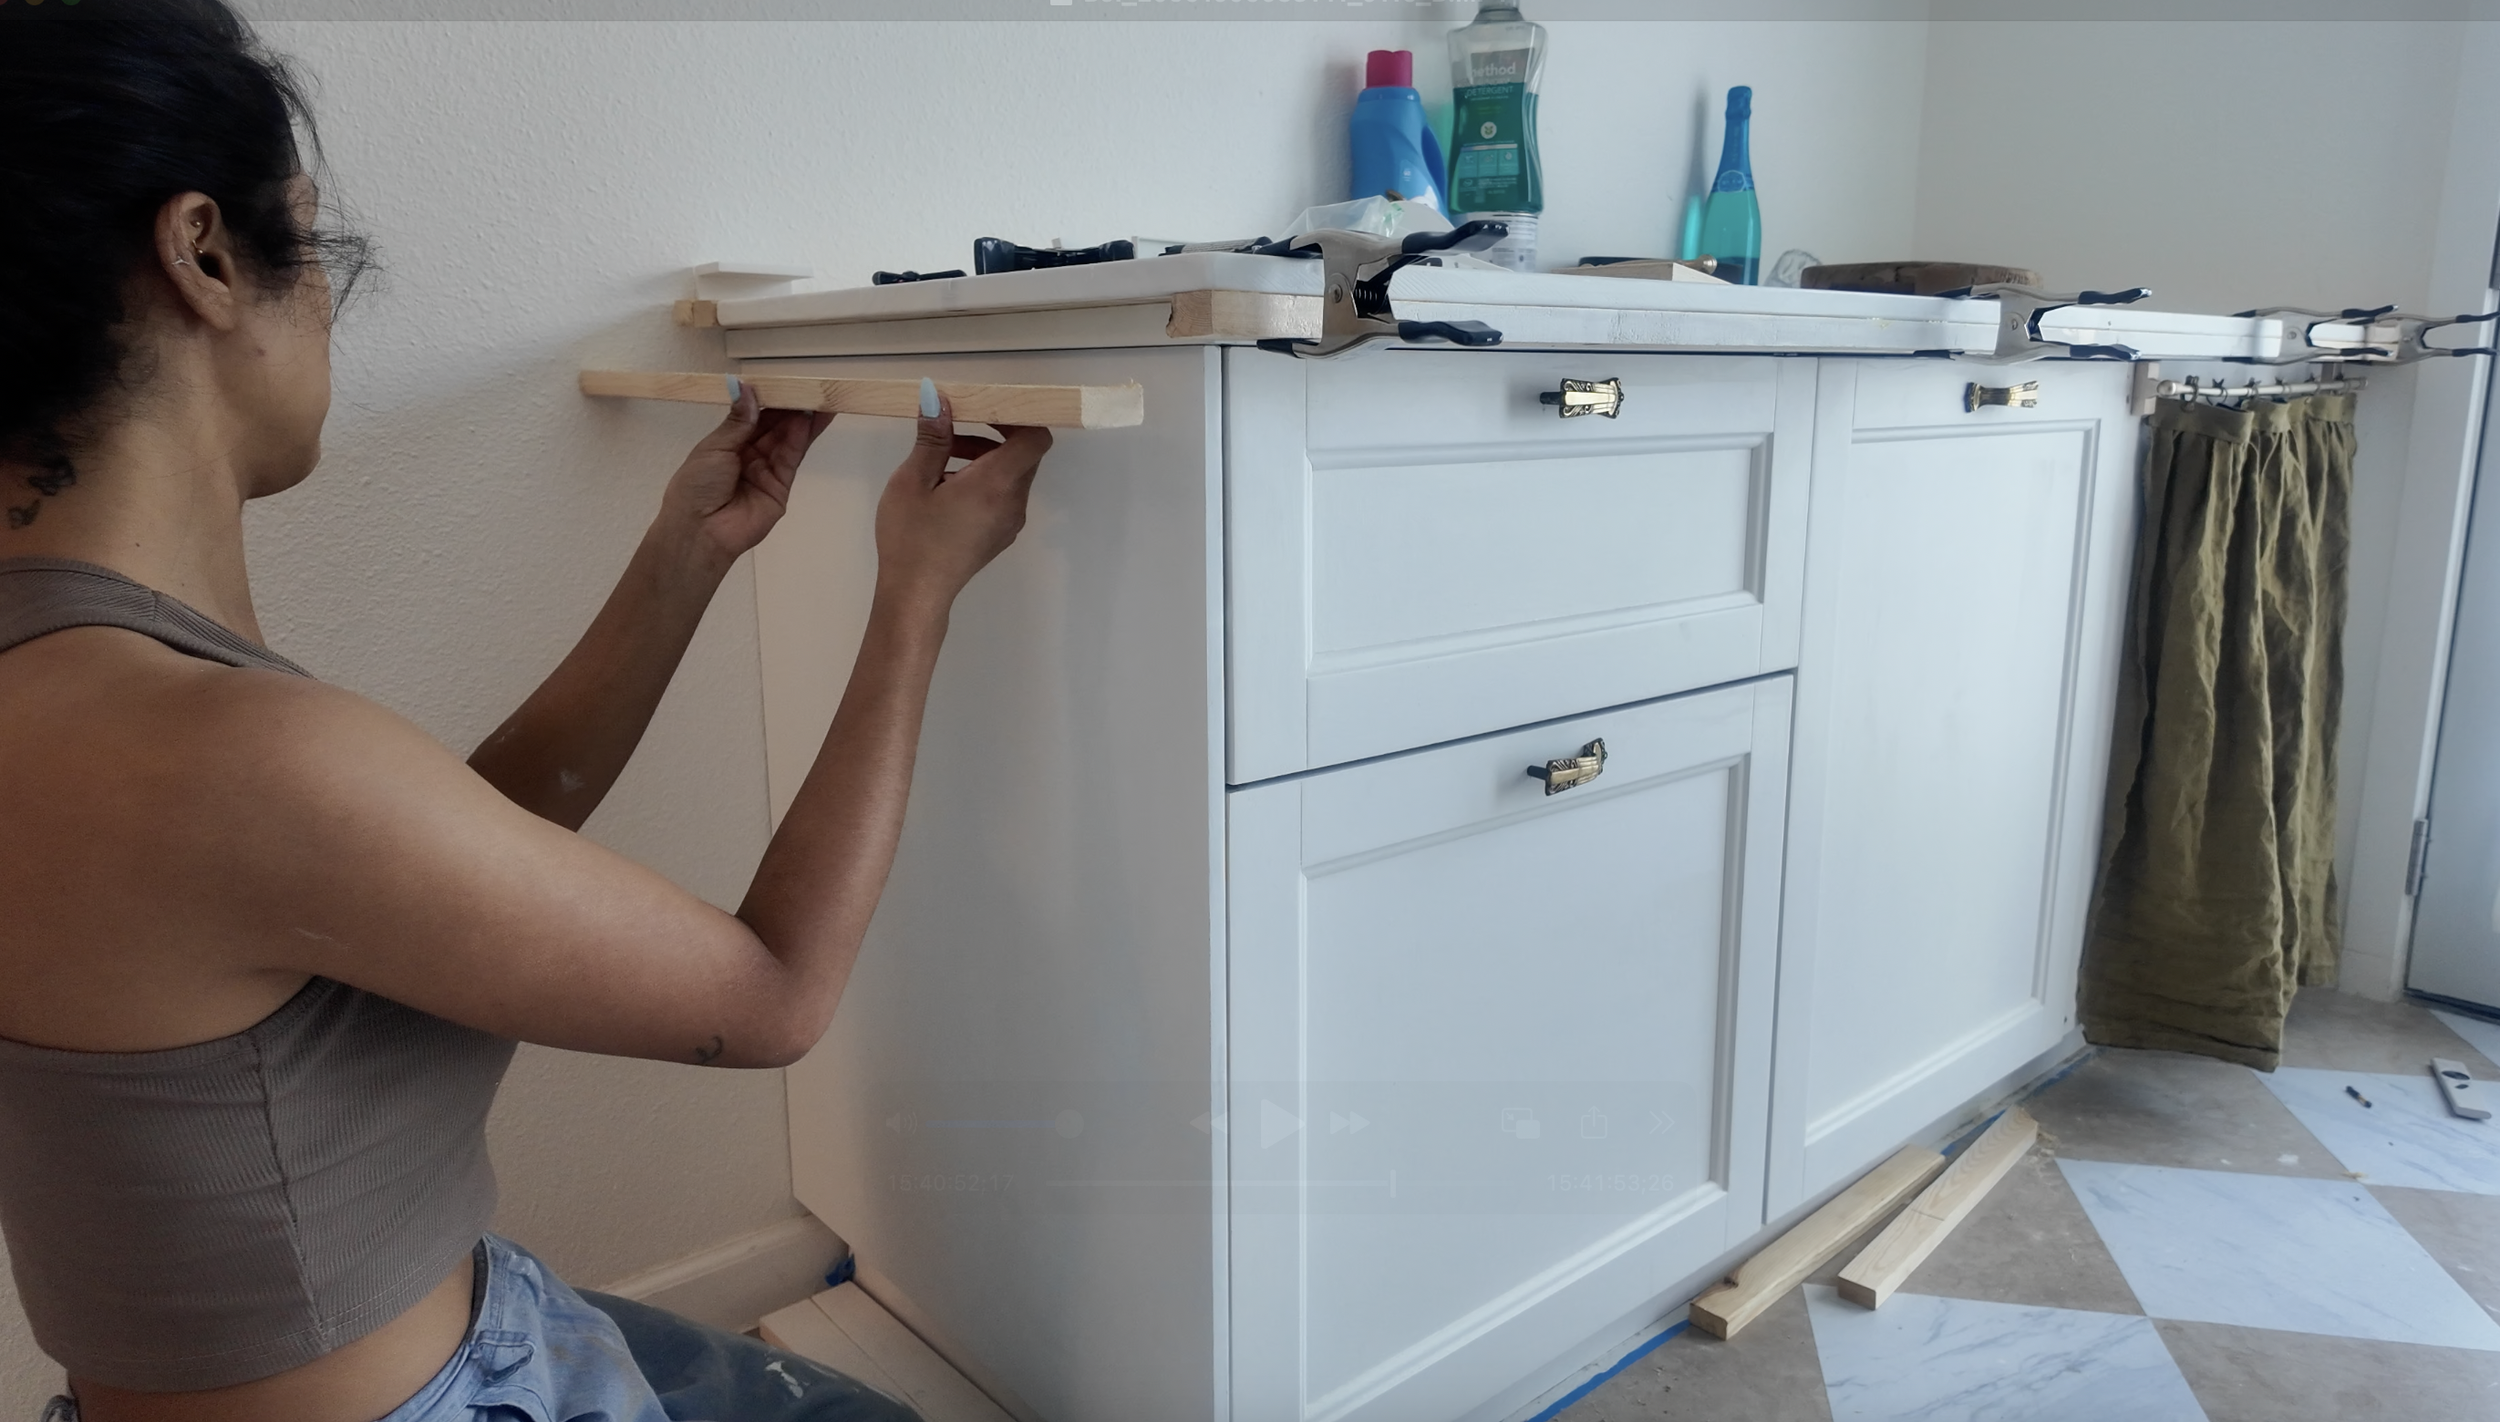
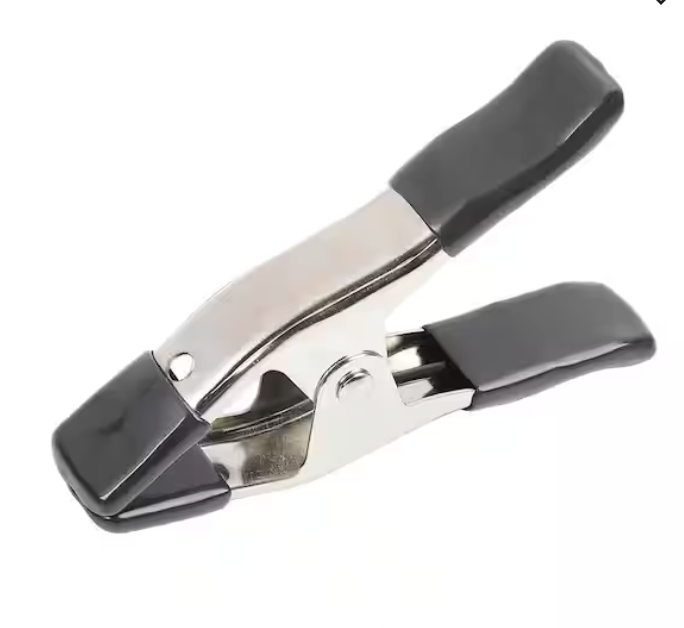
To hide the countertop underneath, I added trim by gluing 1X3 poplar board underneath the front border. You will want clamps for this part because they need to dry overnight, I used these clamps which were less than $1 at HD.
The next day, I filled the seam with wood filler, sanded it smooth and the edges to round them slightly, then painted with the same color as my cabinets - White Dove by Benjamin Moore.
Phase three: The Backsplash and Shelf
I cut 1/2" birch plywood to size to use as the backing board for the tile
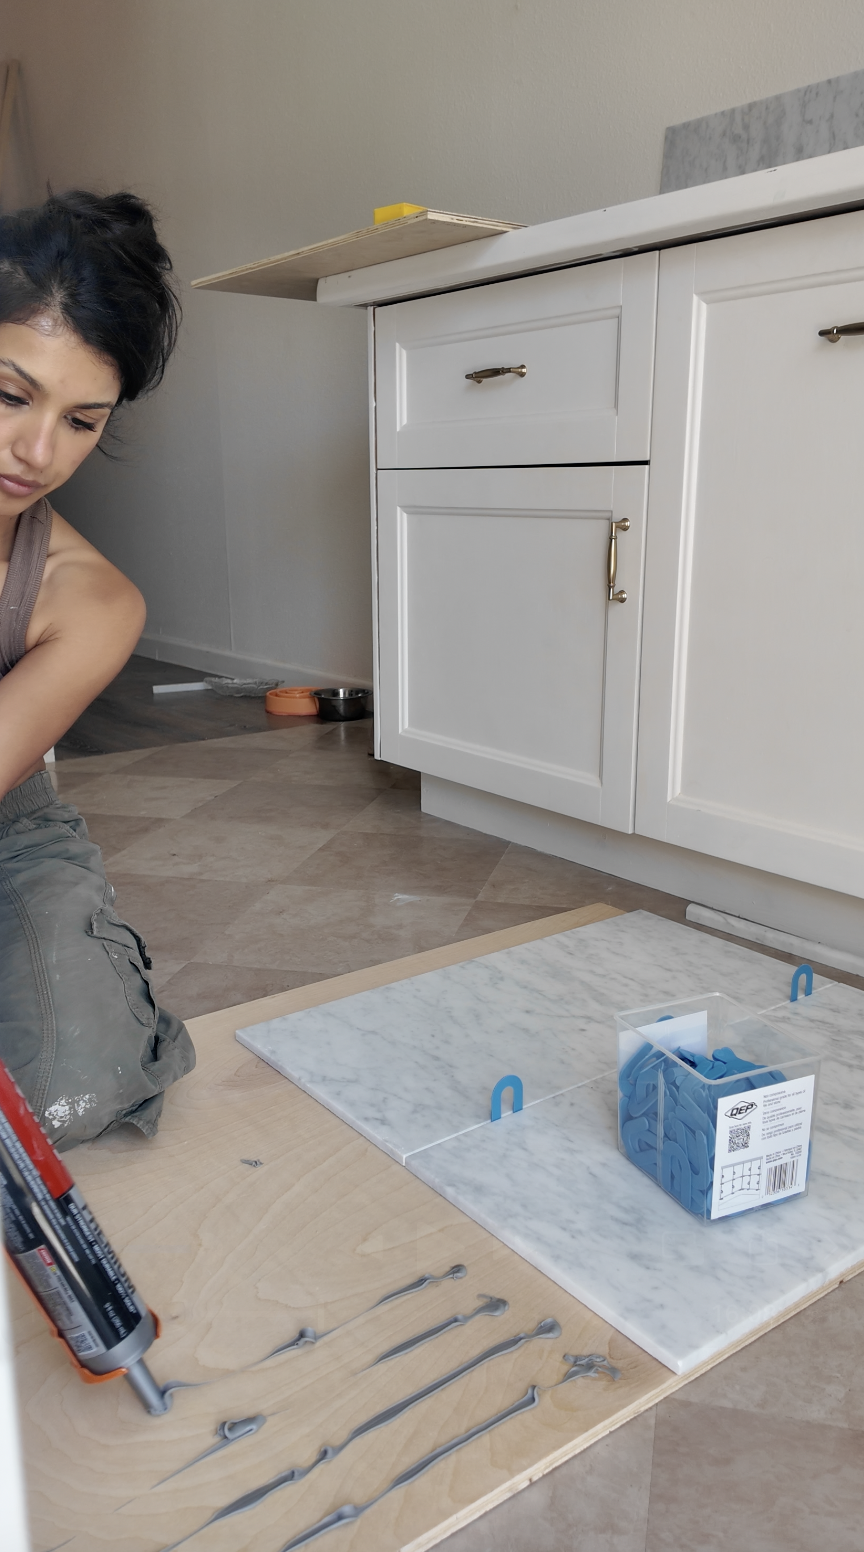
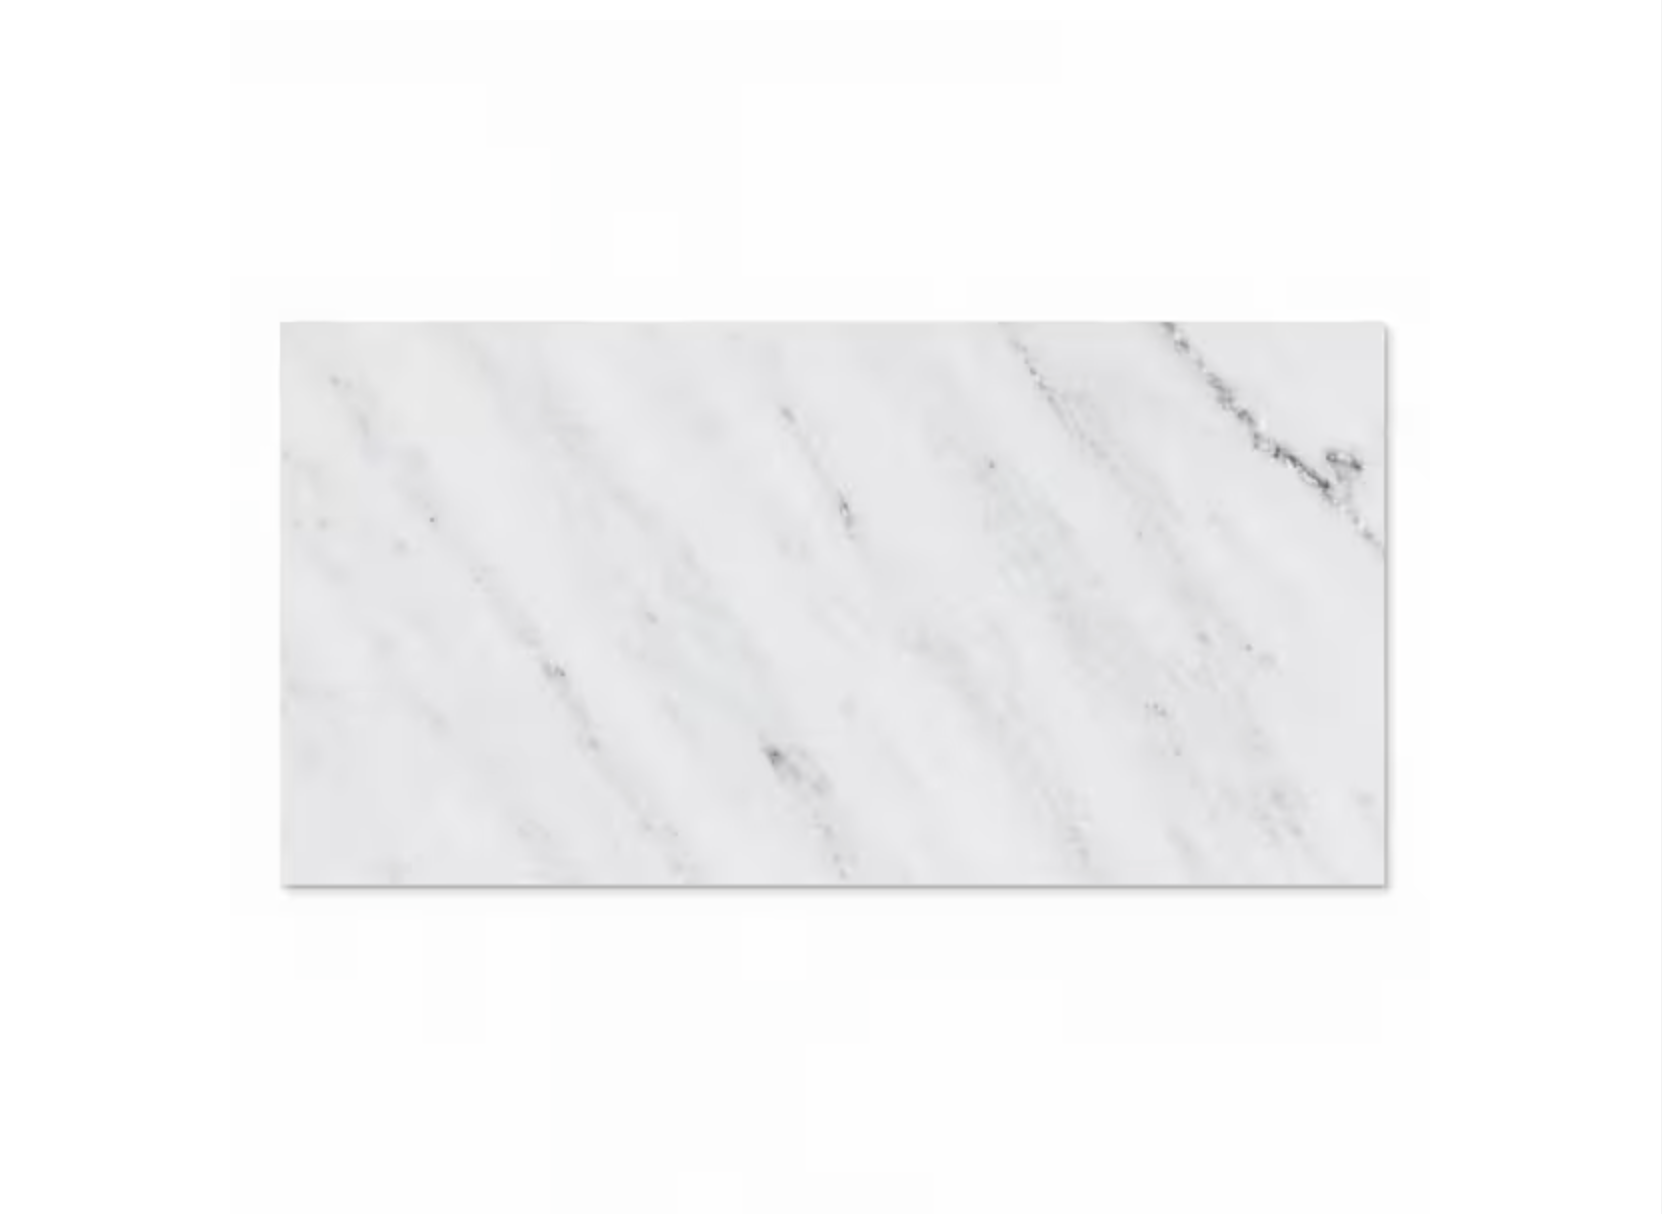
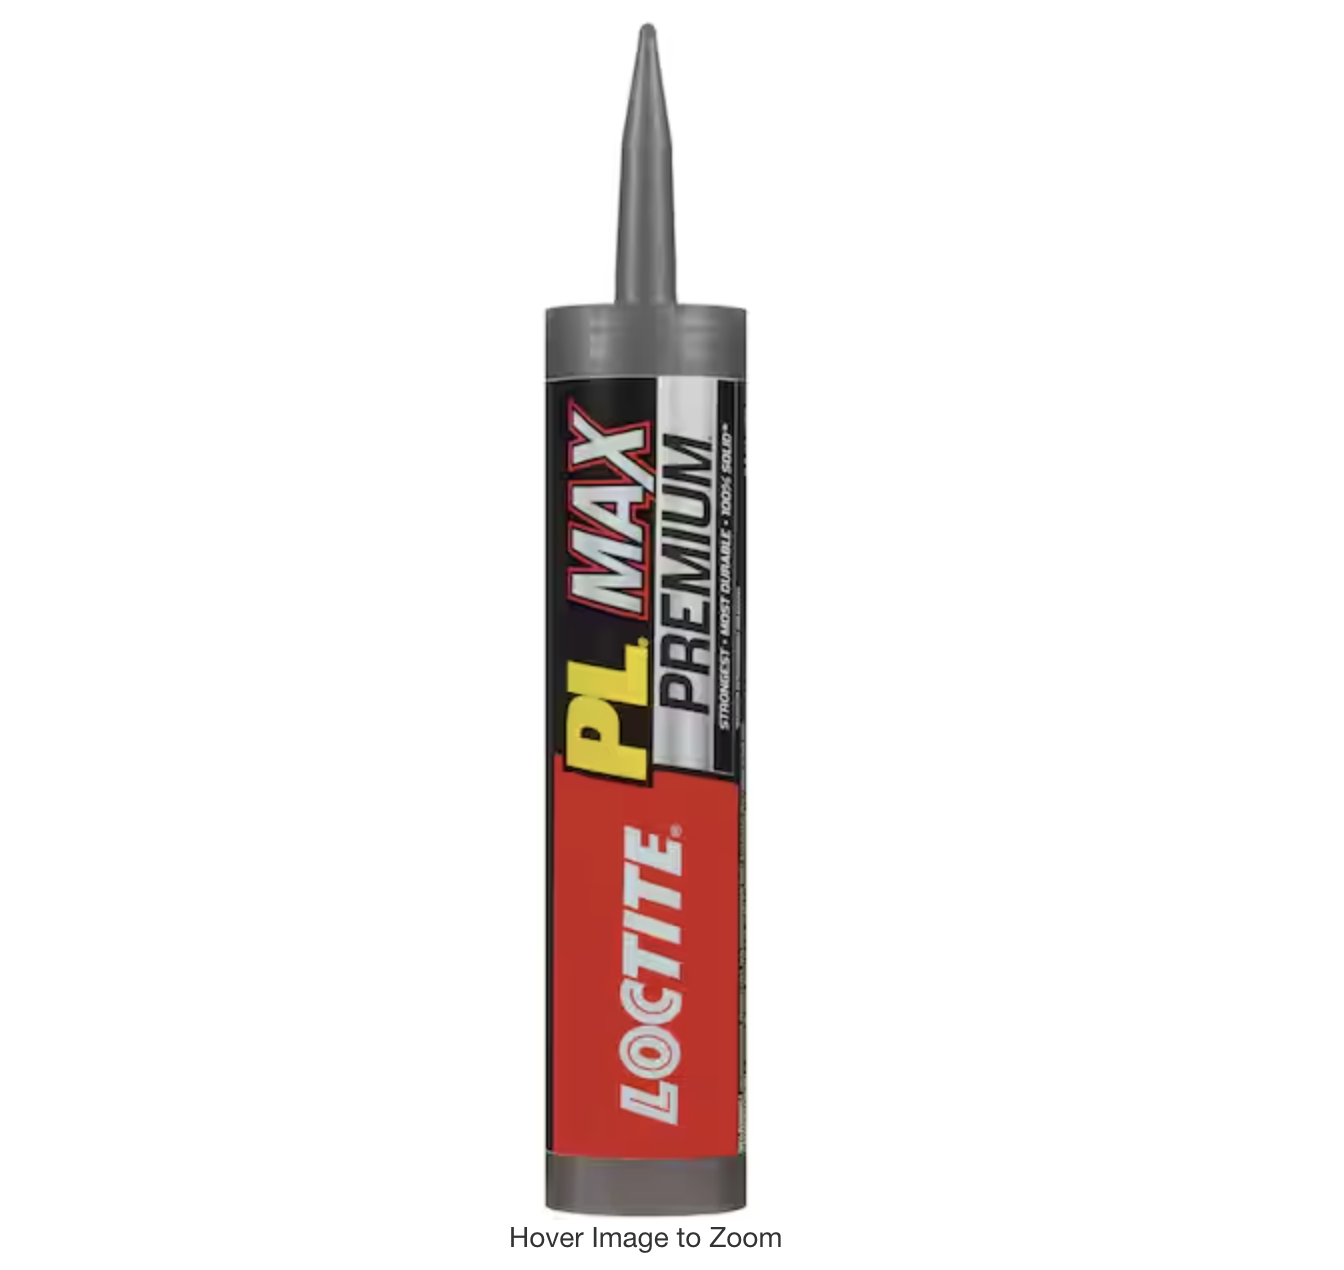
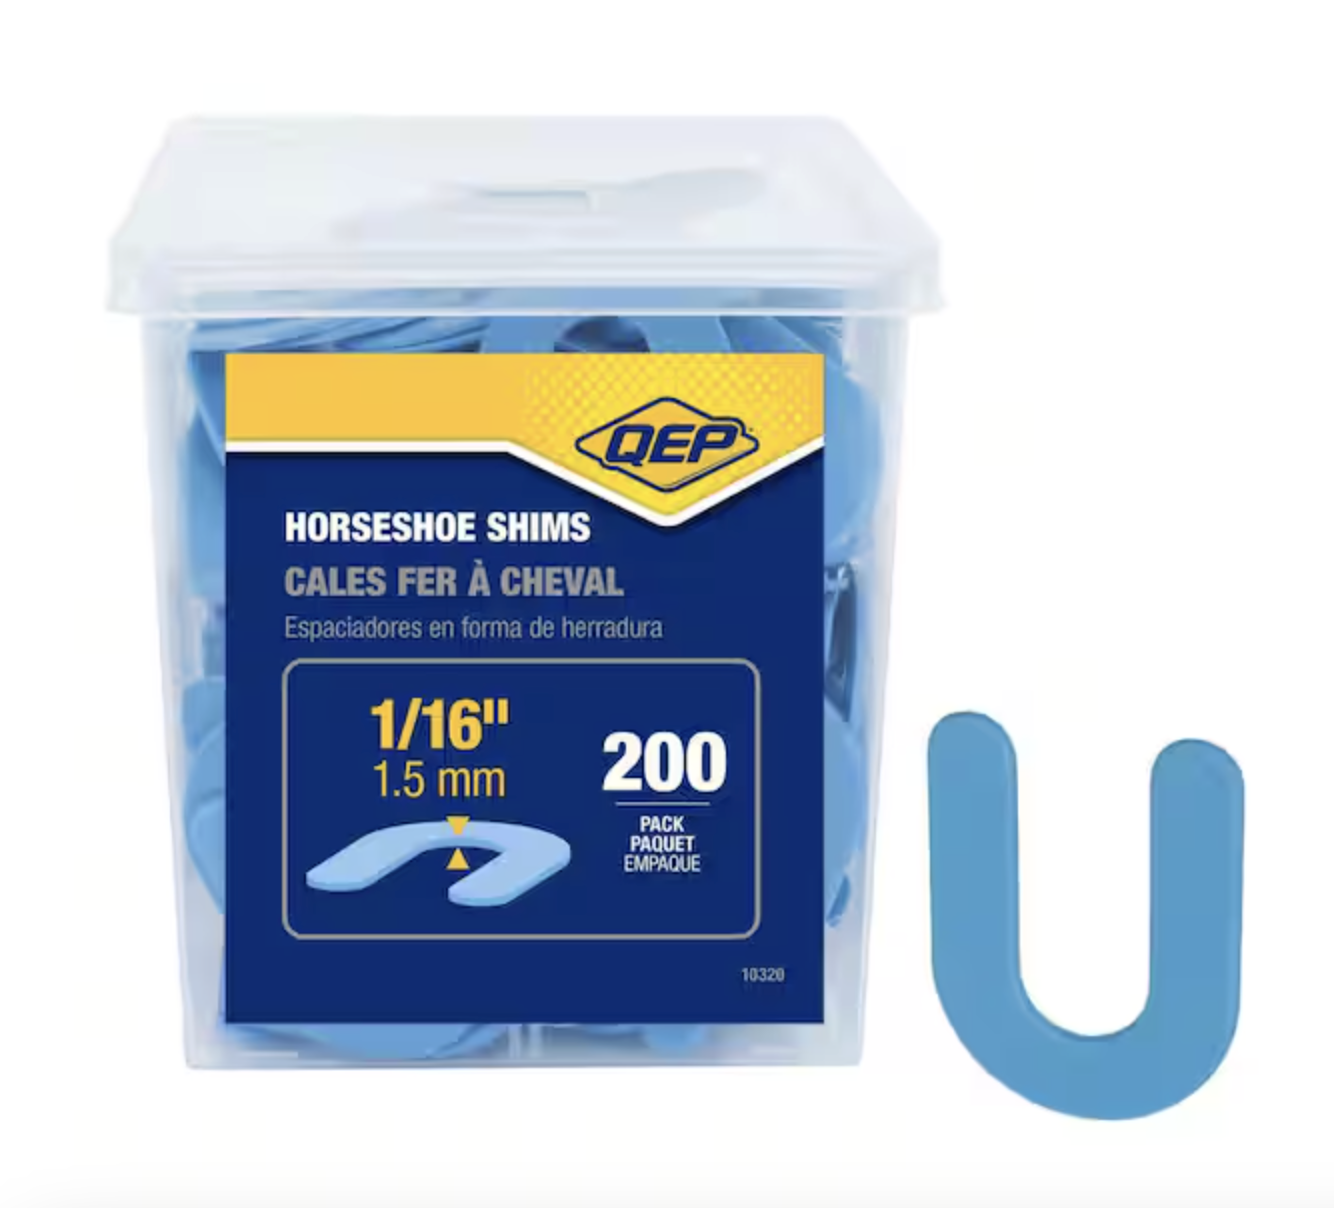
Then glued Carrara marble tile onto the board with construction adhesive, using tile 1/16 spacers to keep the spacing even. I let it cure for 24 hours.
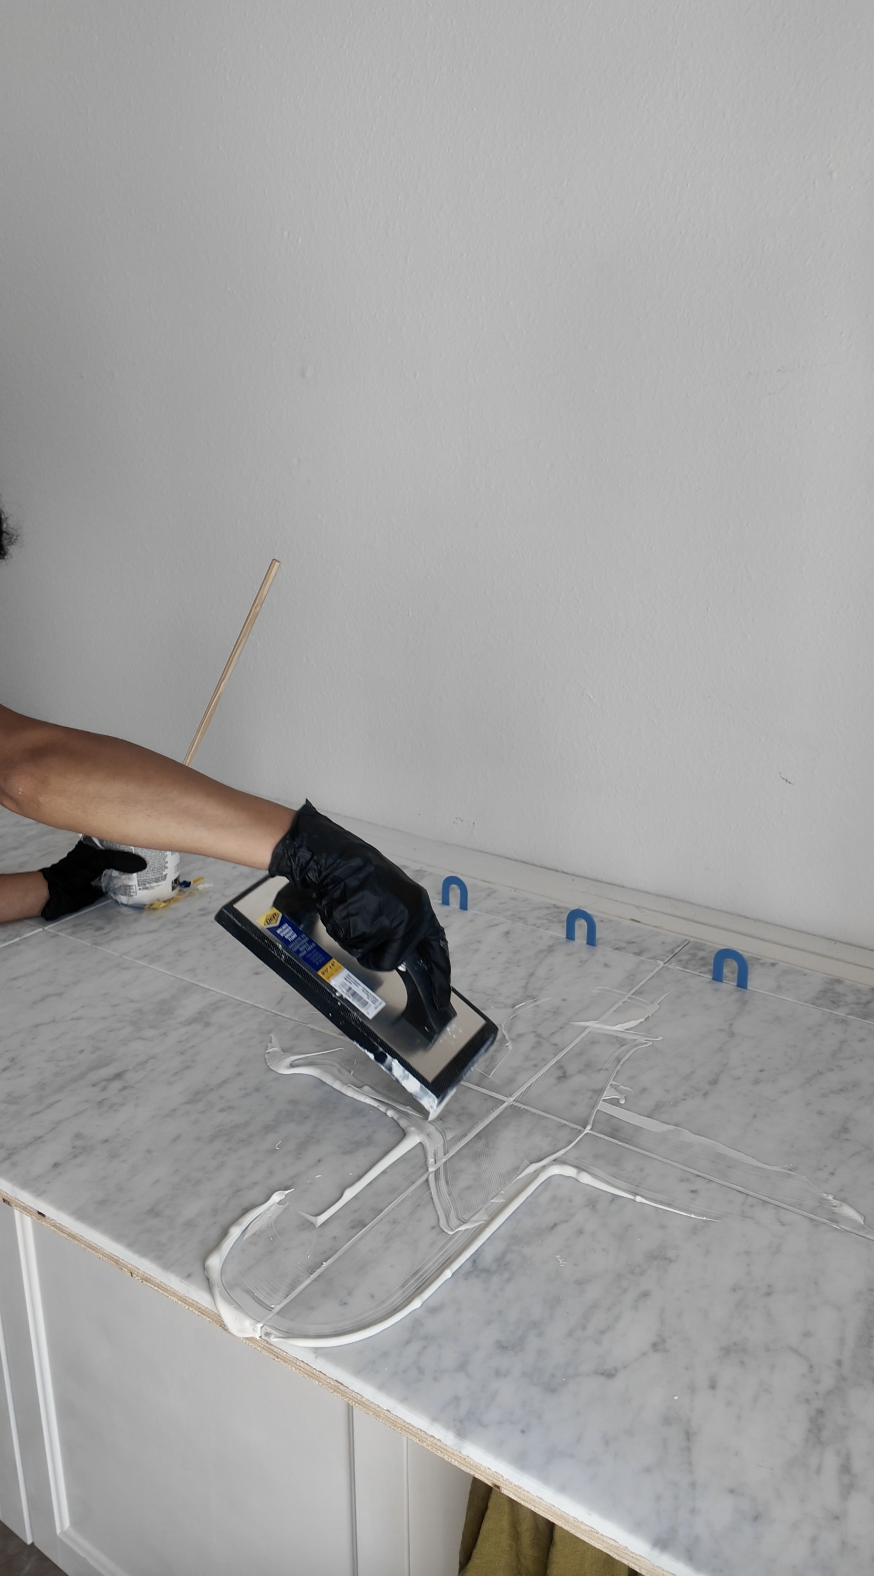
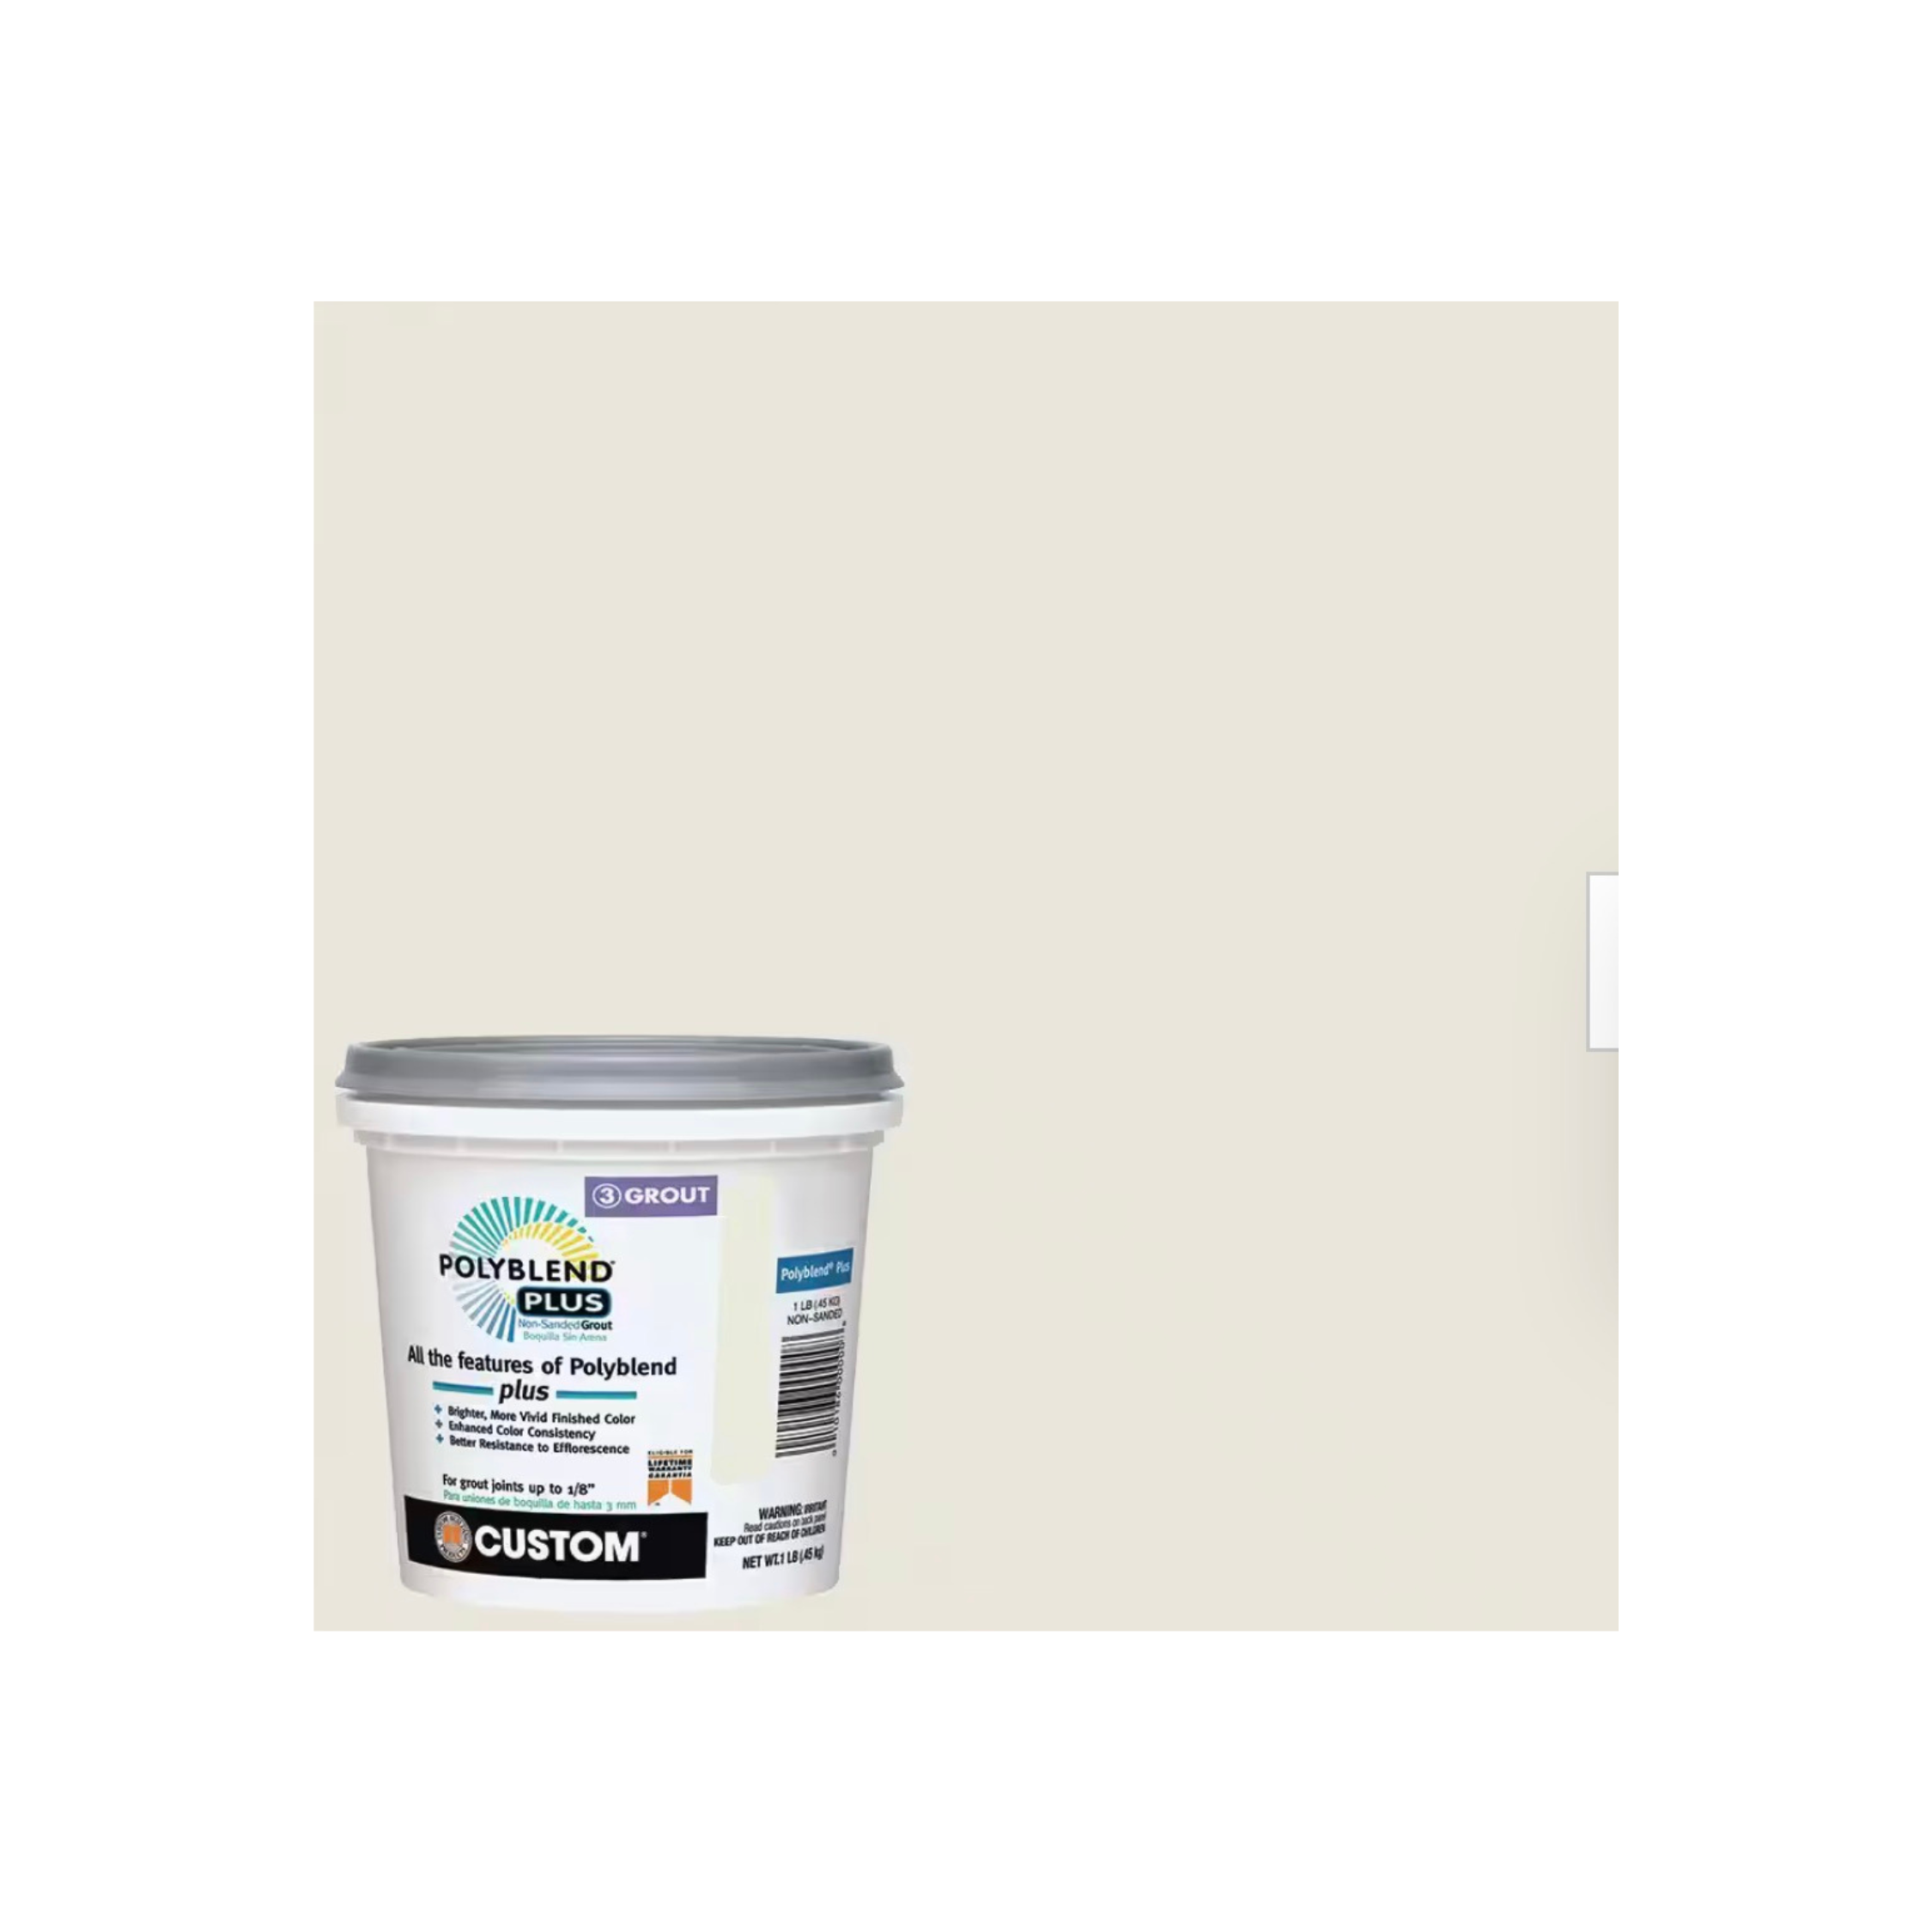
The next day, I applied unsanded bright white grout, which I felt would blend in with the marble best. I wanted it to kindof disappear so the marble felt like one solid slab.
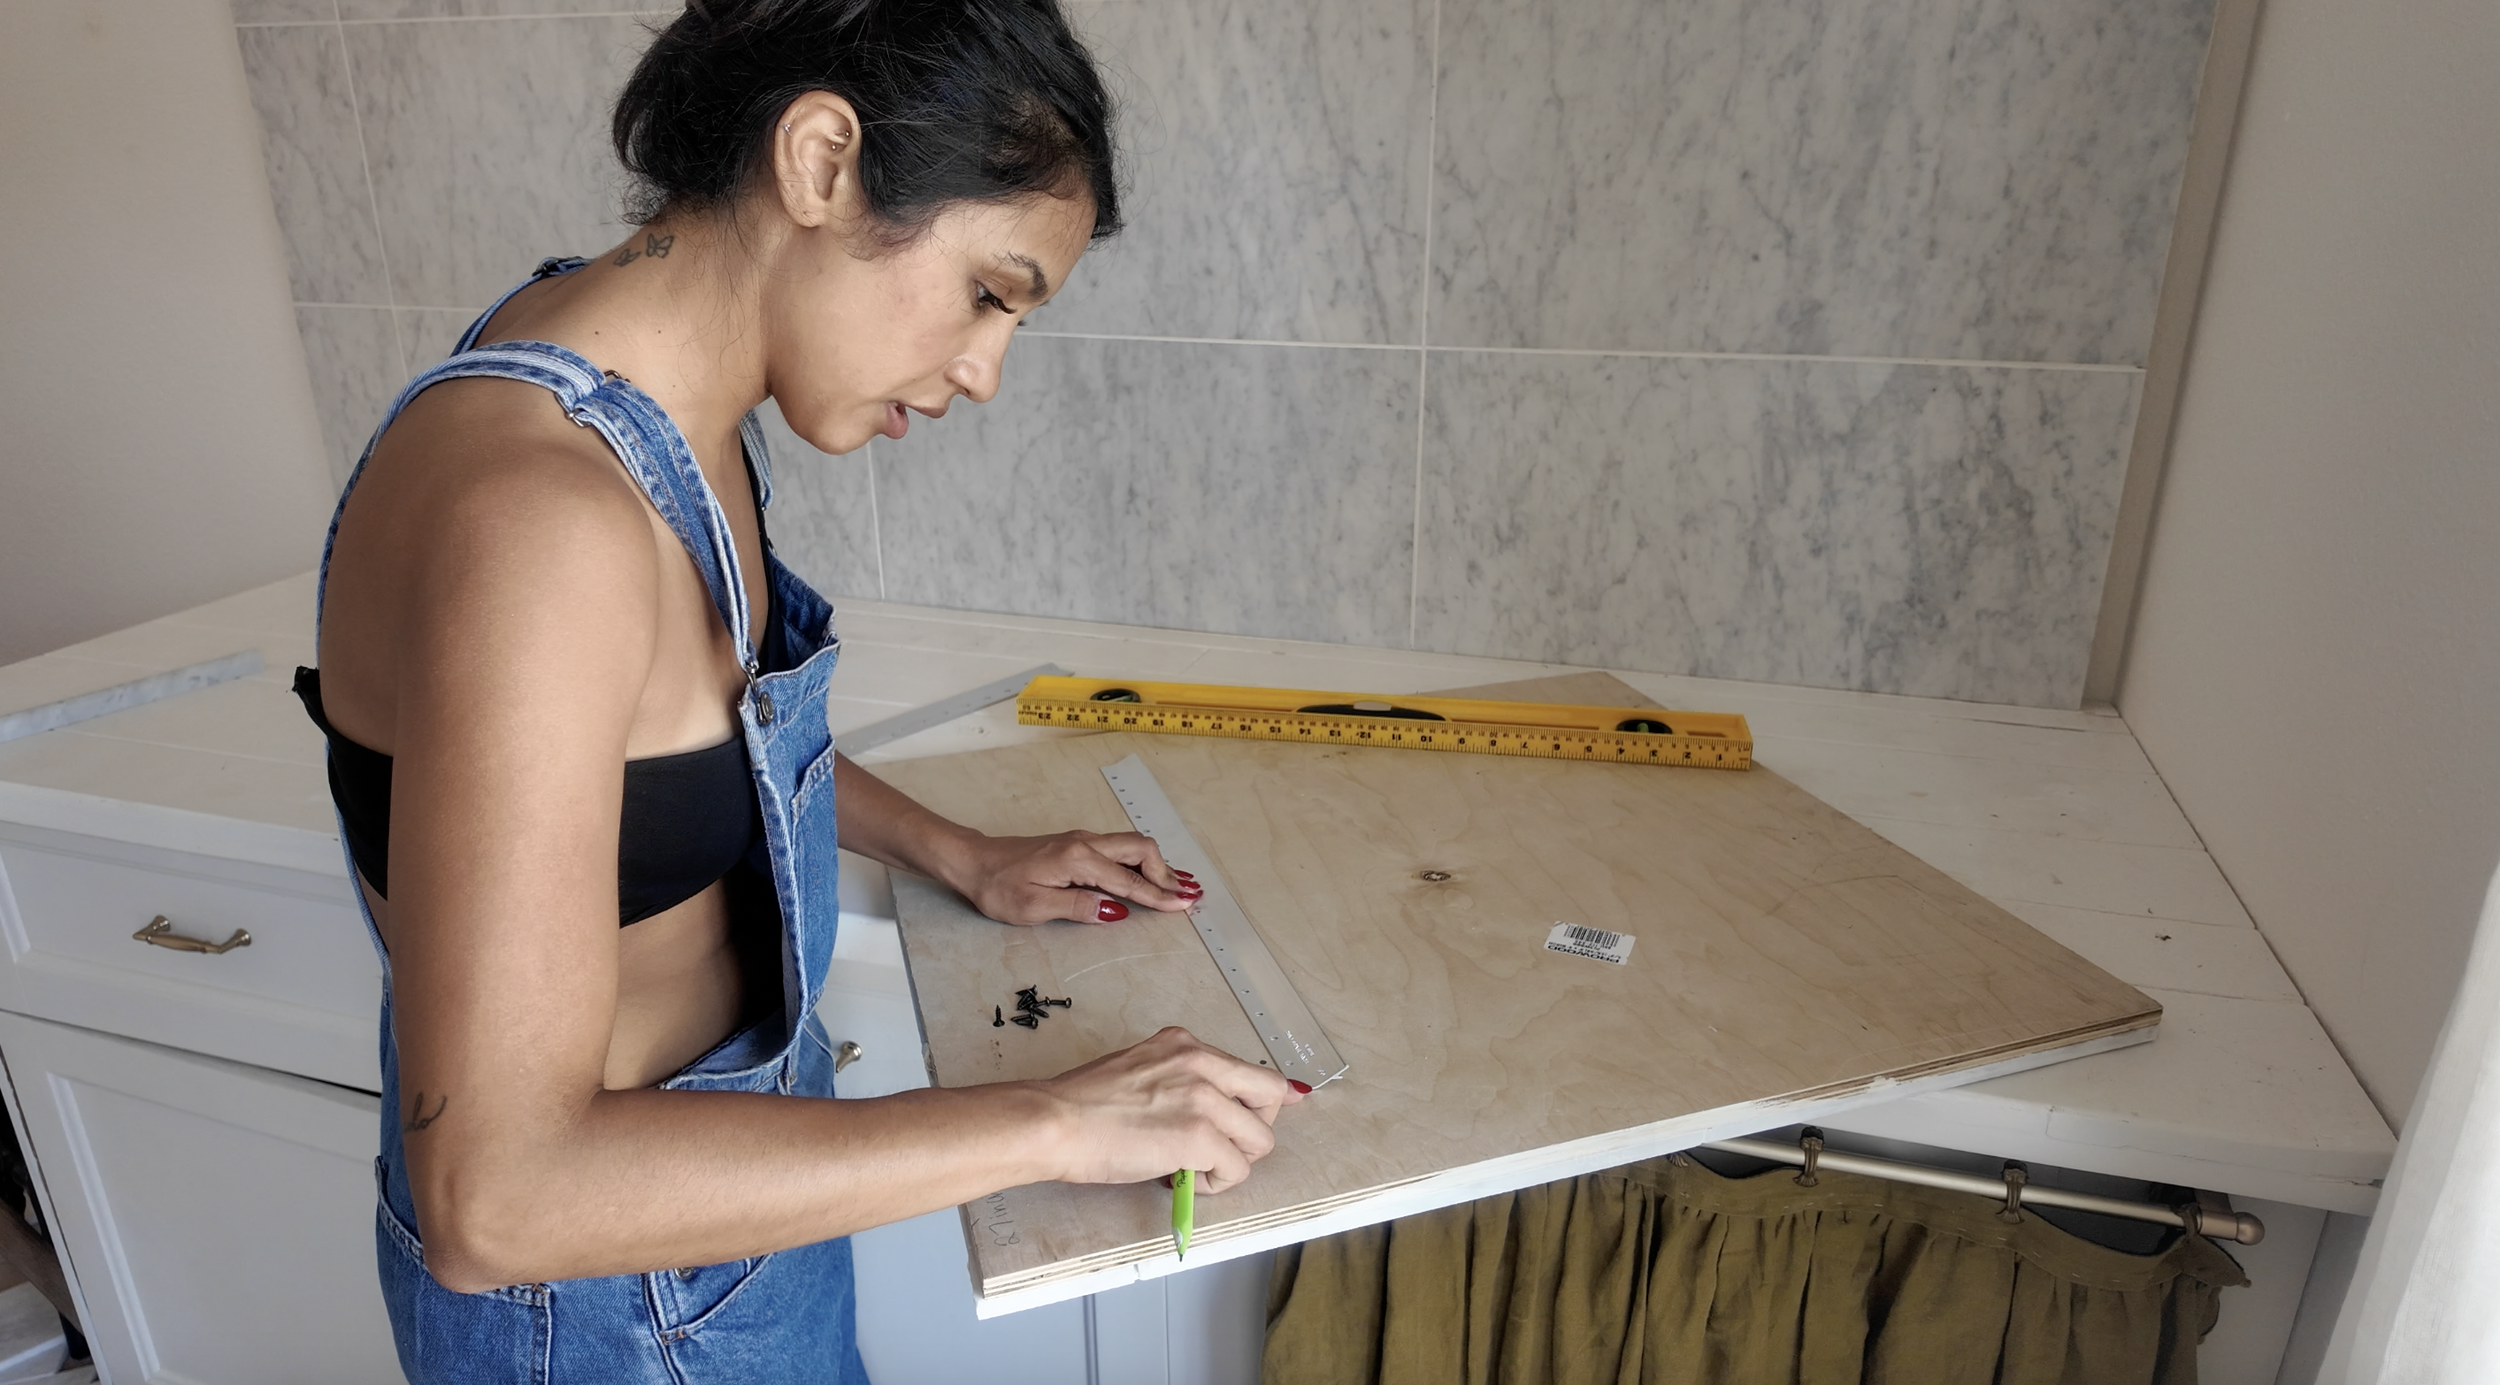
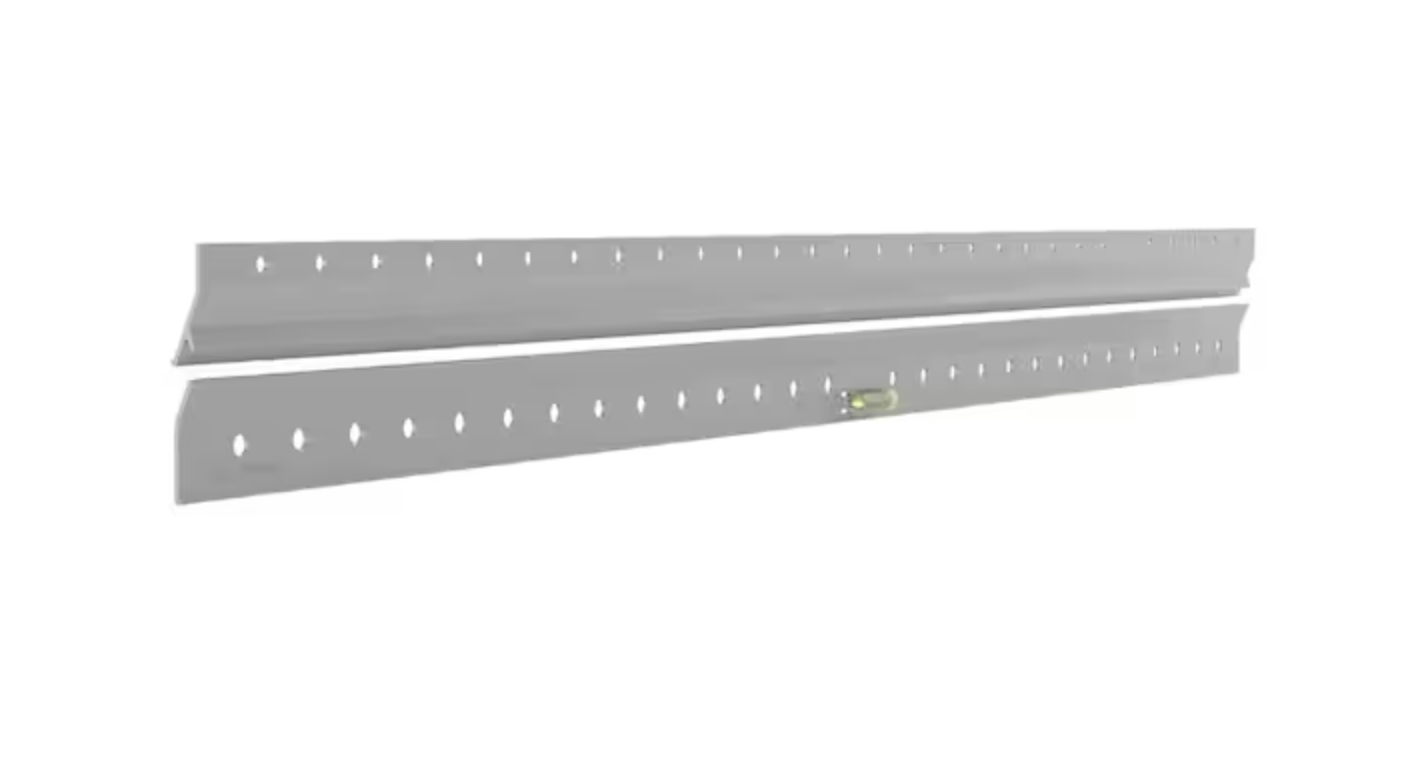
I mounted it using 30" French cleats rated to 300 lbs. BUT - the board's actual weight rests on the countertop below — the cleats weren't load-bearing, they were just there to keep the top flush against the wall. This step took very precise measuring.
For the shelf, I had poplar board cut to size for the top and bottom, then added 1x3 poplar boards along the front and sides to build the box shape.
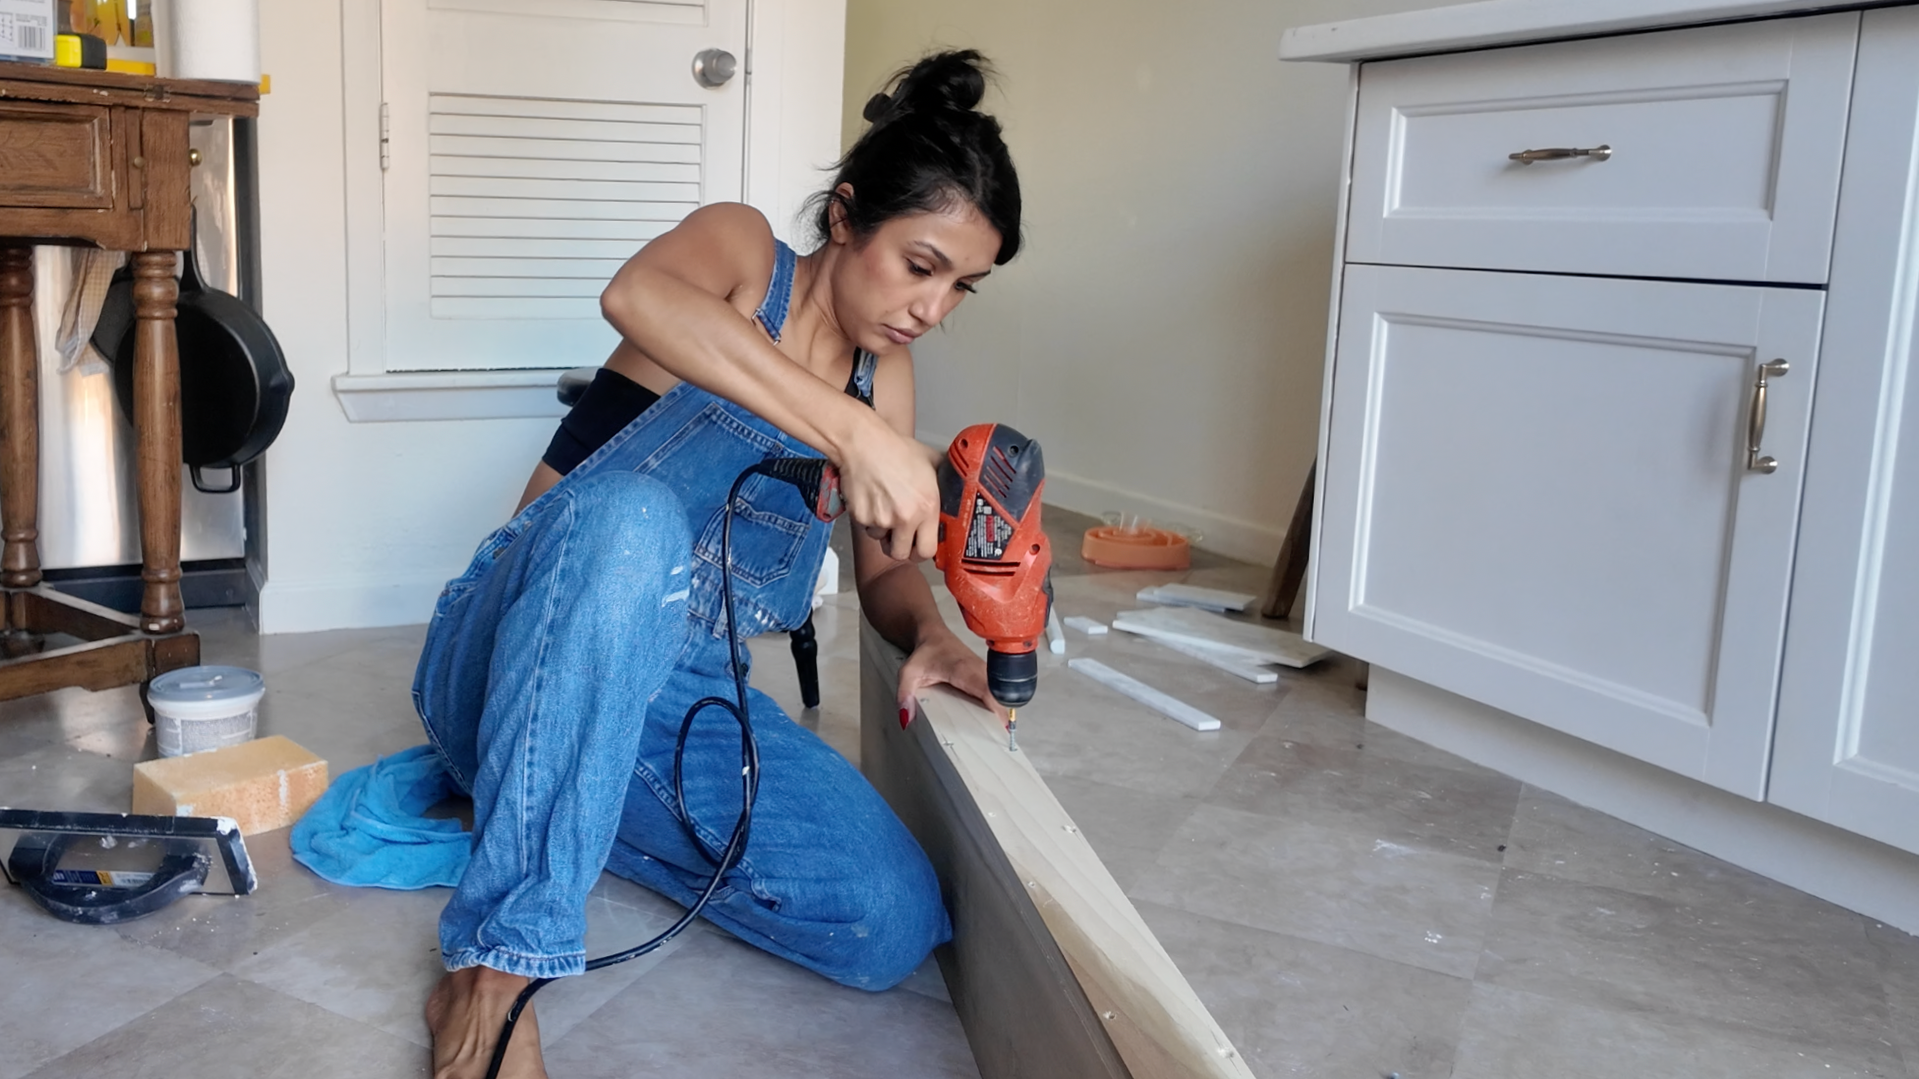
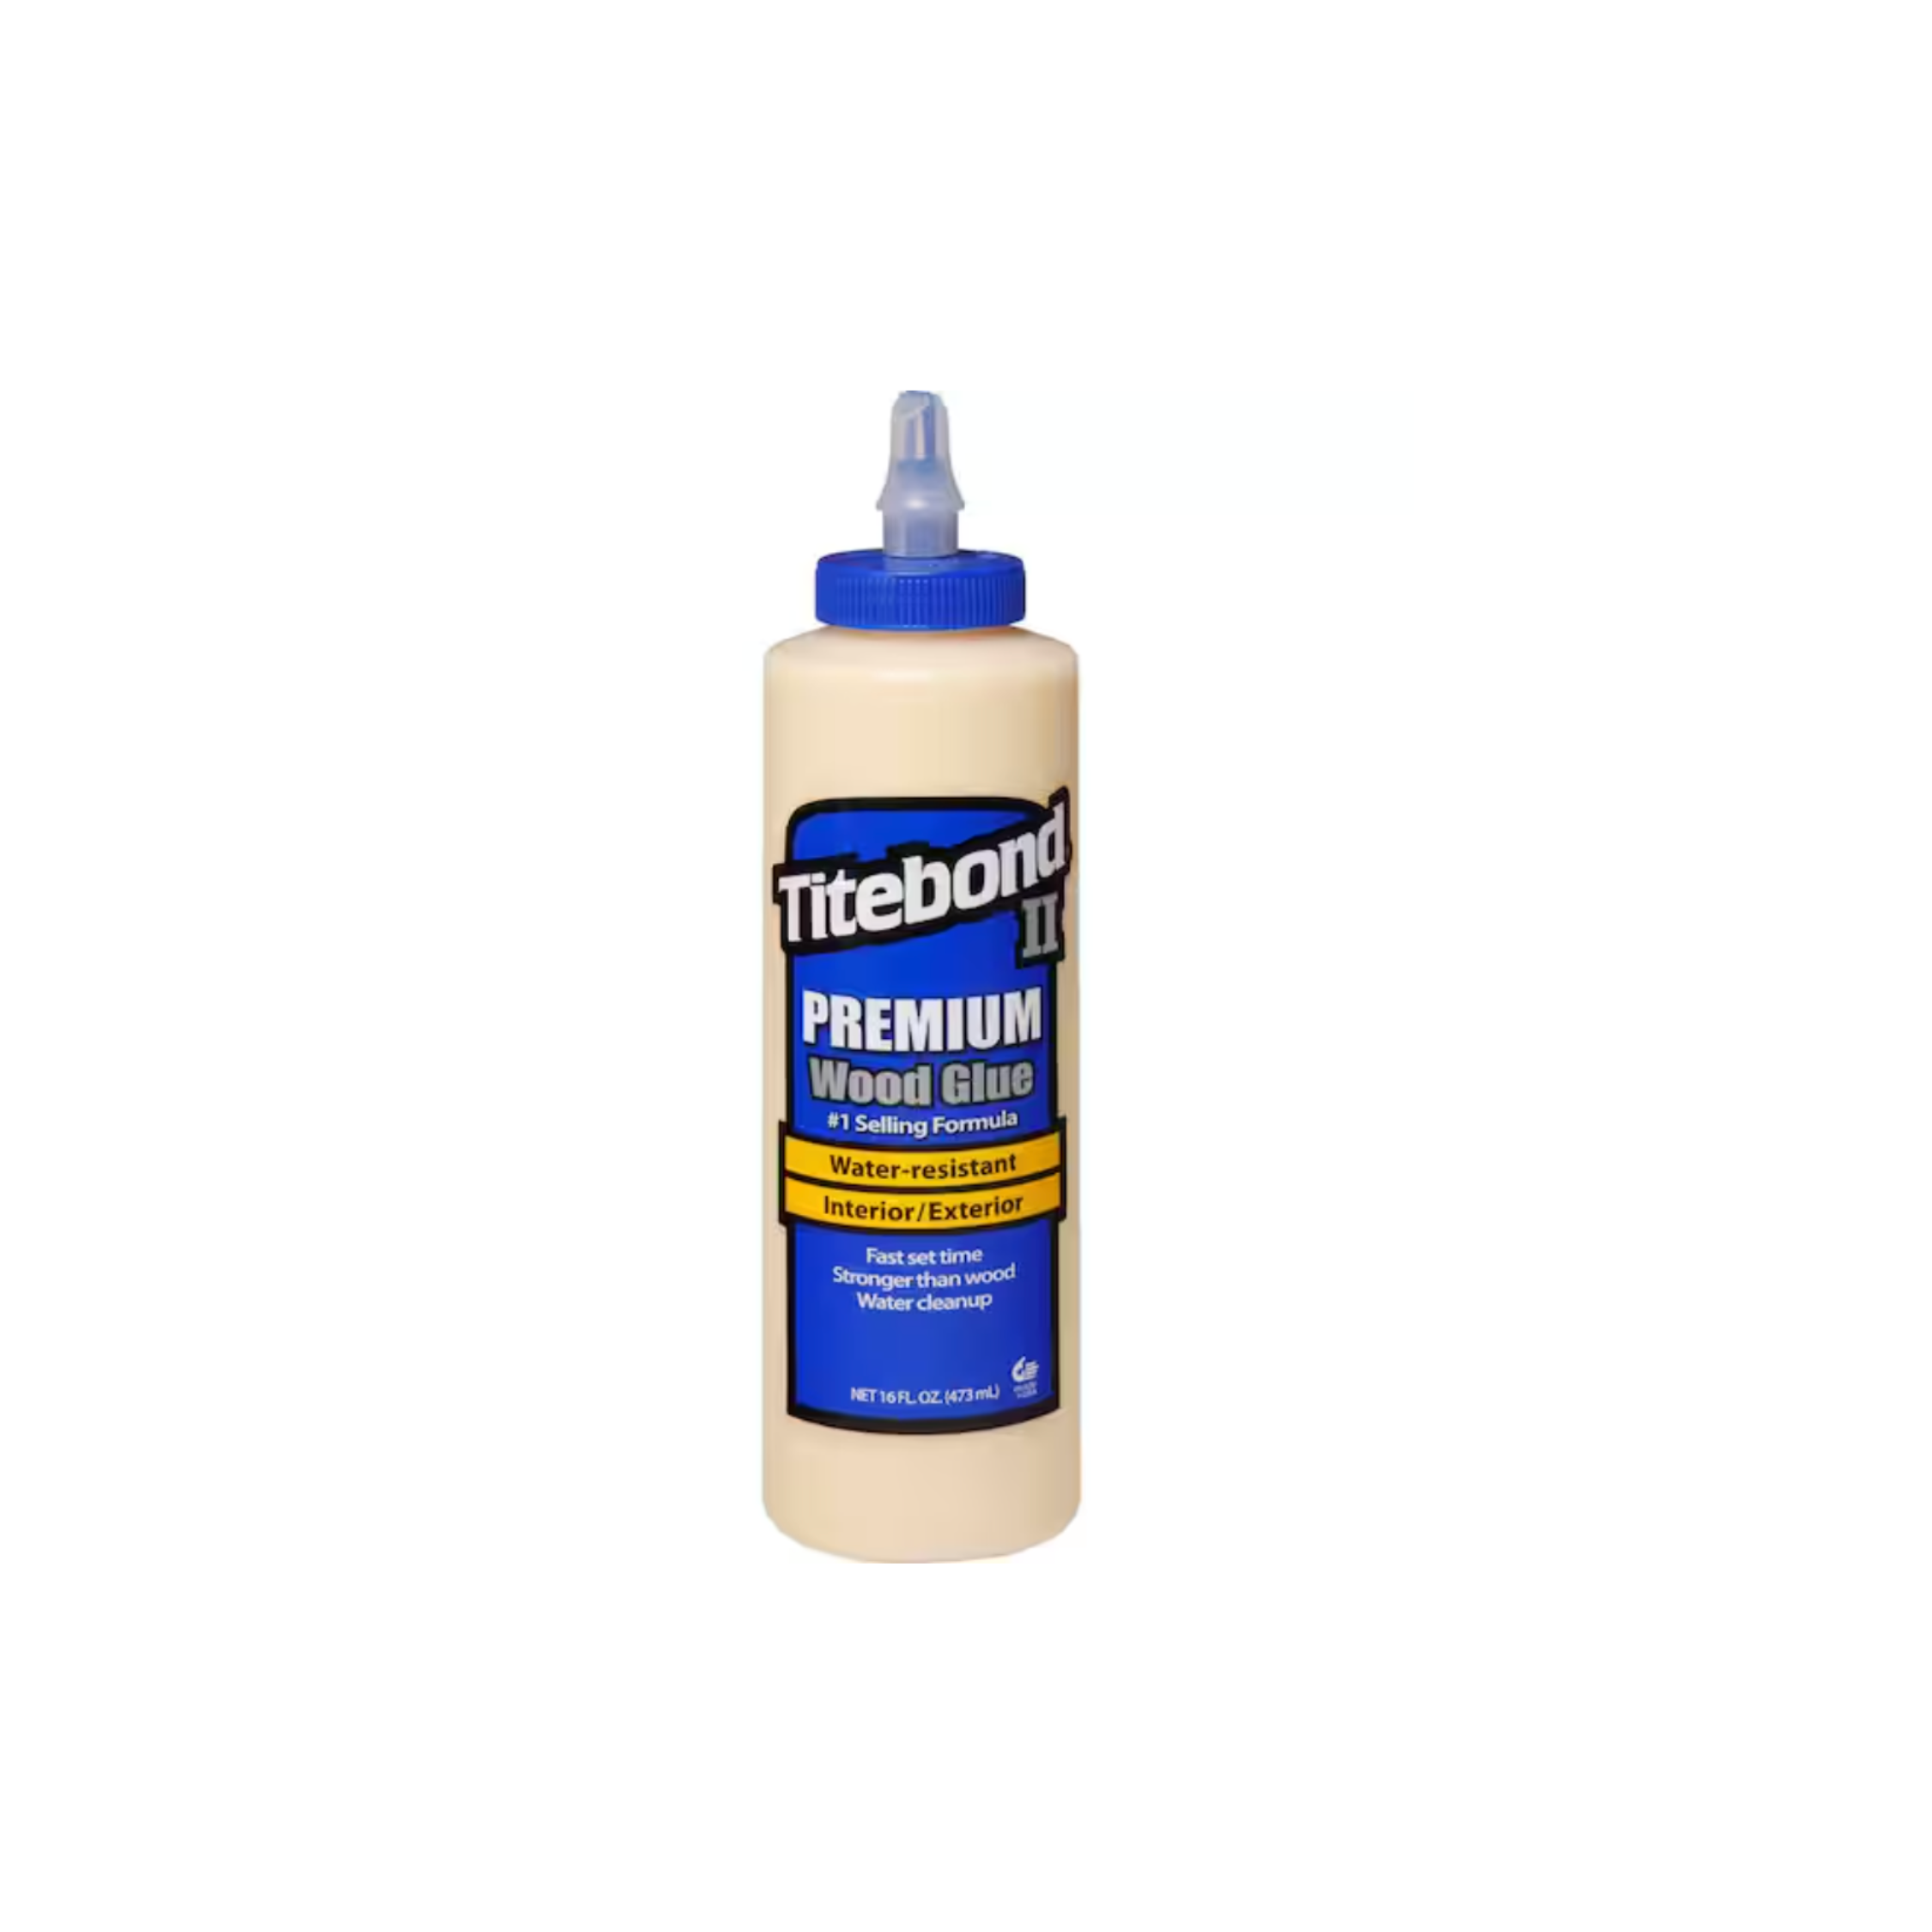
I glued it together with Titebond wood glue and reinforced it with wood screws every few inches while it dried overnight. The next day, I removed the screws, filled the holes with wood filler, sanded, and painted.
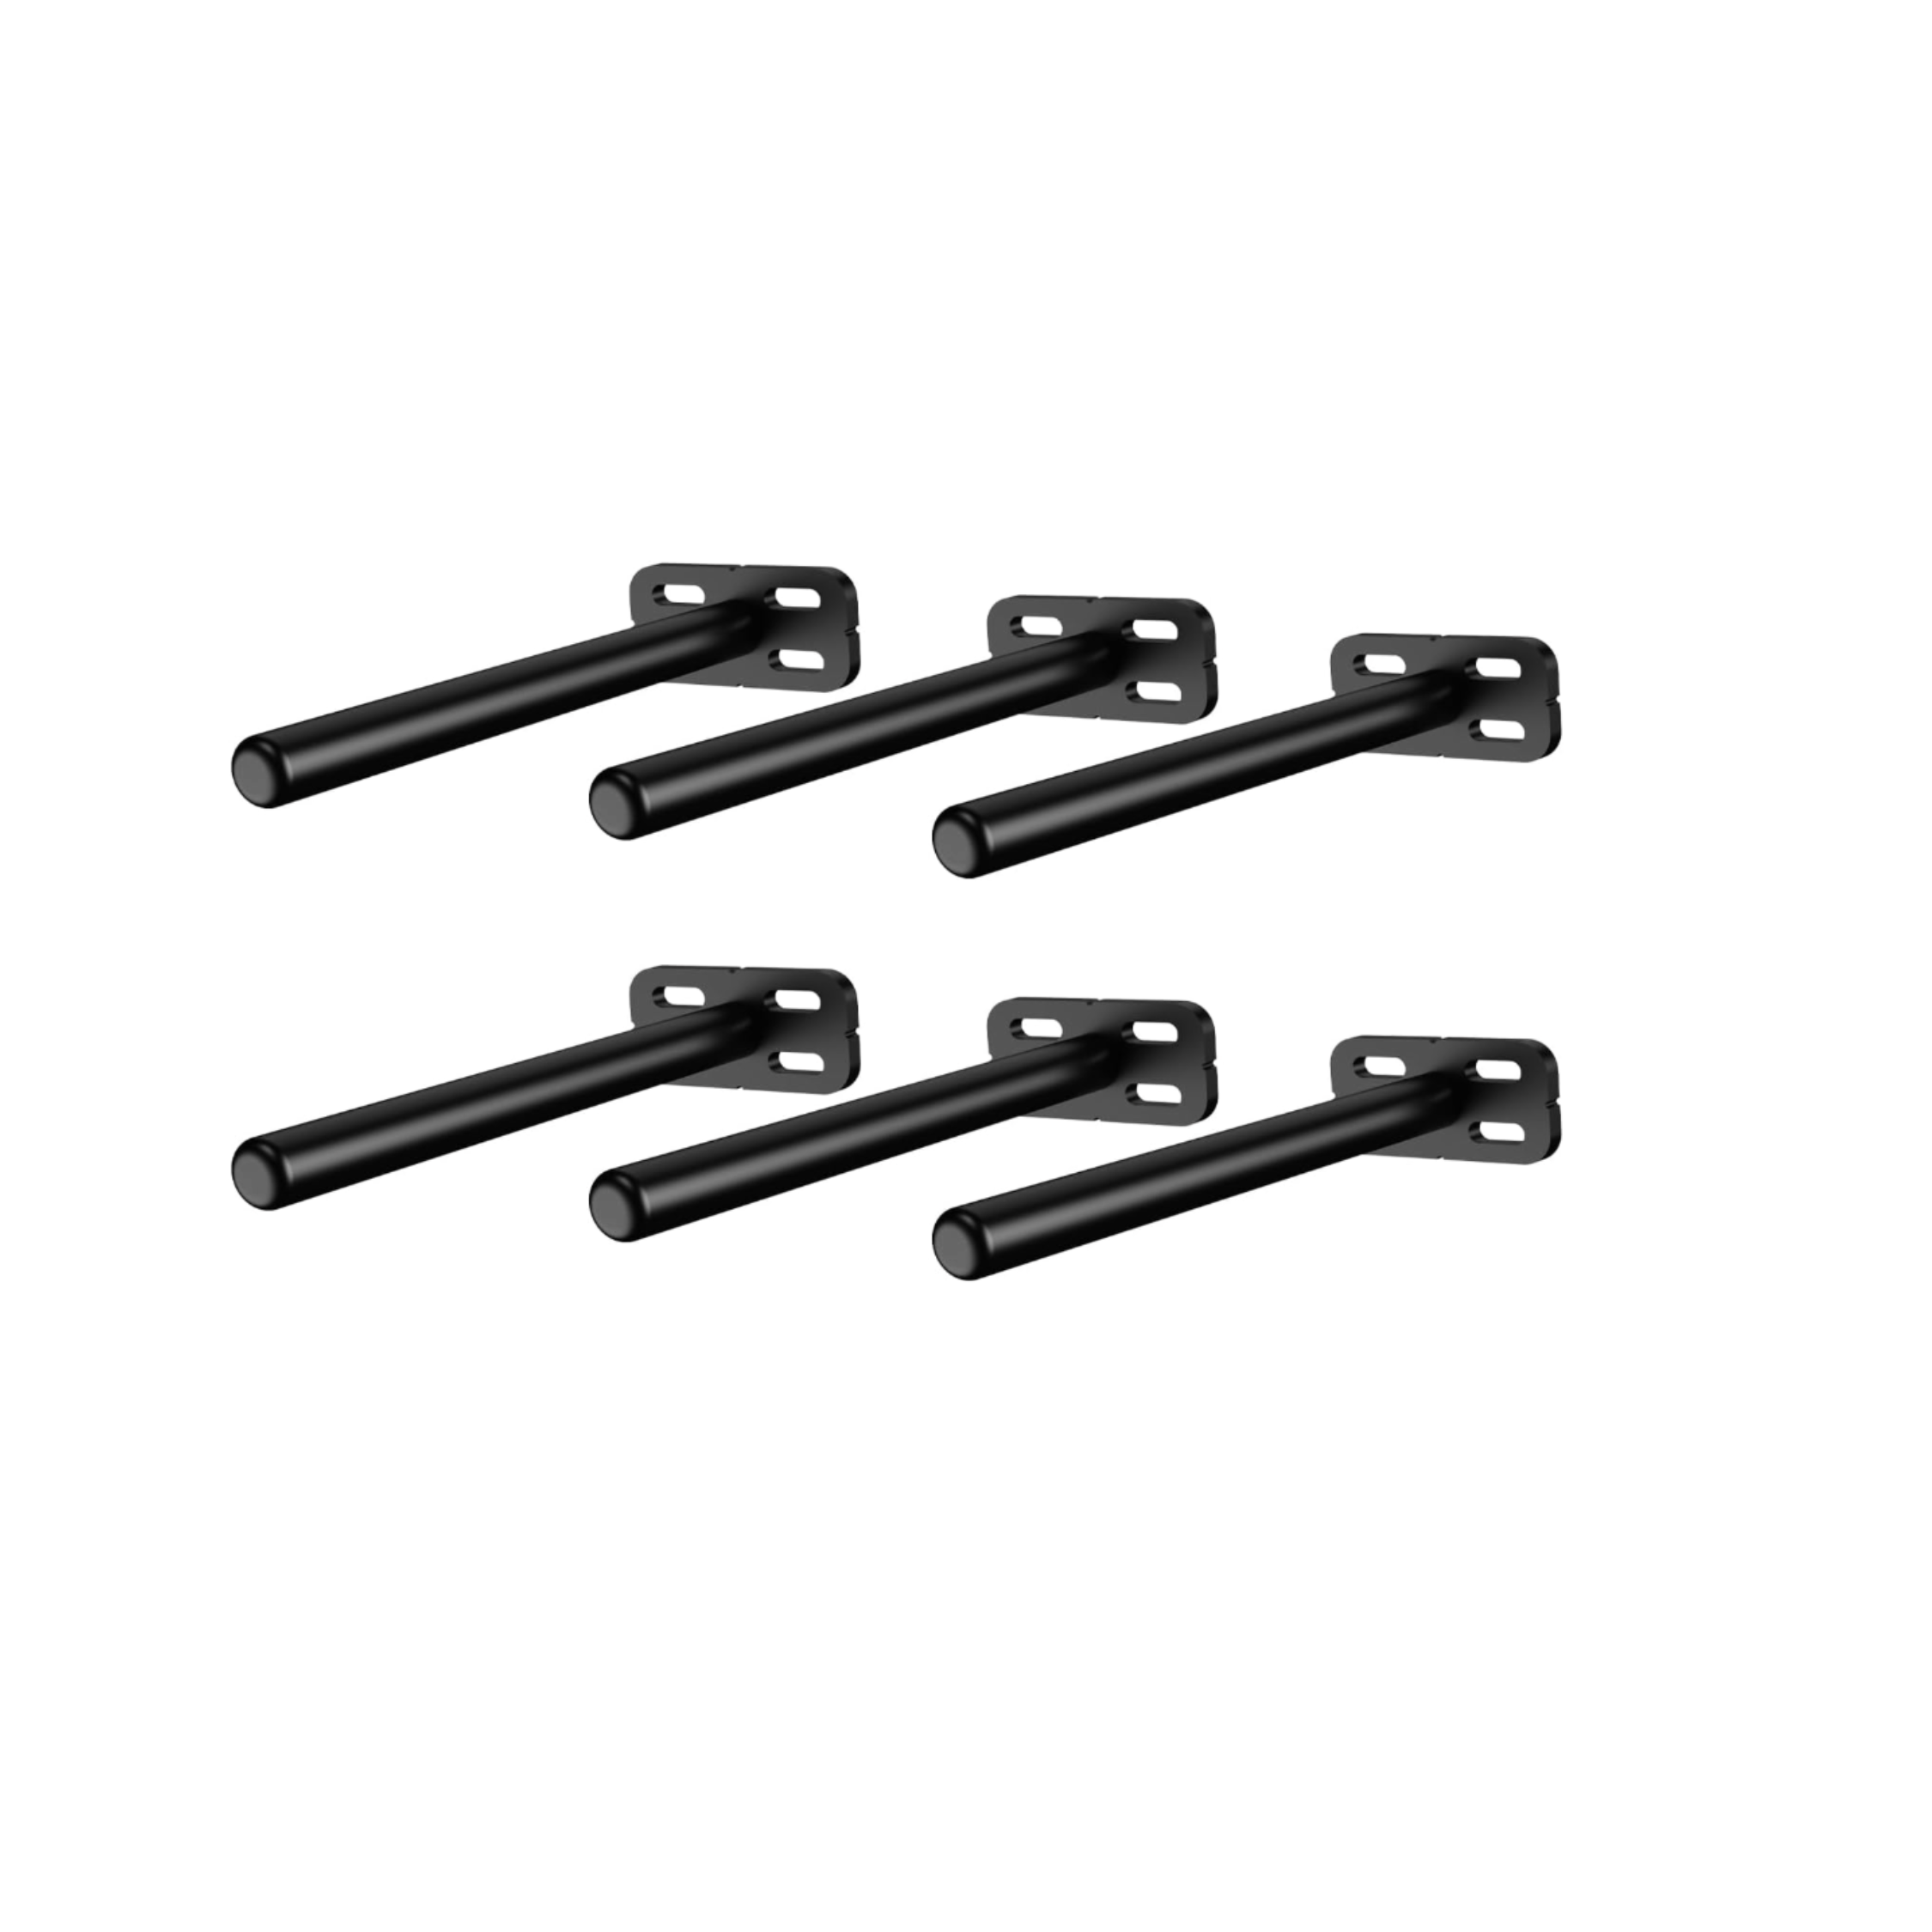
This method left an open gap along the back, which was intentional — I installed these floating shelf hardware into a few studs, then slid the shelf onto it.
Phase four: Styling the Space
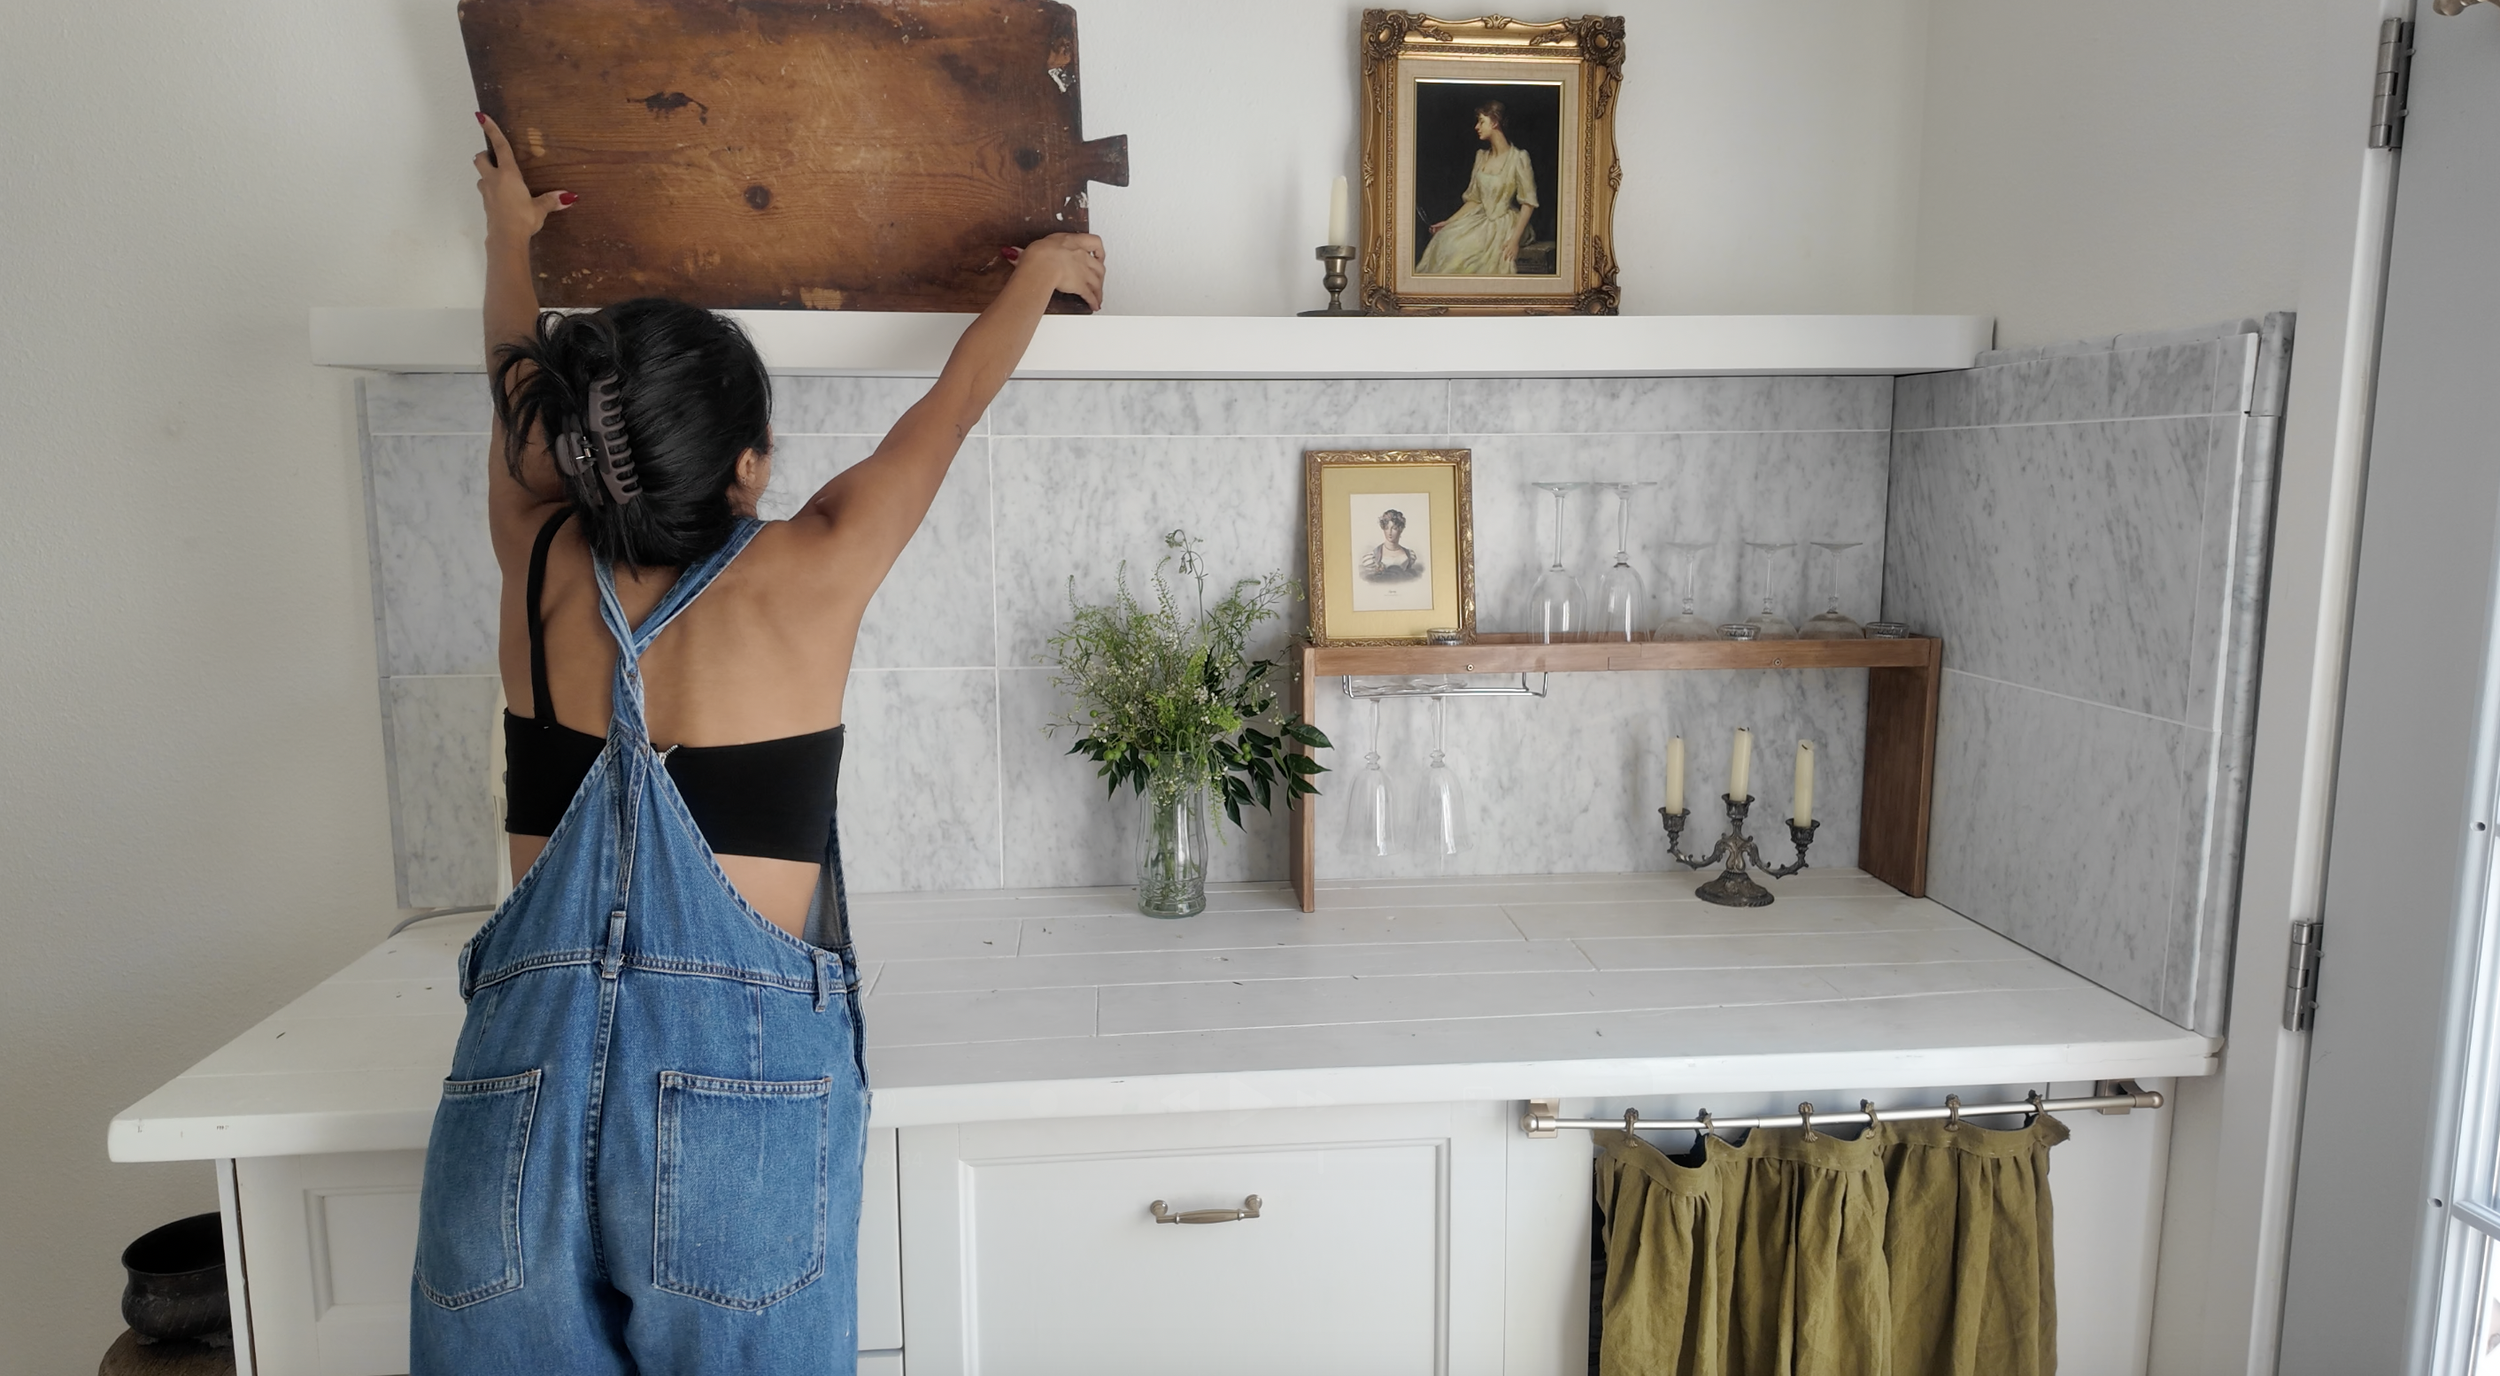
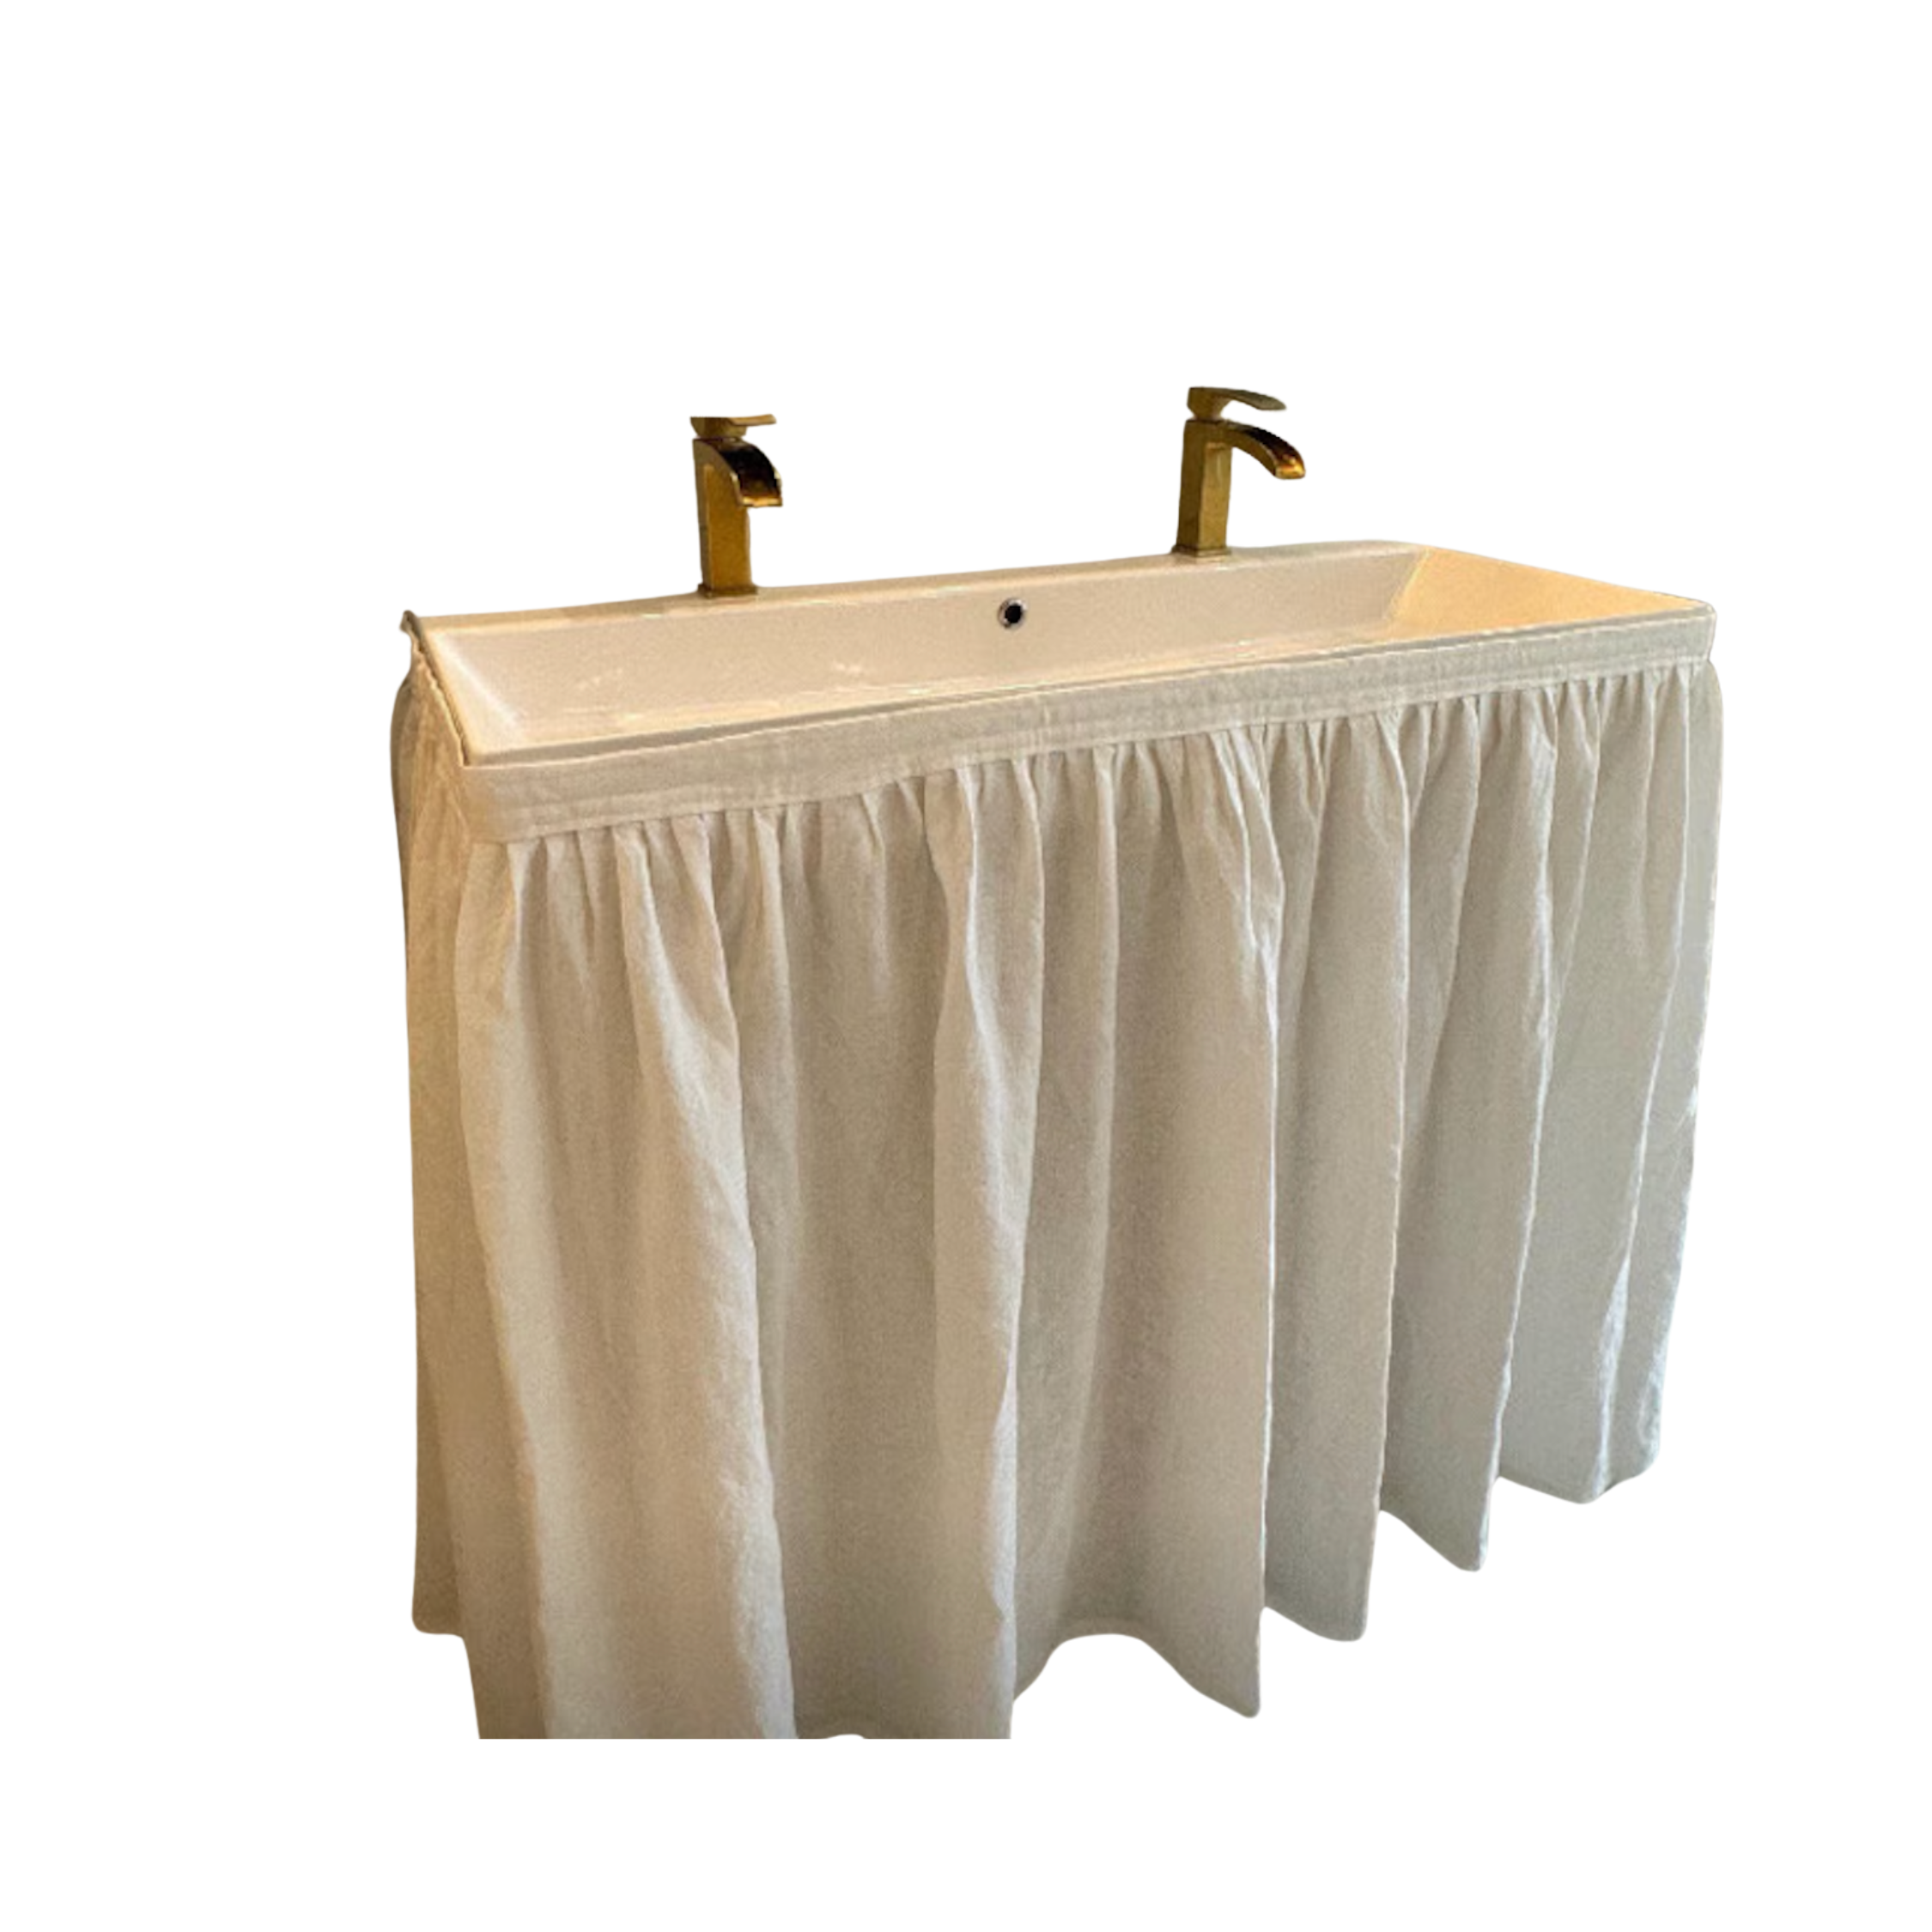
The olive curtain I actually made myself using liquid stitch and very simple sewing, so that’s why it looks a little homemade lol. But I copied the style from this Etsy listing, which I’ve ordered from before and is great quality! It is a little pricey however, but they can make really nice curtains in whatever custom size you need.
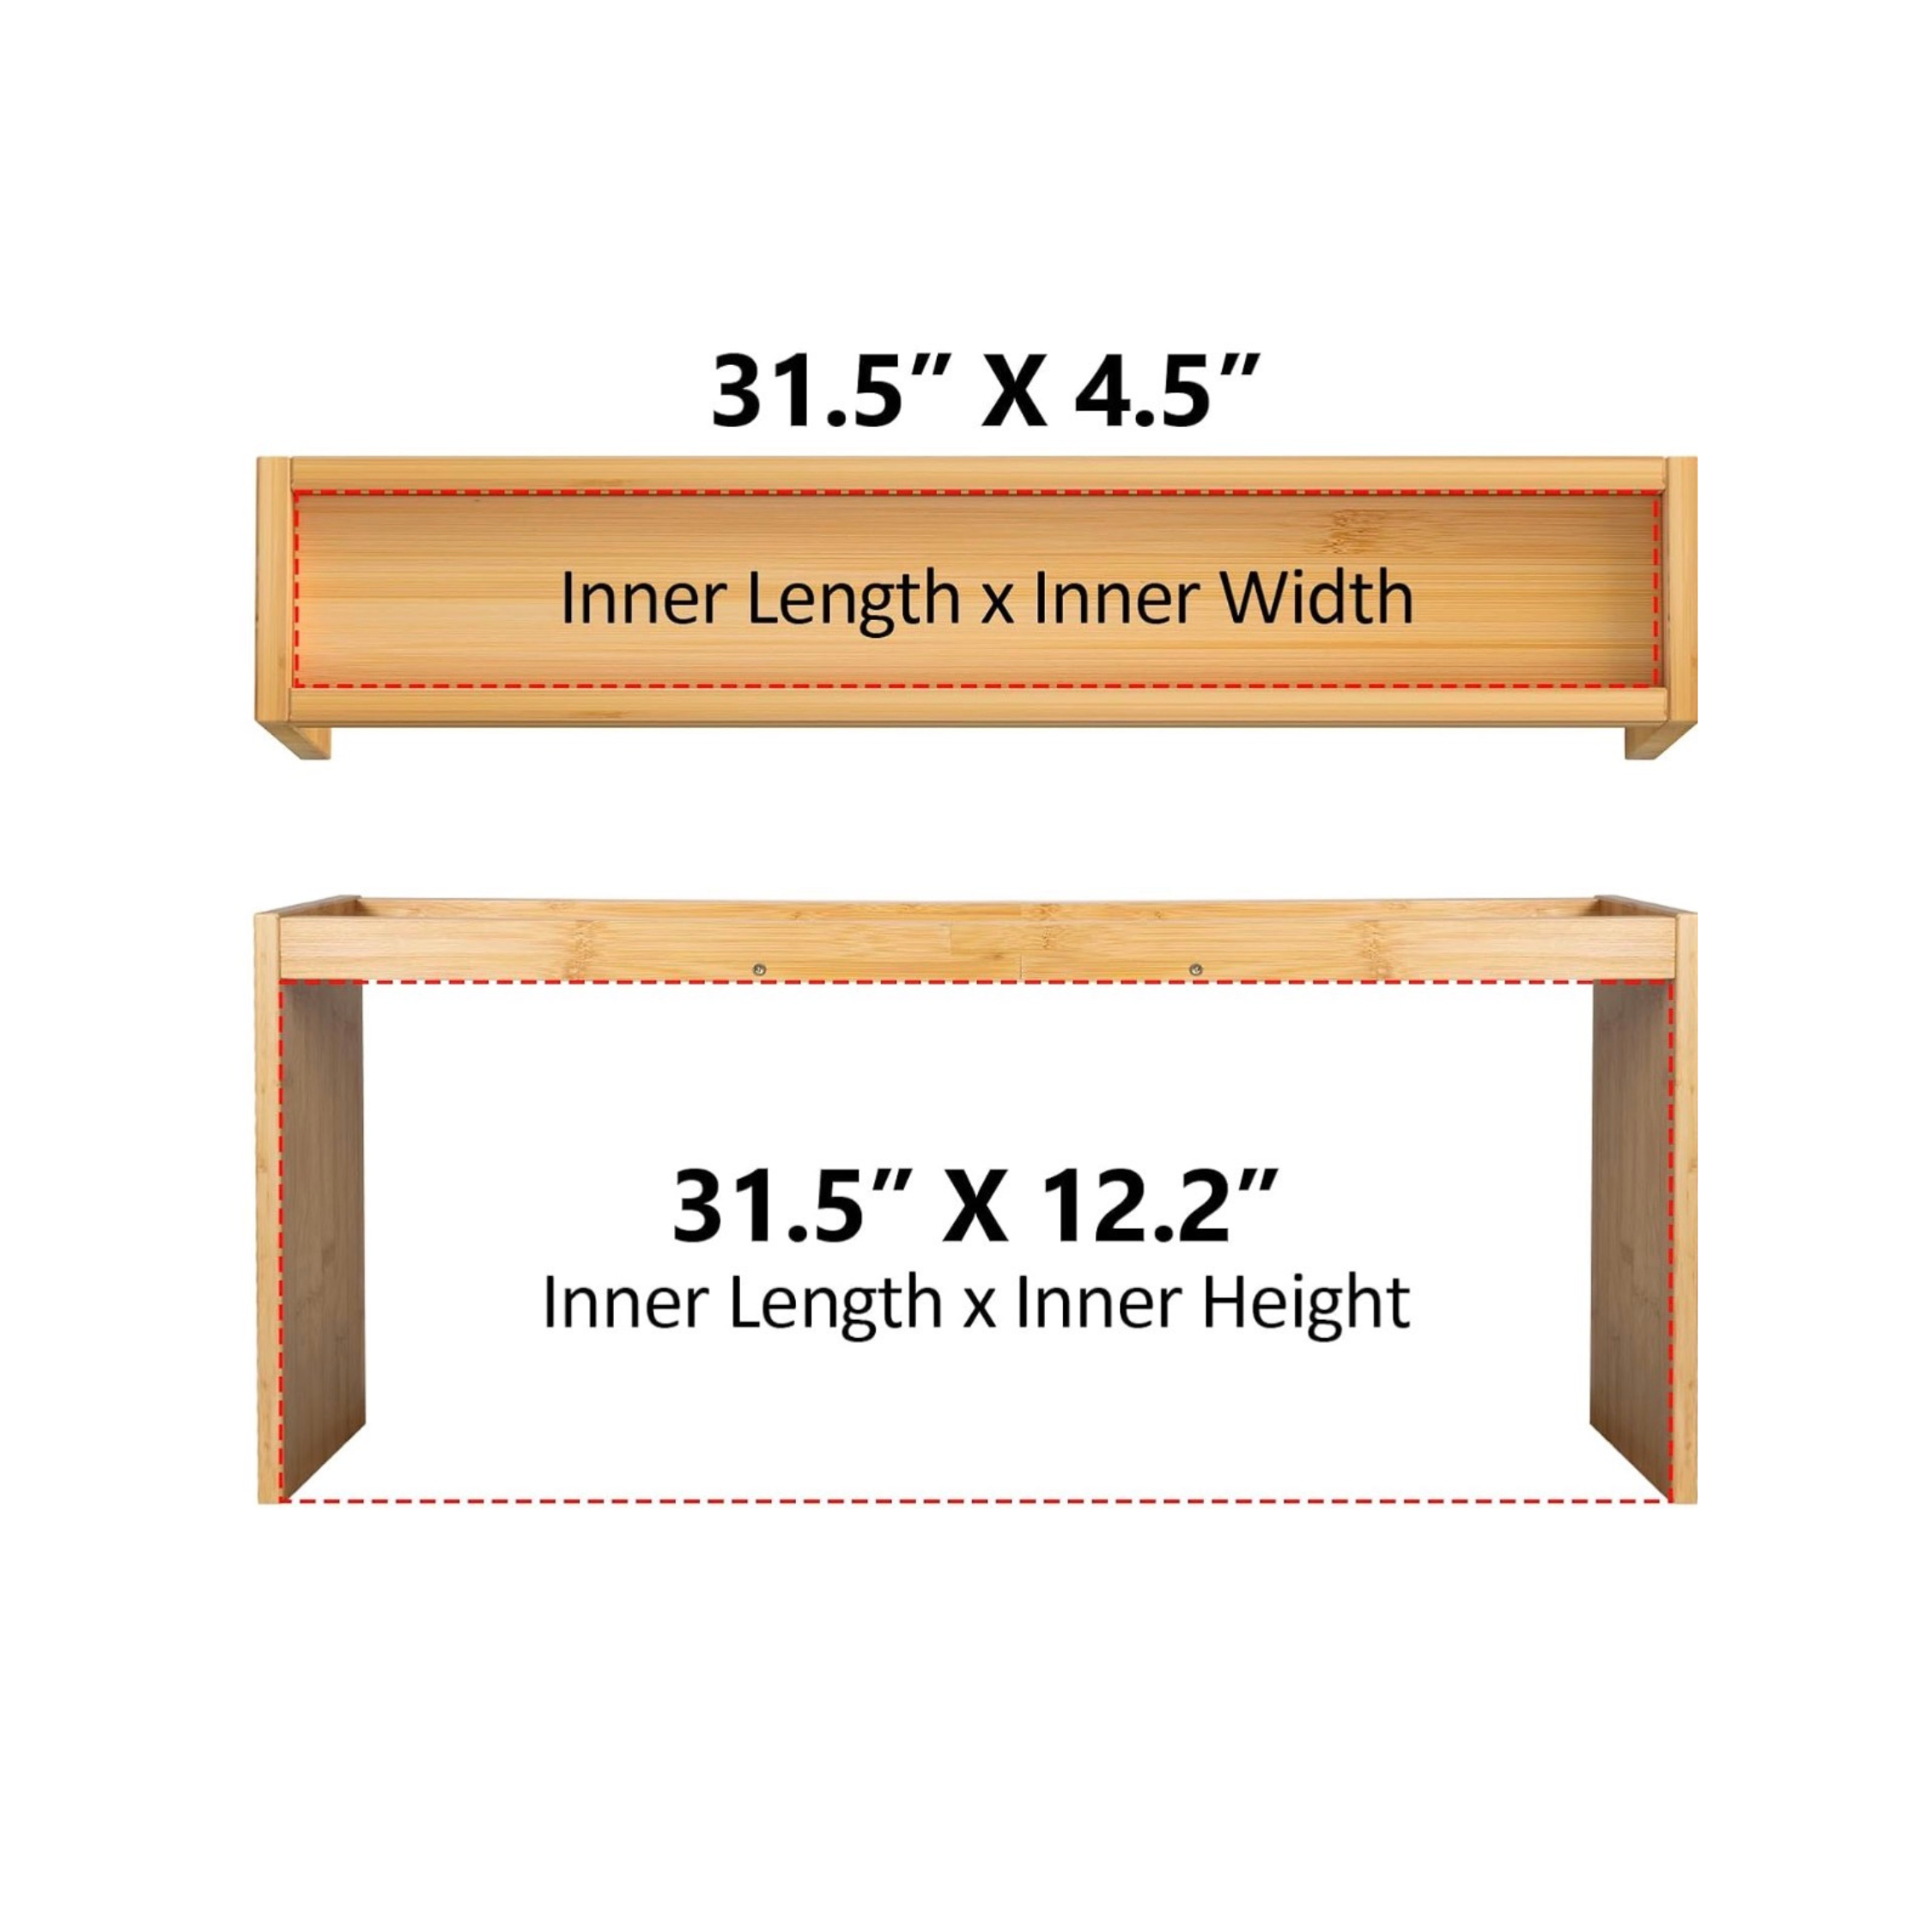
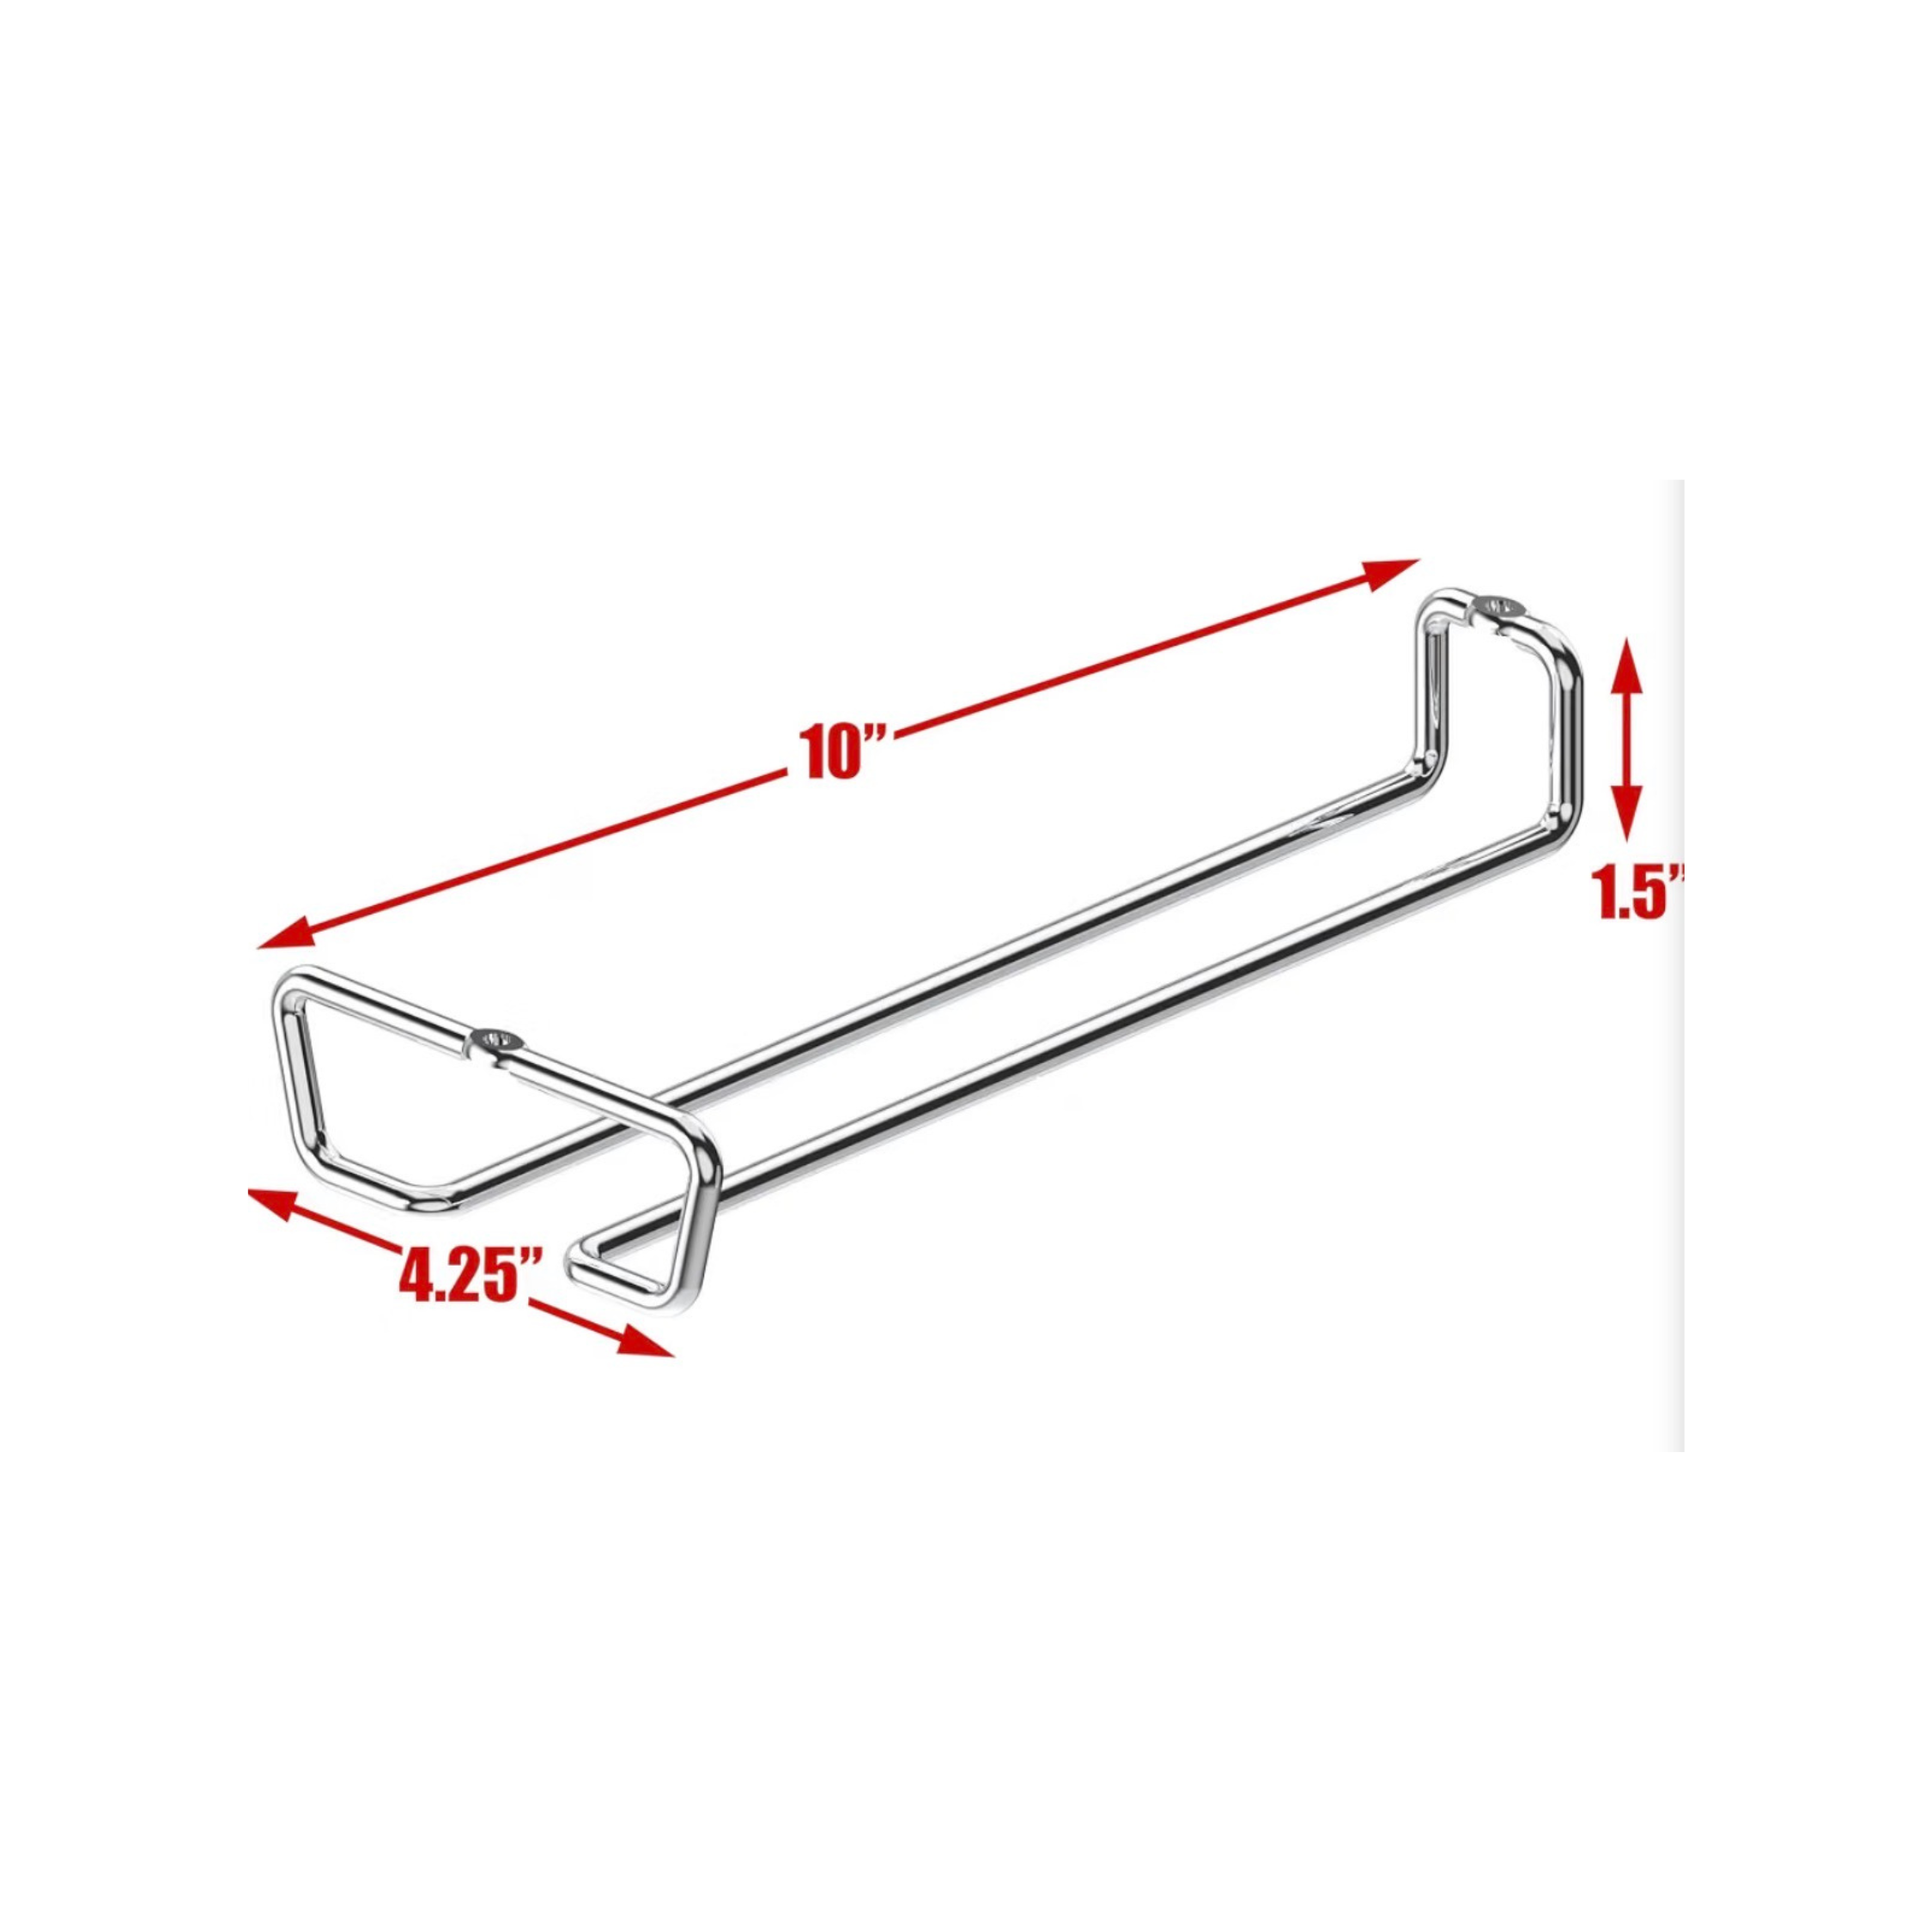
The wine shelf I coincidentally also made myself using this over the stove shelf and wine rack from Amazon. I stained it to make it more of a special walnut color and then screwed in the wine holder underneath. I’ll link a video here from my Instagram of me making it.
The Result
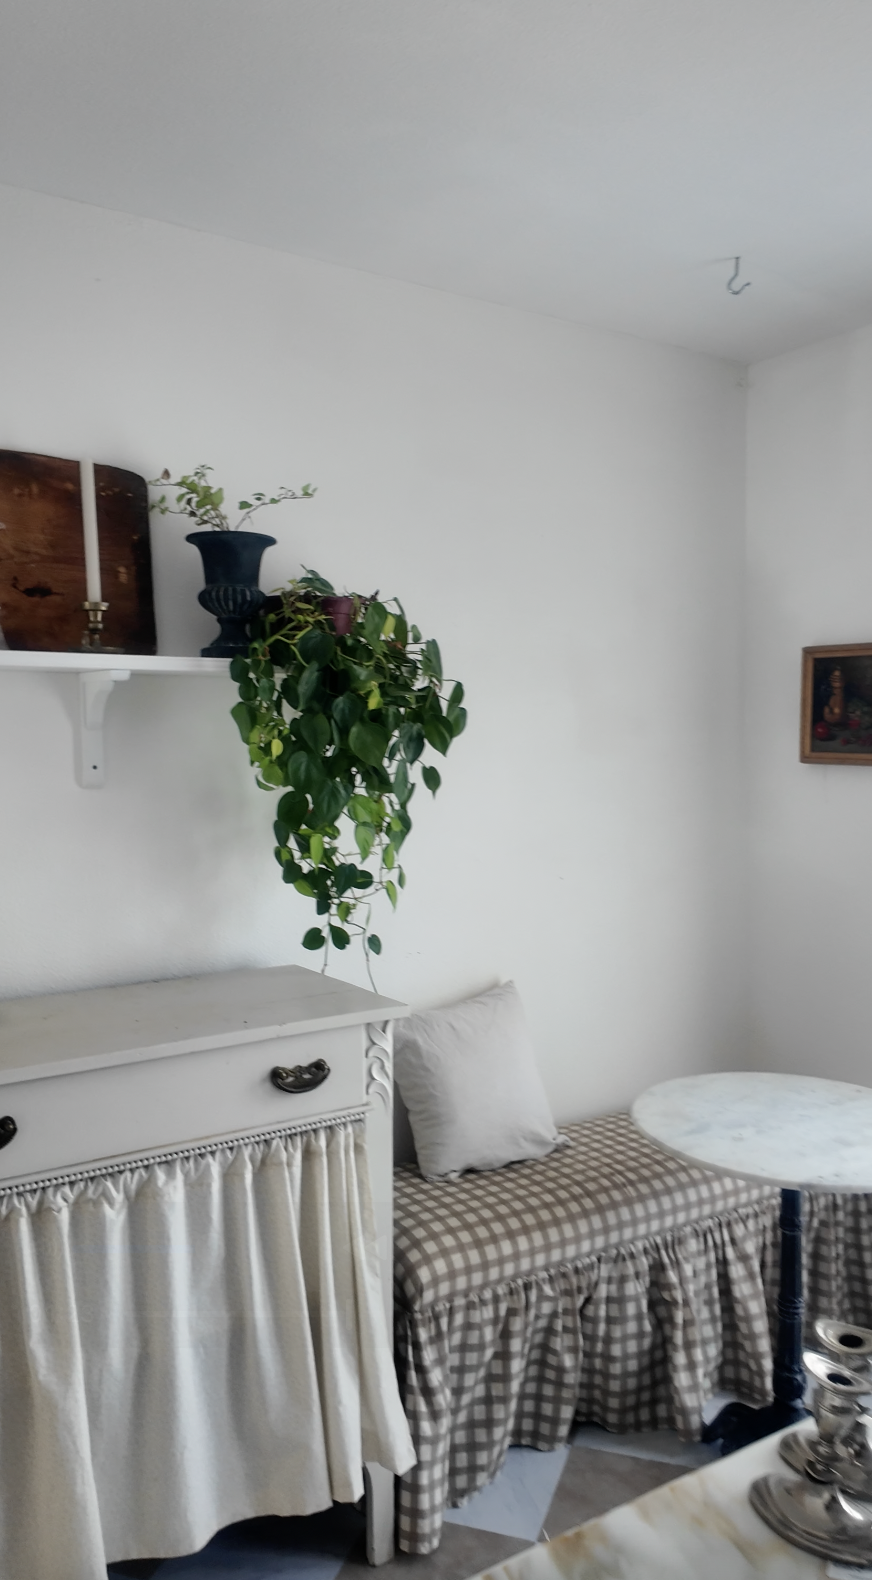
Before
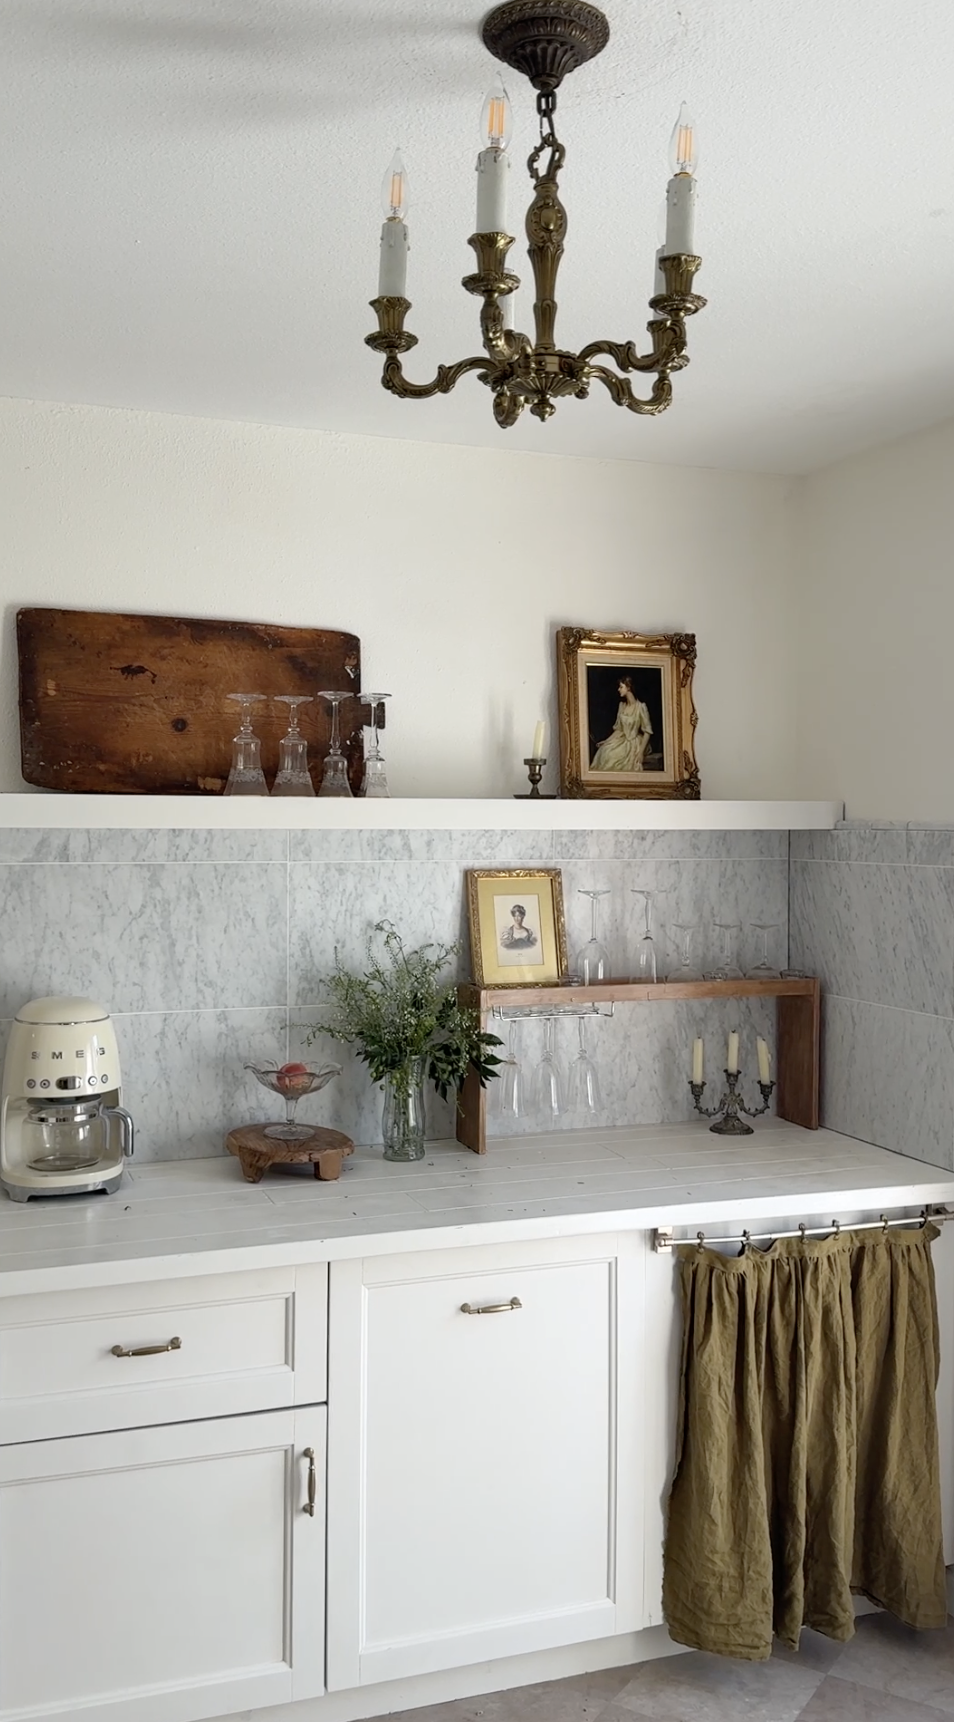
After
Watch the Full Project
Watch the full video on Youtube - and subscribe if you want to catch the next one! Watch on Youtube→
Shop the Supplies



About the Creator

I'm slowly turning my rental into a home, one project at a time — sharing the real process, mistakes included.